Well I thought it would be neat to put together a complete build thread for Clay and his new car now called "Phoenix" formerly known as "Nasty Wendy"..... (The story is in Clay's signature if anyone wants to see it). I am doing this for several reasons one of which to mention EVERYONE involved in donating to getting Clay back into the car & hobby he loves and second so all the pictures and progress is all in one place..
First of all a Big thanks to Shawn O'Connor for putting this car together and working his ass off trying to make the deadline!
Secondly a big Thanks to "Coach" for doing everything he did and even driving 5 hrs round trip just to help Shawn and the guy's build this car for Clay!
A Big thanks to "Everyone" involved in getting Clay back into the car he loves and the hobby he loves so much! The people here are simply Amazing! We Did It !!!!
Below is the list of Vendors/People who donated parts: (in no particular order) The other complete list of people who donated money is listed at the end of the thread.
Paul Castle (World of Motorworks: New Grill, New Headlight bezels, Shifter Handle, New NOS Dew Sweeps, New Door sill plates, Door Escutcheons
Mike Barnard "SpoolFool": New Front & Rear Bumper fillers
Julio aka "Razor" New Alky Control kit
John Follweiler "T-Charged": New ACC Black Carpet
Scot W. GNS Performance: GM Door Seals, Horn button, Coil Pack cover, Relay name plate
Shane Langford aka "blackgn1" High Boost plug wires
Pete Hoffman (Kirbans) Dash Top, T-Top Seal kit
Mark Huffman "TR Custom Parts" Cold Air Kit
Bob Murrah aka "Proptop" GM Header Panel
James Meyers aka "ttaowner" Interior Plastic Pieces
Aaron Evans aka "tb6" Radio Bezel
Stefan aka "tricksixpa" Door Escutcheons
Ray aka "1952ray" Chrome Battery Cover
Bob aka "dwall" New Hood Seal & Trunk Seal kit
Duarte aka "Evil" 3rd brake light
Mike Dopkins aka "m233roller" Door pull straps, 3rd brake light socket
Jay aka "boosted-para" He restored Clay's GNX Wheels
Russ aka "russgoodman" Gauge Pod
Phil Bassage The man who towed Clay's car & Parts from Shawn's place all the way to BG, Donated a chrome turbo shield, and also a $50.00 Kirban's gift certificate
Here is the car at the shop waiting for work to begin:
Here it is in the same spot after it burnt to the ground:
Sean Brown headed West from FL - New Orleans to pick up Clay's car to bring it to TN, Scot W's:
Arrival at storage place to pick up the car:
On trailer headed to TN. by Scot W. so he can take it to BG for Sean to finish bringing it to PA to be resurrected..
Arrived safely in TN:
Loaded onto Shawn's trailer headed for PA. from BG 2013:
Now in PA awaiting it's transformation by Shawn O'Connor:
Now onto the Body... This car was previously purchased from Shawn as a completely "Rust Free" roller. It was previously painted by him but the car didn't have a front clip on it which is how we bought it from him. Our plans were to use the old clip of the burnt car but the GNX vents were cut in the wrong place so in this process we receive a front clip which you will see later. The car also needed to be block sanded and buffed, an interior, glass, trim, seals everything! Shawn installed the glass as part of the original price and the dash and steering column.
Shawn stripped the car down to bare metal to start with:
Then into primer:
Then final stages before paint:
Now freshly painted: (This is the stage where we bought the car from Shawn for Clay)
The bumpers & spoiler corners painted:
The GNX vents on Clay's old car were cut in the wrong place and that wasn't acceptable for Shawn so he donated a set of his with the vent's cut in the correct place, then painted them to match:
Radiator & Dual fan set up donated courtesy of "Alradco" Thanks Pete!
Inner fender wells detailed and Coach's Stainless steel engine bay bolt kit installed & donated by him:
Interior parts donated by James Meyers (ttaowner) Thank You! / Shipped by Dave L. aka (rubicon327) Thank You!
Well after Coach spent the morning working on the rear girdle, he went home and got to work on all the interior panels. He wanted to show you guys the console. It is one of the items he asked you guys to raise $$$ for. It was all there but needed a good cleaning so he re-dyed the console top and shifter surround. It really is a nice piece. The inside is clean and its all ready.
Coach then assembled it back together after the dye was dry. It's almost ready to bolt in.
There was this long box that was in the trunk of the "Phoenix" when we bought it from Shawn and he said it came with the car, it ended up being a brand new GM dash!
The car was brought from Shawn's place in PA all the way yo BG and set up across from the GNS Performance tent so we could all go over the car and see if we could round up any last minute parts needed. The man responsible for picking his car up and delivering it to BG is Phil Bassage (pdzz here).
Two more awesome guy's with their parts right across from us "Harry & Larry" and his crew were pretty taken back when they all heard the story and were in tears and told us that anything we needed from them we could have, they donated a very nice gas tank, fuel pump, arm rests etc and also helped with the unveiling of the car ( That's Larry in the video, he had a louder voice than me. LOL). I can honestly say the GNS crew made some great new friends that day!
I am not one to speak in front of a bunch of people much less on a subject this touchy when it comes to emotions so needless to say I was pretty much speechless when it came down to this unveiling. Clay's mother ( In Paw print on back of shirt) just brought me to tears every time she came around me but they were good tears!
In the time leading up to this unveil I was super busy trying to line all this up and announce the unveil over the loud speakers at the track, driving through the whole place telling people where & when it was going to happen and in this time I forgot a few people and things to mention but most everyone evolved know by now who is who when it comes down to making this happen.
Without further ado here is the car being unveiled to Clay and his family. (Video curtsey of Mike Casteel)
This is a Hood we bought to replace the fiberglass hood that had gotten heat damage due to the flames from the interior. When Shawn received this hood there was no time left to do all the body work needed to make it as nice as the car and when we heard Clay's mother was going to buy him a new Hartline hood we all decided to make this a canvas where the people involved in donations could come up and sign their name on the hood and Clay could later on hang it in his garage...
Here are some images from "Reeper" Shawn Brown....
Here is the car headed home behind Clay's truck. That has to be an awesome feeling for him!
OK so after Clay painted the bumper reinforcements he kind of felt like he still wasn't doing good enough. Everyone has done such an amazing job at doing everything the best way possible to this car so he had to buy an O'CONNORRIZER. That's right! now YOU TOO can feel like Shawn O'Connor!!! lol
So Clay equipped his premixed base-coat / clear-coat all in one paint with the O'CONNORRIIZER
And Clay started Shawn O'Connoring his gas tank. Just the first coat on the bottom done. he will do the second coat tomorrow.
Gas tank stripped to bare metal ready for paint. He need to research what will be resistant to minor drips of gasoline.
Here it is clear coated and finished. Think this will look pretty good underneath the "Phoenix".
Tank is in! It had a little installation rash so Clay did a paint touch up. Can't tell in the pics but he will let the light of the Sun let him know if he have to remove and repaint. It got rash because Clay initially attempted to install it without using ratcheting straps to hold it in place. He has done this numerous times but this time he had new stainless tank straps so they haven't been formed to the tank and crap got interesting and entertaining as he was inventing new cuss words trying to get the straps in place while holding the tank.
Now onto the alternator,
After bead blasting the covers and wiping them with Acetone they came clean. Clay assembled the alternator and shot it with a coat of 500○F clear. not sure if its the ceramic clear but it seems to work pretty good. Should he find himself re-doing because of dissatisfaction he will more than likely do the complete 'billet treatment'.
The car will be tuned by Cal. Clay will be taking a trip to sunny Florida for several things and a stop over at Hartline's is one of them. Clay plans to get the car tuned and pick up the hood.
How fast have Clay gone in the quarter mile? No where near as fast as the car could have gone. When Clay built my original "Nasty Wendy" car the NHRA rules stated that the quickest a non-caged car could go was 12.0. Clay made aborted pass after aborted pass trying to tune the car down to 12.0s. He was enjoying racing and didn't want to get kicked out. Clay finally got the car tuned in to run 12.0s and it was like a bracket racing car. 12.0 after 12.0 after 12.0. Even after the rule was changed and non-caged cars were allowed to run 11.5 Clay didn't touch his tune and continued to run 12.0 and had fun with the weekly bracket races. The car would run 12.0 on 18psi which is where it was set on every track visit. On the street he had it up to 26psi and it was obnoxious. Since then Clay upped the engine to a production 4.1 and a V1 front-mount with a TE45a. The 12.0 combo was a 3.8, stock location IC with a TE44. Clay has a feeling that he will be tuning this one down to ll.5s much the same way he tuned the first combo down to 12.0s. Clay's track now allows outlaw passes if you sign a disclosure to not hold them responsible for your demise. The combo that will reside in the car when all is done will force him to sign that disclosure if he wants to know what it'll run. Clay says he will not be caging this car as he plans to street drive it and enjoy cruising it.
all clean and new looking....
Ok so the alternator is on and the fuel pump hot-wire kit and volt booster is installed. The car has an under-drive crank pulley which he don't know if he wants to leave it or replace it with a stock one. He has to decide this so that he can buy the right belt tomorrow. He scotch brite'd one of the gas tank straps and it made a huge difference in the shine. Clay found some clear tape on the straps while he was scotch briting so he had to remove the tape and the residual sticky crap with acetone before finishing the scotch briting. Clay's windshield washer reservoir cracked. It was extremely brittle from the fire so its time to replace.
OK Clay now got the negative battery cable installed. He also installed one of Casper's Electronics positive battery cables that relocate the fusible links to the engine compartment. He kept the under-drive pulley and put on a 61.3" belt. The wiring at the alternator is cleaner than he thought it would be with a volt-booster & fuel pump hot-wire there as well as the stock wiring. Cam (The dog) was supervising everything with is green-glow eyes lol. Clay has to get some swagelok fittings tomorrow so that hecan plumb in his transmission oil cooler lines. Clay didn't have the short lines that connect to the radiator/cooler so he is bending tubing and using the swageloks to complete the plumbing. Clay has to give a big shout out to 'The California Duster' lol for getting the car looking good enough to post pics. Its a very short list of things until start up - plumb in trans-oil cooler , plumb in oil cooler, install battery, add fluids.
Clay put in a new application for the license plate. They showed my first app as available but then issued it to someone else. The new application is for..
(Turbo Dave) Fram oil filter is GONE. Installed my PTE turbo saver and finished the connection of the tranny cooler lines. Next he will install the radiator hoses and heater hoses tomorrow and adding fluids.
Clay got rid of those PIA grounds behind the passenger cylinder head. He just installed a Casper's Electronics ground stretcher. It sits behind the coil-pack like it came from Buick that way. His OEM heater valve didn't survive the fire so He'll have an aftermarket heater valve installed until he gets another OEM one. He has an aftermarket one that was kept as a spare so that's what he's going to use for now.
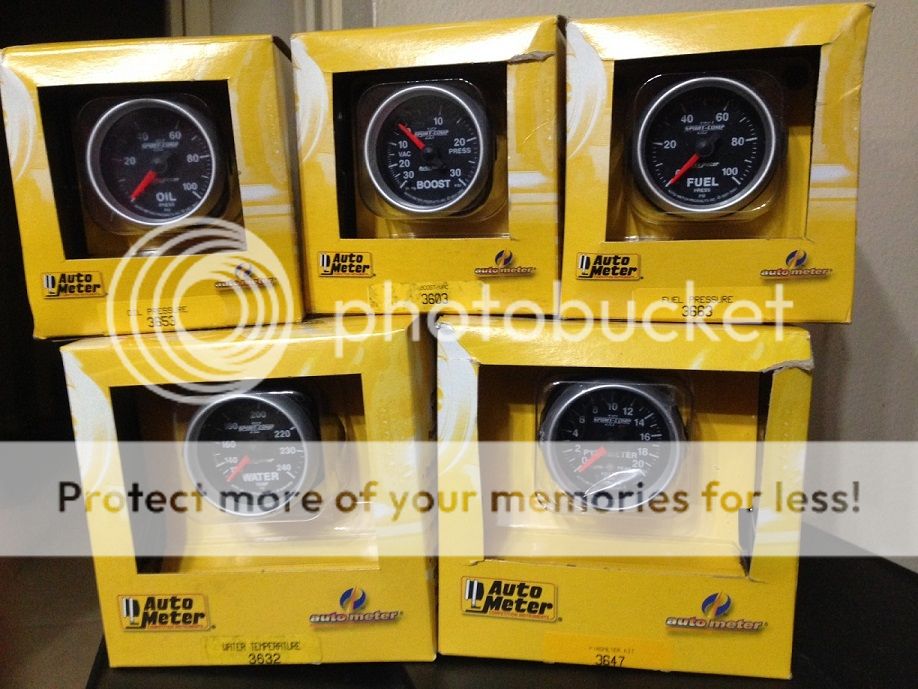
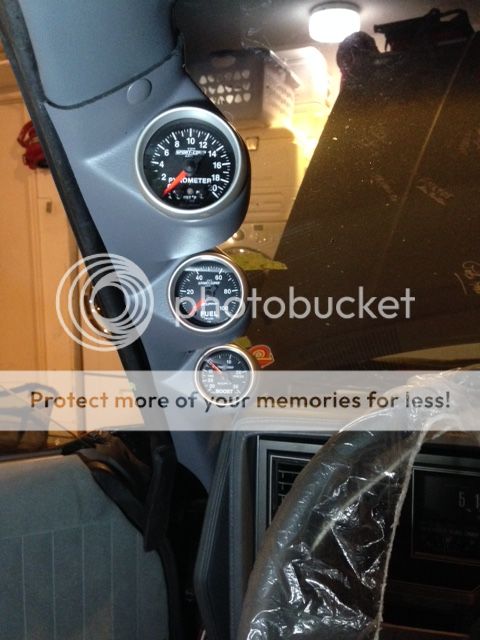
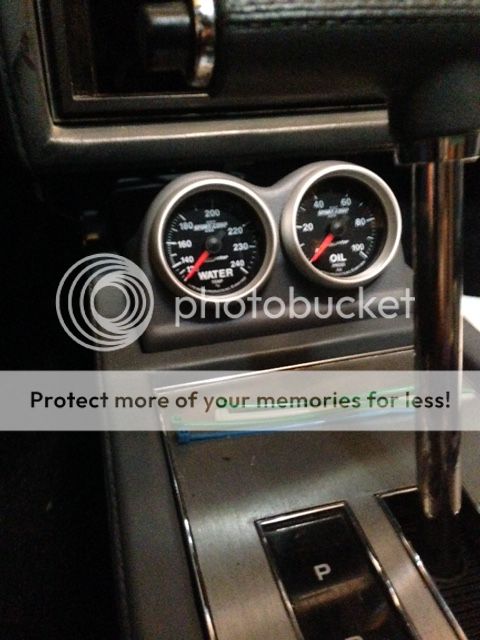
My gauges arrived ahead of schedule. What a nice surprise when that happens. I went with the Sport Comp II's because I like the black face with the silver bezel. IMO it matches the car perfectly...just like the seats. These gauges are all full sweep gauges. Oil Pressure, Water Temp, Boost/Vacuum, Pyrometer and Fuel Pressure ready for install.
Gauges were a gift from my GodMother. Here they are installed.
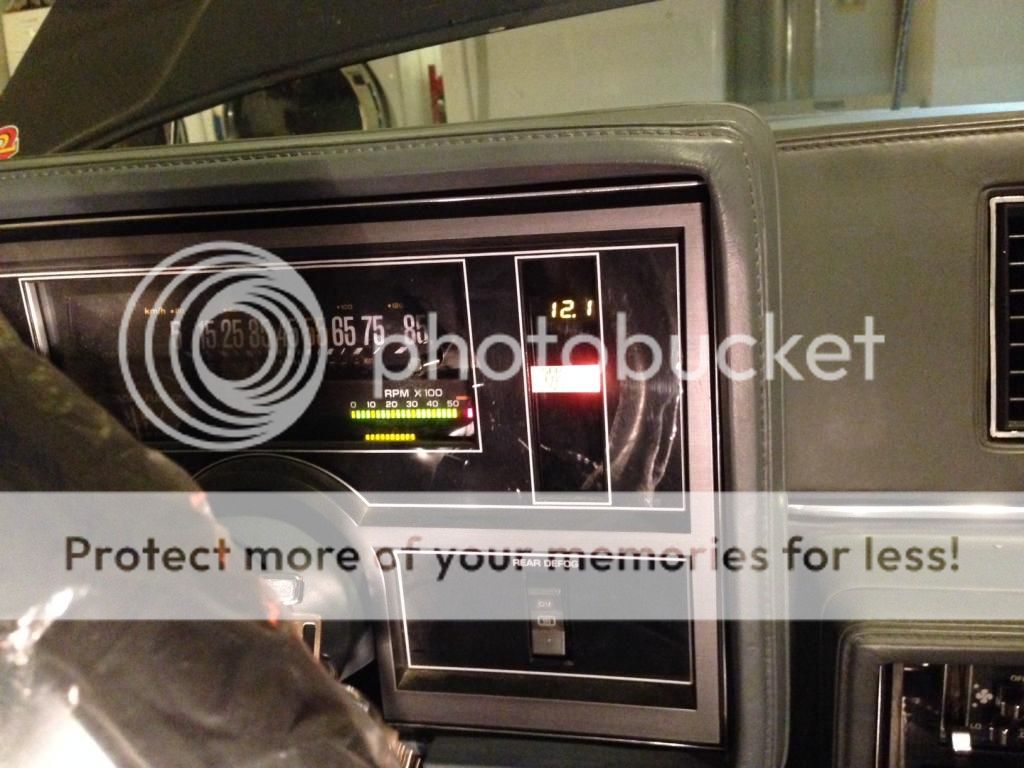
And a touch I picked up from the 'how to' section right here on Turbobuick.com a digital voltmeter
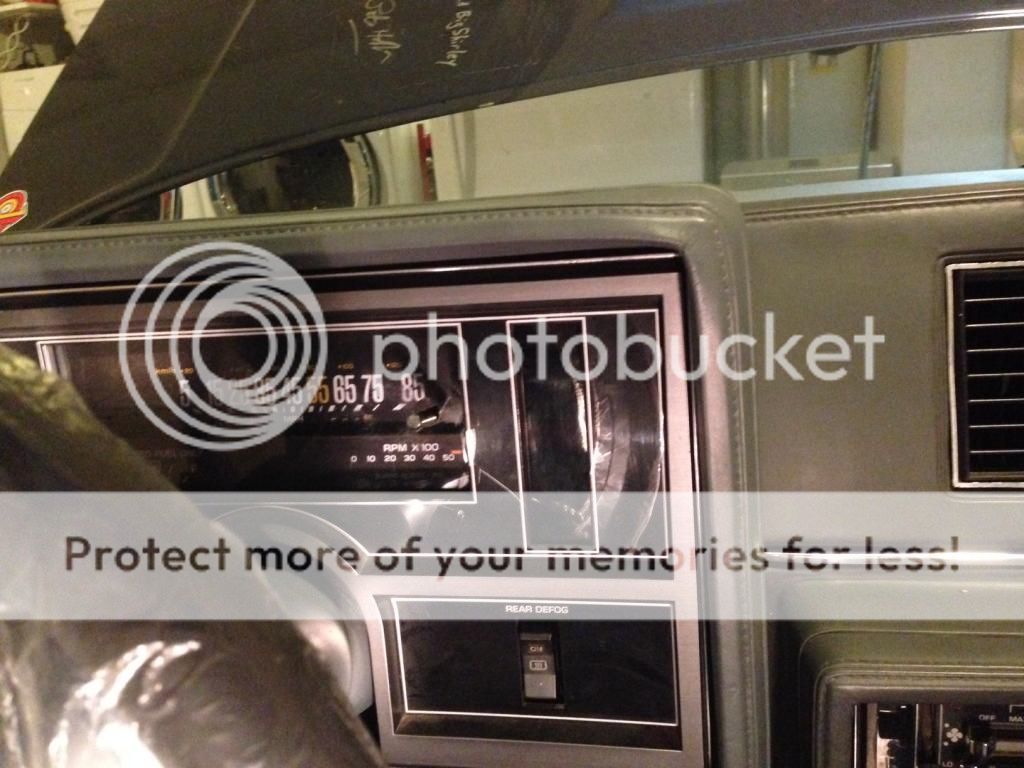
Can't tell that anything is different with the key off. Its a perfect blend of customed functionality and looking stock.
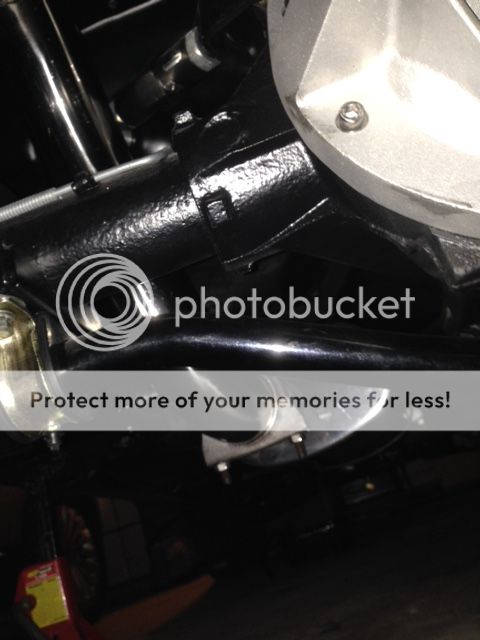
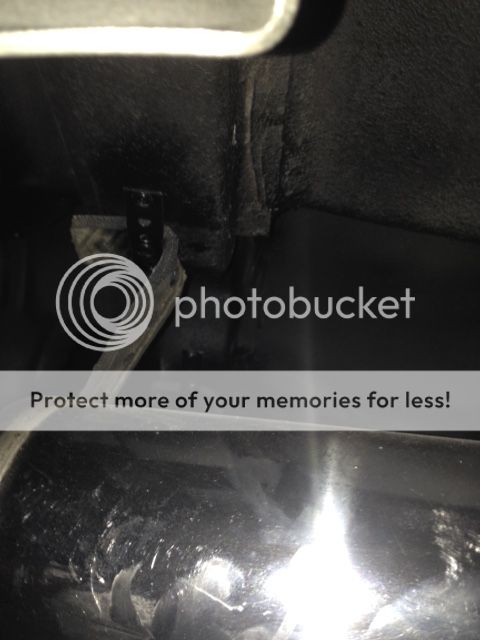
OK so I have to hang exhaust. The Phoenix came to me with my old exhaust in the trunk so I get it all out and clean it up to hang it under the car. I can only assume that the exhaust hangers stayed with the burned body of Nasty Wendy. I proceeded to pick up some generic exhaust hangers and I also contacted Mark Hueffman about hangers for the tailpipes and he had GN1 Performance hook me up with the proper hangers for those tailpipes. My original tailpipes were damaged in the transport of the car and the exhaust system I use is no longer made so I couldn't order replacement tailpipes. Shawn O'Connor found a set of GN1 tailpipes on ebay and sent me the link and I picked them up. I recently got word that Archie of GN1 offered a set of tailpipes but I already had made the purchase. Thanks for the offer Archie, it is nice super nice gesture and I appreciate your support. The GN1 tails didn't exit in the proper location because I didn't use a GN1 midpipe. I had to cut them and reclock them and have them welded back.
You can see where I marked them for the welder to line it up and weld it back. There are three of these marks around the pipe.
I washed my mufflers! Who washes mufflers? Here is my supervisor checking out the clean mufflers.
I painted the midpipe and got it looking good for the install.
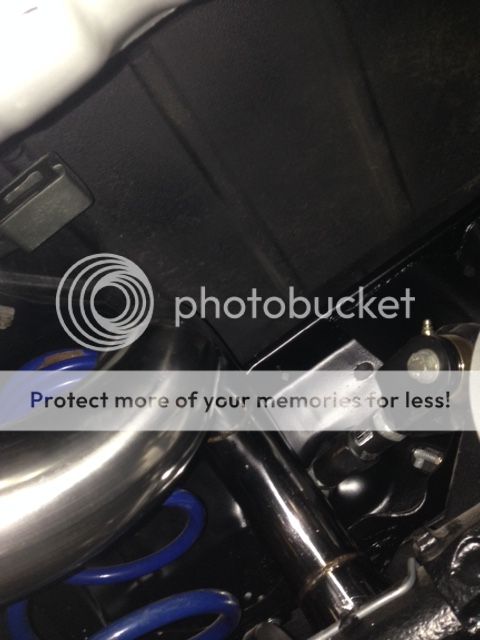
I started by bandclamping the cutout which was polished stainless to the downpipe. I painted the cutout to keep the color scheme more consistent. The downpipe and midpipe were cast painted so I painted the cut out cast to keep it in line. I used one of the generic exhaust hangers to make a 'cat hanger' for the cut out pipe.
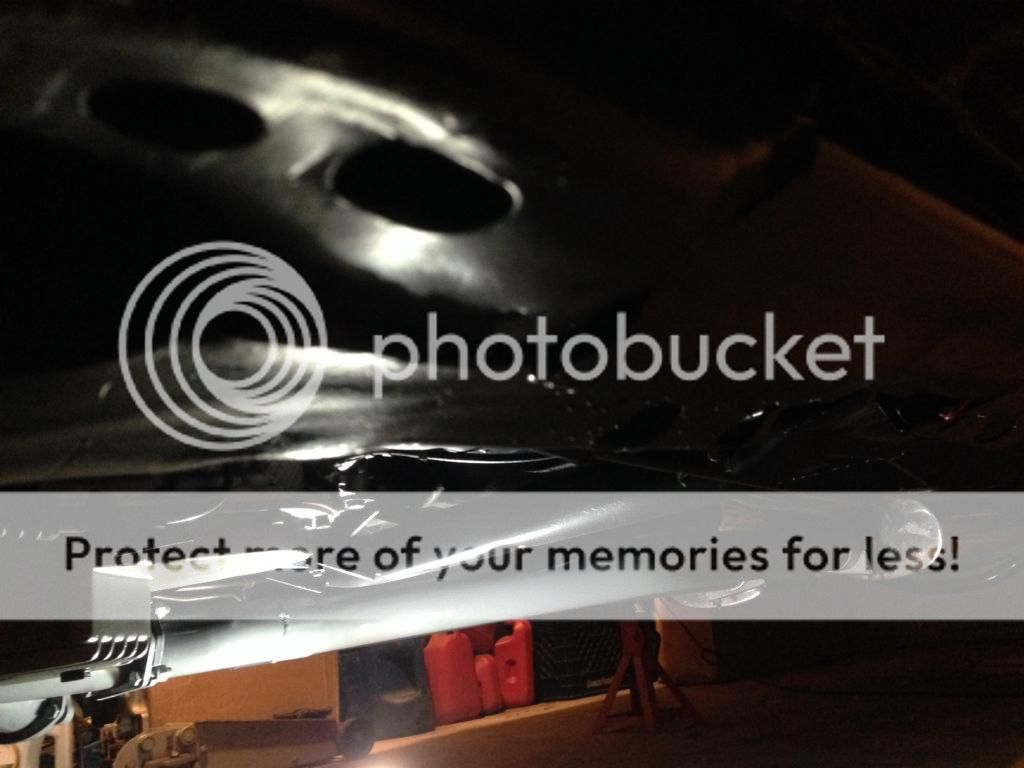
I put two more generic exhaust hangers on the front side of the mufflers.
I then bolted the mid pipe to the cut out and slipped the mufflers on and clamped them down.
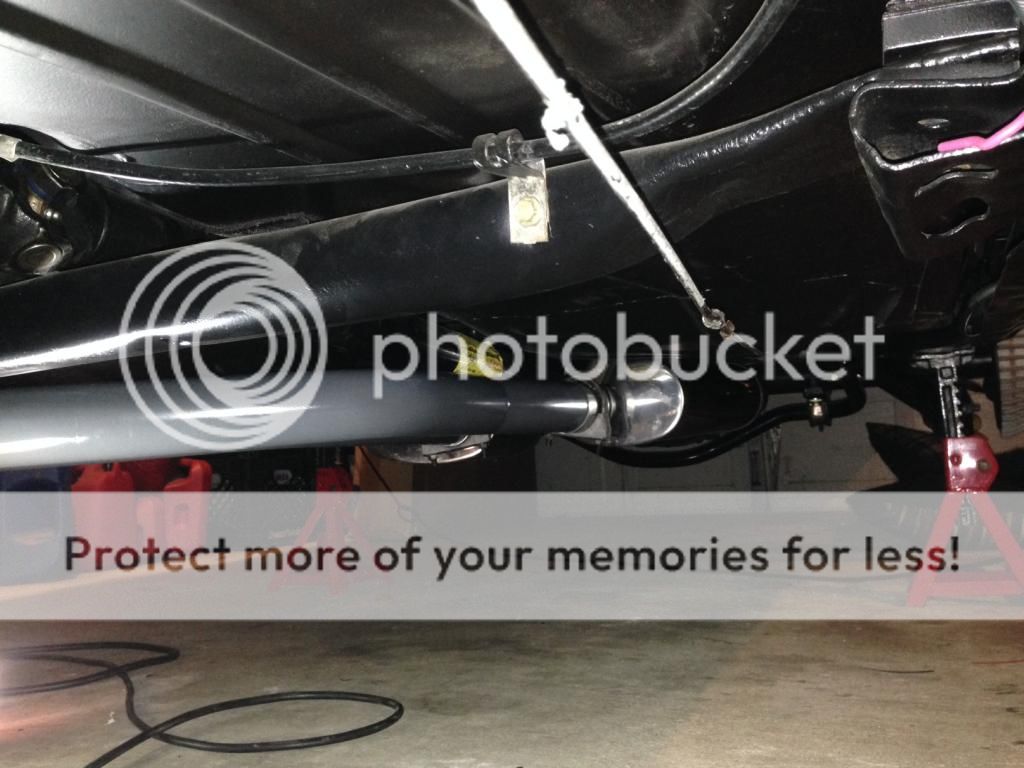
Then I put the tailpipes in one at a time. With the hanger hardware Mark got GN1 to send me the job went very smoothly. My biggest challenge was getting my 'supervisor' to leave me alone while I worked.
The cast finished stopped at the polished stainless mufflers and the polished stainless finish carried through to the tips of the tailpipes. I like the look.


")