You can type here any text you want

First G-body build, Turbo LS1 in an 87 Regal Limited

Welcome!

By registering with us, you'll be able to discuss, share and private message with other members of our community.

SignUp Now!

Juiced5.3

New Member
Joined
Jun 23, 2014
Messages
28
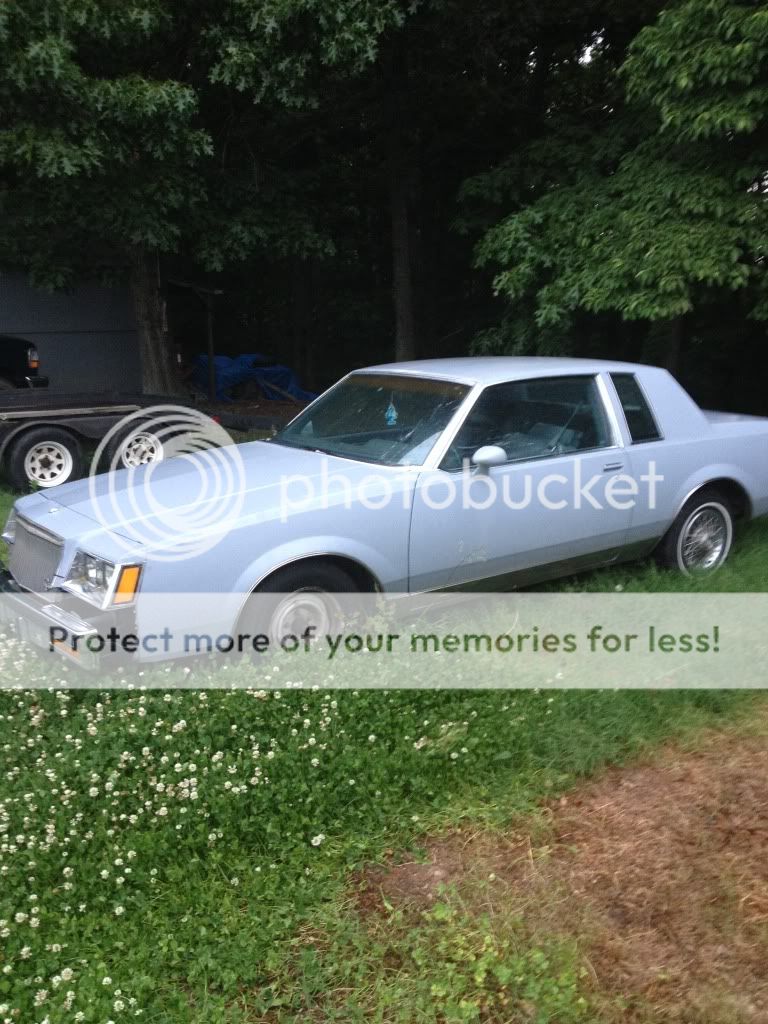
I'm new to the G-Body world, this is my first build. I picked up an 87 Regal limited with intentions on doing a turbo LS build. I've build quite a few turbo LS cars, and mainly LS cars in general are my forte. This gem had an ultra straight body, already in primer. Old 307/200r4 with just 112k on the clock. The car was 100% stock and intact (minus bumper fillers). The motor/tranny came out of my last project, which I completely swapped all OEM 98-02 fbody drivetrain into a 97 (LT1 body style) V6 RS car. Its a stock shortblock ls1 from a 98 camaro SS, I swapped out the 806 perimeter bolt heads in favor of some 853 casting center bolt heads, added a Brian tooley racing 224/230 on a 114 LSA cam and added all the supporting mods (springs, retainers, new lifters &trays, pushrods, gaskets) and added a set of the ebay head studs. On a 200 shot the car went 6.5@104. The car had all factory options, including AC that I changed over, only thing missing was the spare tire/jack which is where I had the bottle mounted. The Regal will mainly be a street cruiser until I can put a new rear end in the car, I will be running the stock 7.5" rear diff, mainly because everything will bolt right up to the new combo, at least to get it running and driving. My goal is to have a fun street car and do it on a budget, I've had great luck with inexpensive parts found on Ebay, and hopefully anyone out there who is thinking about the swap can see that you dont need to spend big money to have a quick car. I'll try to post parts pricing to give anyone a general idea on what was spent. anyways, onto the build!

Rundown of the parts I plan on running
98 LS1 with mods listed above
Victor Jr intake with elbow and stock TB
80lbs injectors ($365)
Moroso Solid SBC motor mounts($87)
Ebay 1" setback plates ($34)
Fbody oilpan and accessories
Ebay up/fwd turbo headers ($229)
Microsquirt 24x for engine management ($390)
th350 trans with 3800 stall
Ebay GT45 turbo (68mm) ($225)
Ebay 46mm wastegate ($56)
64-65 mustang 3" core double pass radiator with fan ($127)
26x12x3 A2A intercooler ($117)
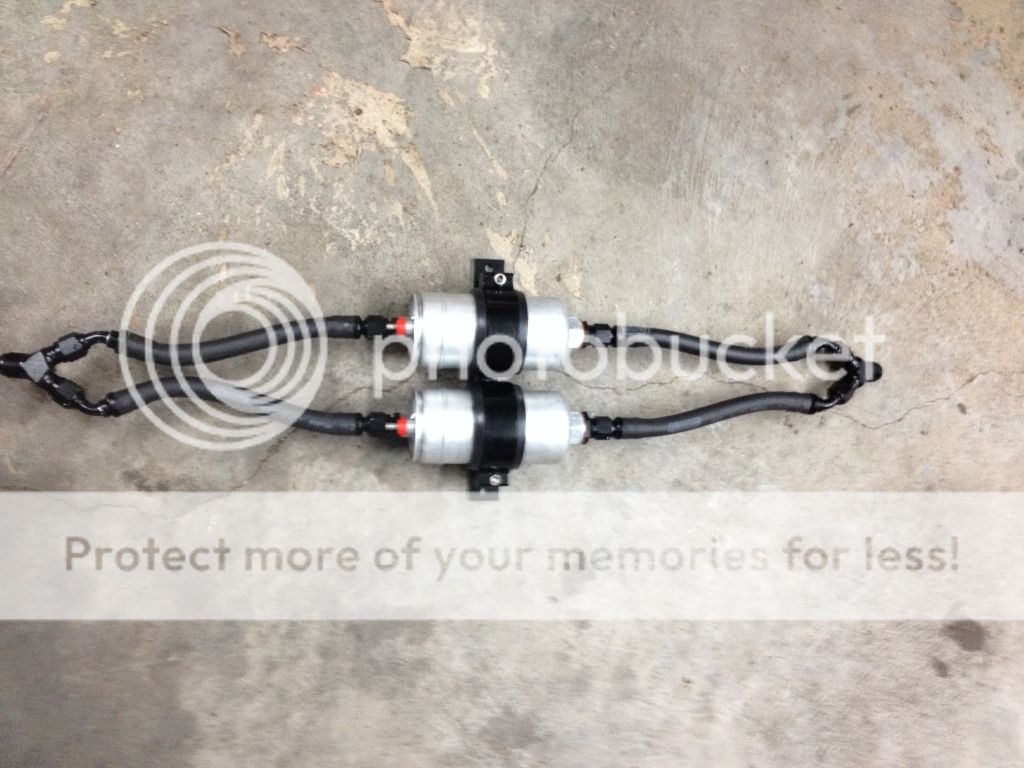
2x Bosch 044 fuel pumps ($156 each plus $39 each for fitting kits)
Jegs brand sumped fuel cell ($193)
-8 fuel lines
Aeromotive boost referenced regulator
AEM tru boost boost controller
AEM wideband
 
So this is what I started with


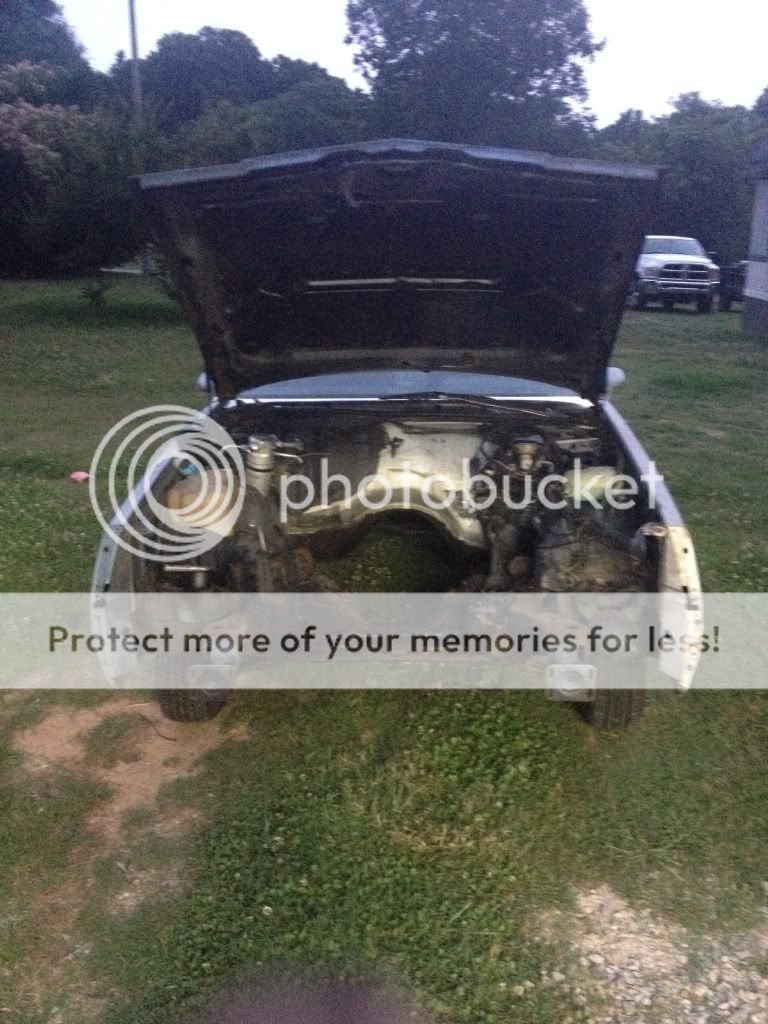
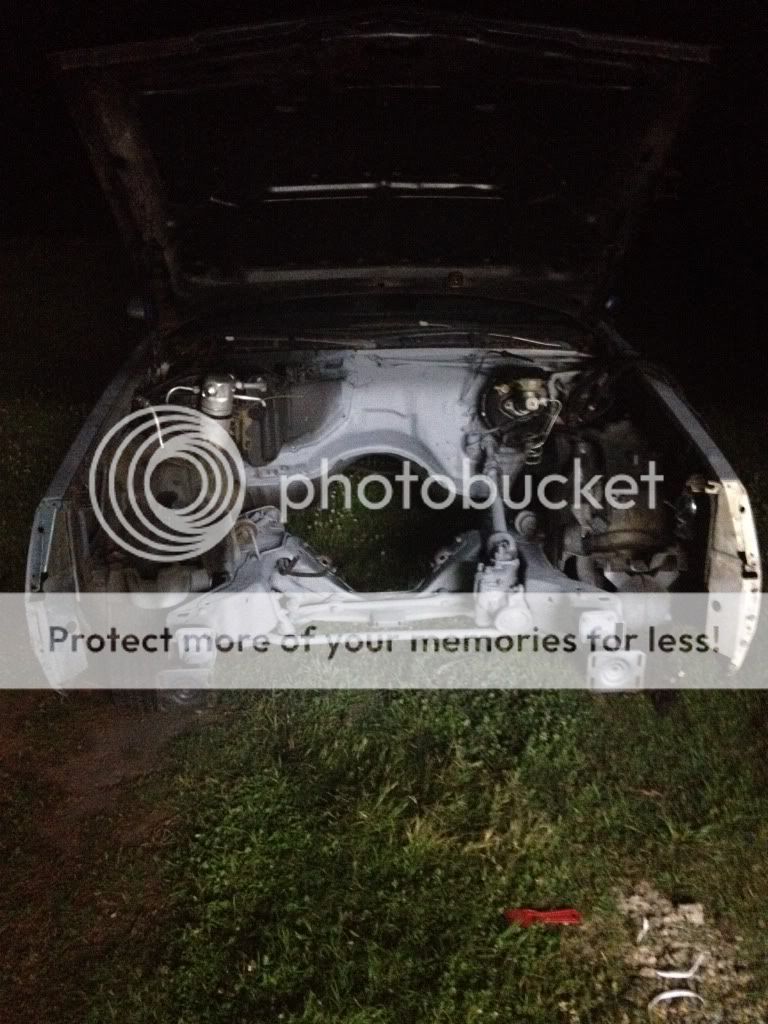
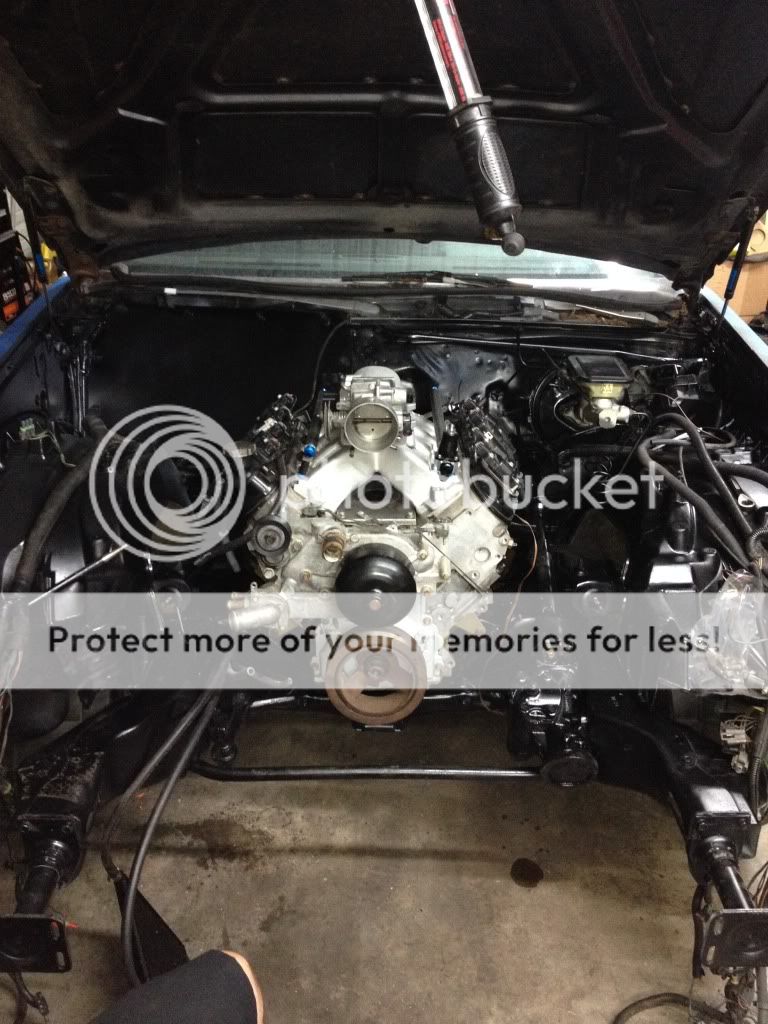
First day I started working on it, I pulled the engine/transmission and stripped everyting out of the engine bay. I used purple power and a pressure washer, and then followed up with some aircraft paint stripper. Rinsed all that off and then applied 2 coats of rustoleum rattle can primer, and 3 coats of rustoleum satin black.


Then I got some flat sheet metal, and broke out the cleco's and fabbed up an AC delte plate, put some adhesive backed weather stripping on it, bolted it down, and gave it the same primer/paint as the rest of the engine bay.

 
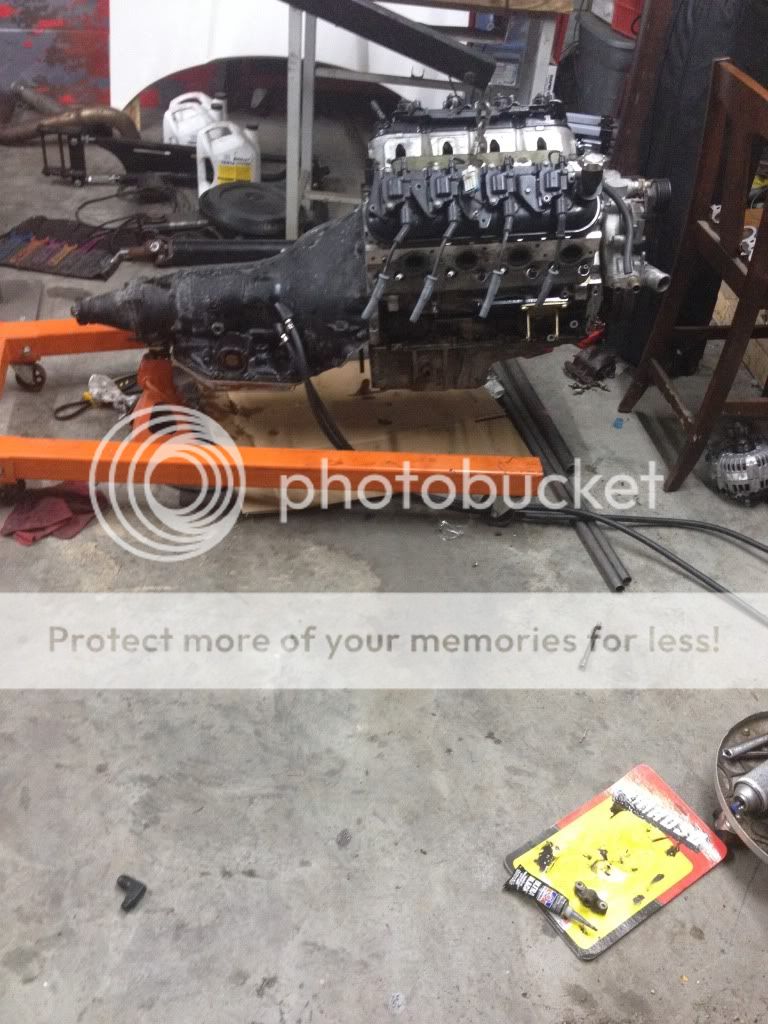
Then i got the motor prepped for i stall, added the motor moubts/adapter plates, tapped the oan for oil return (need to change out for 90* fitting), and the oil feed.
null_zps6f456c10.jpg

null_zps907130cd.jpg

null_zps572e5f95.jpg

null_zps250406aa.jpg


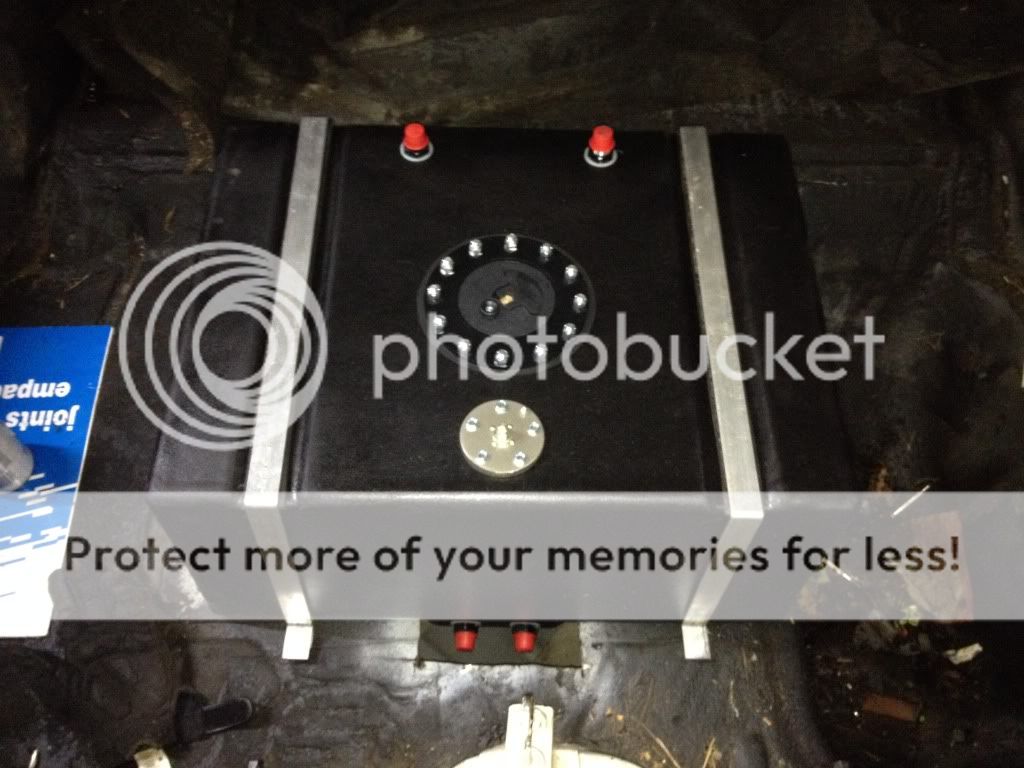
And next i removed the factory fuel tank, cut out a spot for the sump and bent up some hold downs for the new fuel cell. I should be able to connected the sending unit to the factory fuel gauge, an also hook up the speedo cable tothe th350 so that will work too.
null_zps04c15dae.jpg
 
I also used the factory 200r4 trans croasmember bolted the trans in, connected the stock driveshaft up. No pics of that at the moment. Not bad for a day's worth of work. Next up i will be cleaning the core support and reinstalling that along with the new radiator and fan. Then, run the fuel system. That should hold me over until my headers get here on wednesday. The turbo will be forward facing and seen through the grill, the mustang radiator is half sizes so it should all fit perfectly up front based off my measurements. The down pipe will run down and out under the driver side fender.
 
Thanks guys. Also i will note that with this motor mount combo the vic jr and the "low profile elbow" (not ultra low) will fit with the hood shut as long as you cut out the hood bracing around the area.
 
I'm also using the low profile elbow on my build. Its good to know it can fit under the hood. Im using the spohn mounts, so I'll find out if it fits next week. By the way, great build. I'm subscribed.

Posted from the TurboBuick.Com mobile app
 
not much to update, but another ebay score showed up. $24 for a nice aluminum bracket to hold the twin bosch 044's showed up. Waiting for it to cool off a bit before i head out to the shop and start workin on the car tonight.
 
Thanks guys. Also i will note that with this motor mount combo the vic jr and the "low profile elbow" (not ultra low) will fit with the hood shut as long as you cut out the hood bracing around the area.

Mounts too tall..........
 
well my hood shuts, i dont know any other factors, everything is solid mounted with no give.
 
Definitely the right candidate car for this build!!! Super nice build dude!!!

Posted from the TurboBuick.Com mobile app
 
Did you set the motor and tranny to where you want it then weld the frame pad to the frame ? Or you use the 3 bolts ?
 
I just welded them in stock location. Put the bolts through, tacked them in place and then removed bolts and finished welded them in.

For tonight i got the pumps and some of the lines mocked up. I swear this is the first and last time I use the Russell twist lok fittings, ever.
 
What's bad about those twist-loc fittings? I have yet to upgrade my lines and would rather not buy something that's a pita.
 
I tried everything from wd40, motor oil, an axle grease. I ended up having to put the hose (after heating for a min with a heat gun) in the vice, lube te inside with wd40 and the fitting with axle grease and stil had to hammer the fitting in with a piece of 2x4 in between. It took me 2.5 hours to make 4 lines, and i have a blister on my hand from twisting the hose around and tryin to force it over the barb. Hooefully the -8 is easier than -6. I have usually used the teflon/ptfe lines from anfittingsdirect.com ive built 4 cars fuel systems with the braided steel and this is my first try with the twist lok stuff. Id rather be stabbed a million timea by the stainless braid than mess with these again.
 
I had that same issue w/ Fragola.....[All I use]
The cure: a heat gun, some engine oil lube.
Put the fitting in the vise, horizontally. Put a pad on the opposite end of the vise.[Keeps the beer gut out of harm's way]. Put on your gloves, warm the hose, reach across the vise, grab the hose and PULL it on. [Pushing it on, is like trying to push a chain.!:LOL:]
I do considerable number of hose assys, and am older than dirt, so we have since bought the Koul Tools machine.:smuggrin:
 
Back
Top