You can type here any text you want

Hoodskinz hood pad review

Welcome!

By registering with us, you'll be able to discuss, share and private message with other members of our community.

SignUp Now!

motrhed87

Active Member
Joined
Nov 10, 2006
Messages
280
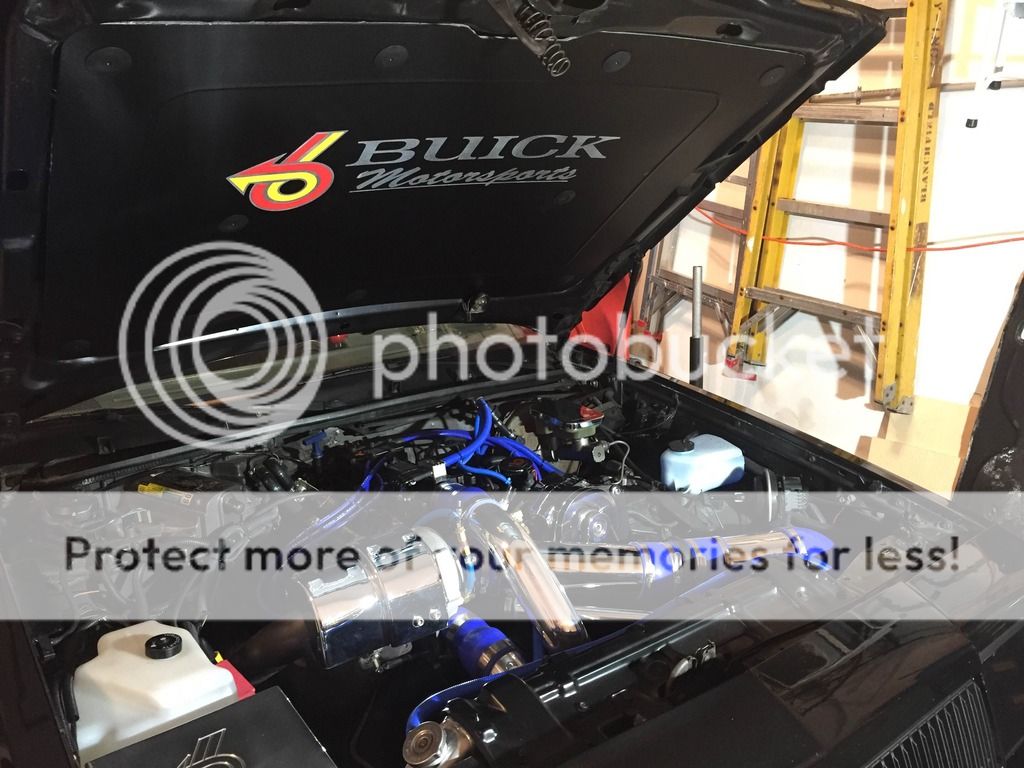
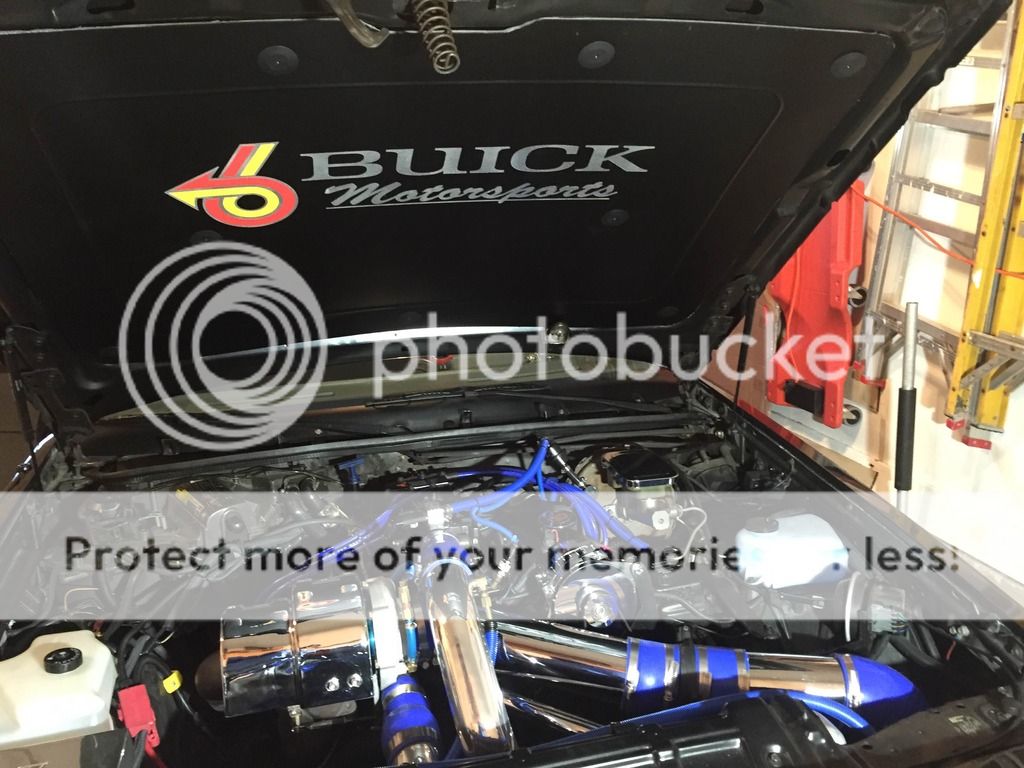
Just received my Hoodskinz insulator from Castle Performance today. I think it looks great and overall am happy with the quality. It's basically a sheet of aluminum with a soft insulative backing. The silver areas are bare aluminum and the colored power 6 is done using vinyl.

A few observations from the install:

1. Make sure you trim away the insulation on the back of the piece in all 9 holes before you start. You'll need to be able to see through the holes to pop in the panel pins. I also needed to enlarge a few of the holes with a drill to get things to line up perfectly.
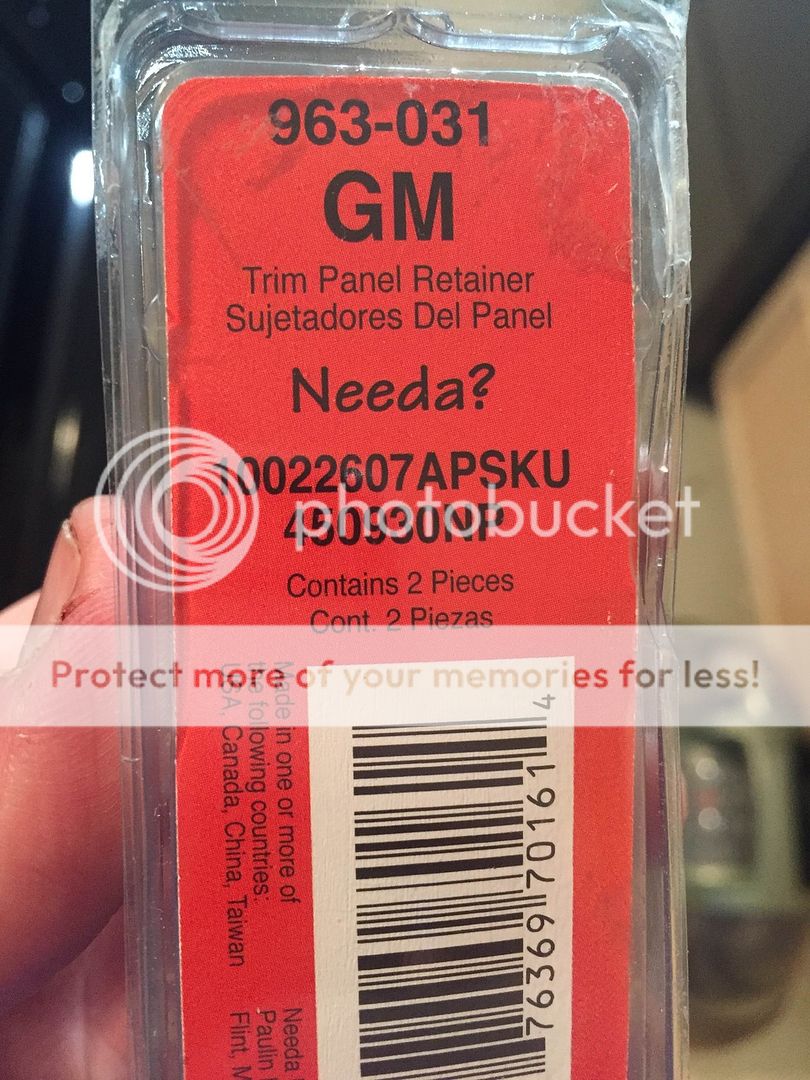
2. The pins that go in the 2 middle holes and the 2 holes at the lower corners are not long enough in my opinion. I went to the parts store and got a few longer ones, drilled out the centers of the ones provided, and pushed the longer ones through the center so that all 9 are the same size.
3. If you are using a front mount IC check the pipe for clearance with some chalk before you slam down the hood the first time. As you can see mine is hitting the up-pipe very slightly right above the "o" in Motorsports (this is a Precision IC). It rubs much less on the pipe than the factory hood pad did.

Here is the finished install:

 
That looks great, you say its aluminum? How would you go anout ordering one. Thanks Gene
c680c9ca6be53385b5d96879c50fe5be.jpg
 
He has them here at the TB Nats on display and they look nice .
 
Just received my Hoodskinz insulator from Castle Performance today. I think it looks great and overall am happy with the quality. It's basically a sheet of aluminum with a soft insulative backing. The silver areas are bare aluminum and the colored power 6 is done using vinyl.

A few observations from the install:

1. Make sure you trim away the insulation on the back of the piece in all 9 holes before you start. You'll need to be able to see through the holes to pop in the panel pins. I also needed to enlarge a few of the holes with a drill to get things to line up perfectly.
2. The pins that go in the 2 middle holes and the 2 holes at the lower corners are not long enough in my opinion. I went to the parts store and got a few longer ones, drilled out the centers of the ones provided, and pushed the longer ones through the center so that all 9 are the same size.

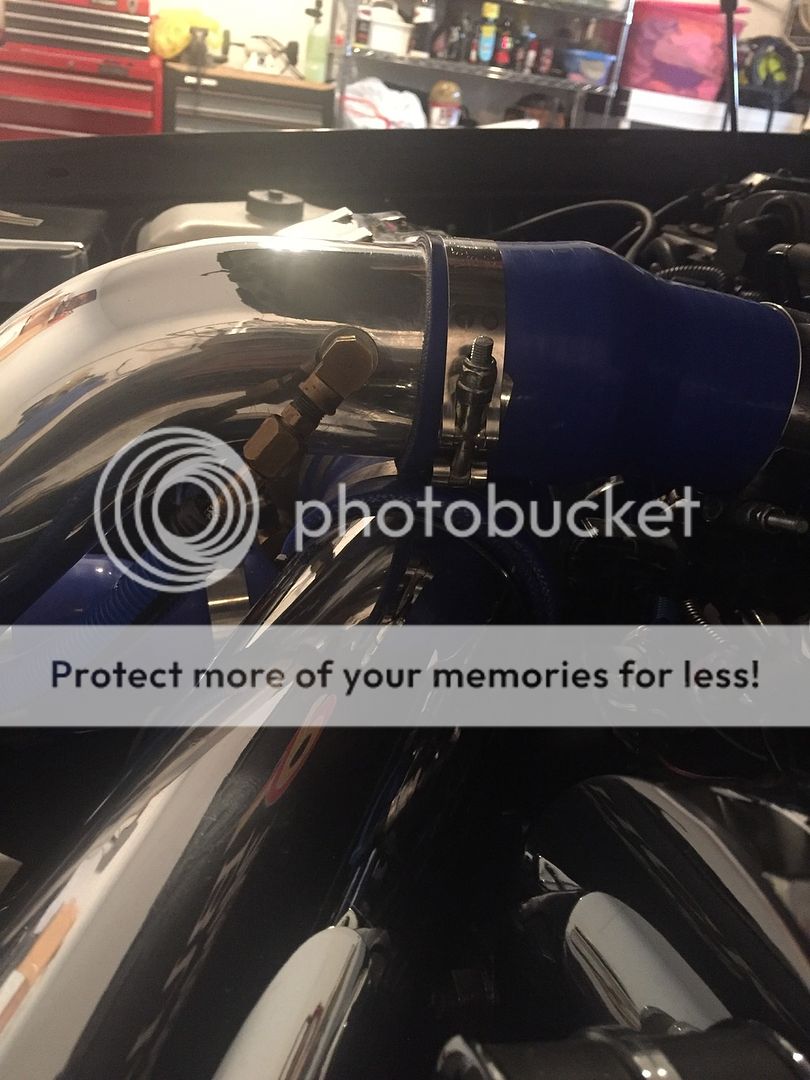
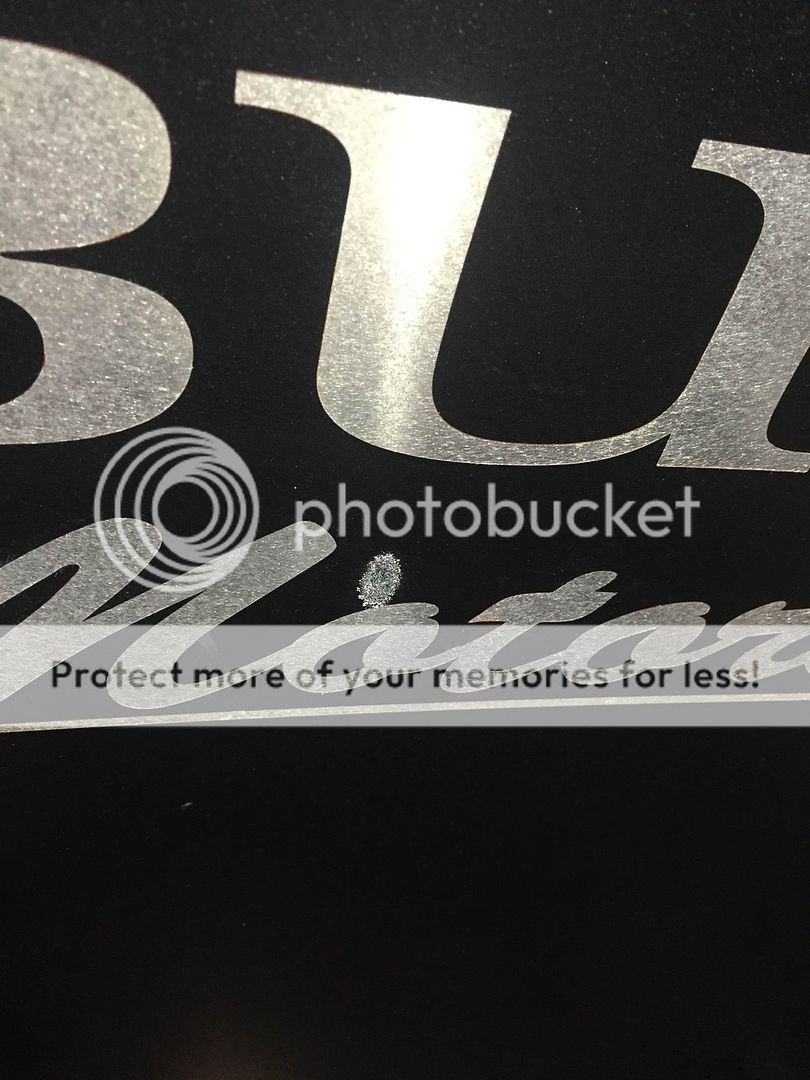
3. If you are using a front mount IC check the pipe for clearance with some chalk before you slam down the hood the first time. As you can see mine is hitting the up-pipe very slightly right above the "o" in Motorsports (this is a Precision IC). It rubs much less on the pipe than the factory hood pad did.


Here is the finished install:

Just received my Hoodskinz insulator from Castle Performance today. I think it looks great and overall am happy with the quality. It's basically a sheet of aluminum with a soft insulative backing. The silver areas are bare aluminum and the colored power 6 is done using vinyl.

A few observations from the install:

1. Make sure you trim away the insulation on the back of the piece in all 9 holes before you start. You'll need to be able to see through the holes to pop in the panel pins. I also needed to enlarge a few of the holes with a drill to get things to line up perfectly.
2. The pins that go in the 2 middle holes and the 2 holes at the lower corners are not long enough in my opinion. I went to the parts store and got a few longer ones, drilled out the centers of the ones provided, and pushed the longer ones through the center so that all 9 are the same size.

3. If you are using a front mount IC check the pipe for clearance with some chalk before you slam down the hood the first time. As you can see mine is hitting the up-pipe very slightly right above the "o" in Motorsports (this is a Precision IC). It rubs much less on the pipe than the factory hood pad did.


Here is the finished install:


thank you for the detailed review.
Mounting holes are 1/2". Would you recommend increasing to a 5/8" to aid with installation ?
 
thank you for the detailed review.
Mounting holes are 1/2". Would you recommend increasing to a 5/8" to aid with installation ?
Like I said I only had to open up a few of the holes. As we all know these cars are all different...quality control back in 1986-87 wasn't the greatest. Could just be that my holes were just off a bit. I would just open them up as you go along...... with a sharp drill bit it literally takes 2 secs to do while on the car.
 
What did you do about the IC rub?
My rjc hits real bad on my stock pad
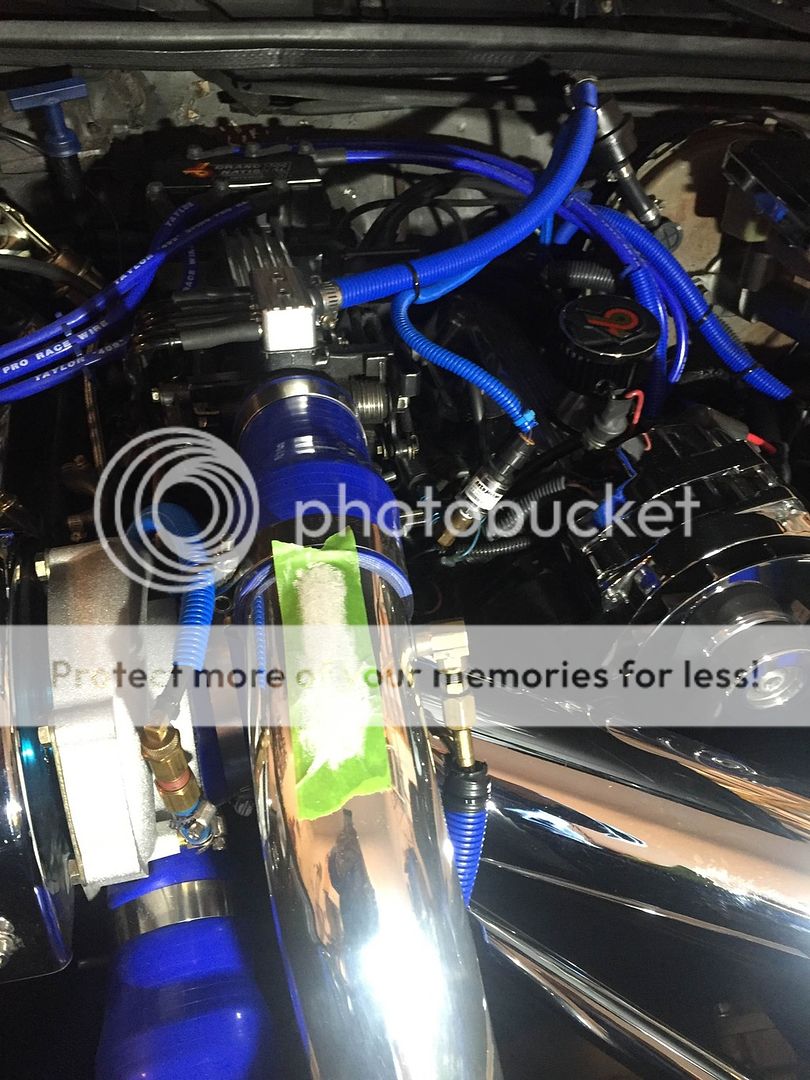
I put tape on my pipe so I don't have to clean it every time I open hood.
 
What did you do about the IC rub?
My rjc hits real bad on my stock pad
I put tape on my pipe so I don't have to clean it every time I open hood.
I'm going to try and adjust it a taste down or use the bump stops at the rear of the engine bay to raise the hood slightly. The factory hood pad used to rub very badly on mine as well. This is barely hitting so I'm confident I can make it work.
 
How do you feel about the quality compared to the price, i know its not as much as getting a new regular one if you can find it but 450.00 is still a lot of money, do you feel its was worth it to do?
 
How do you feel about the quality compared to the price, i know its not as much as getting a new regular one if you can find it but 450.00 is still a lot of money, do you feel its was worth it to do?
Quality is very good but it's nowhere near $400 in materials, but it's a dress up product which are never cheap. I was able to sell my factory pad to offset some of the cost so net it cost me about $250. For me who goes to a lot of shows it's worth it. I look at it like wearing a nice suit with some crappy looking shoes.....they old hood pad was the shoes and was detracting from the overall appearing of the car which is really nice.
 
I'm going to try and adjust it a taste down or use the bump stops at the rear of the engine bay to raise the hood slightly. The factory hood pad used to rub very badly on mine as well. This is barely hitting so I'm confident I can make it work.
Can you keep us updated on if you can get it to clear?
If buy one right now if it clears
Thank you
 
It looks good but my concern is how well that vinyl sticker will hold up, especially since it's right over the exhaust housing.

Keep us updated on the quality of this product and longevity of that sticker.
 
So after playing around with the IC pipe for about an hour I can't get it to not rub on the Hoodskin. It's not an issue with the product, it is as tight up against the underside of the hood as it can be, and it really is very thin. The horizontal brace on the underside of the hood is the limiting factor here. I'm pretty sure that the issue is the 4" air intake pipe that I'm running because the IC up pipe sits right on top of it. If it were 3" or 3.5" I would be able to create enough room and it wouldn't rub. When I have more time I may try trimming back the intake transition hose and see if I can get 1/8" or so more clearance. Like I said the area of contact is so small that I can live with it. I'm constantly polishing the IC pipes anyway.

 
I saw these at Richard Clarks' too.....Very Nice
Believe Paul Castle was selling them for $349 at the show.
Any way to contact paul?
So after playing around with the IC pipe for about an hour I can't get it to not rub on the Hoodskin. It's not an issue with the product, it is as tight up against the underside of the hood as it can be, and it really is very thin. The horizontal brace on the underside of the hood is the limiting factor here. I'm pretty sure that the issue is the 4" air intake pipe that I'm running because the IC up pipe sits right on top of it. If it were 3" or 3.5" I would be able to create enough room and it wouldn't rub. When I have more time I may try trimming back the intake transition hose and see if I can get 1/8" or so more clearance. Like I said the area of contact is so small that I can live with it. I'm constantly polishing the IC pipes anyway.


I just blew an ic coupler to TB and blew a hole in pad.350 is definitely doable.I only have the 3" IC pipe.Worth a try.
 
His IC pipe is way to high. 99% of the people out there won't have any clearance issues.

His looks to be at least two inches higher than the dog house.
 
Back
Top