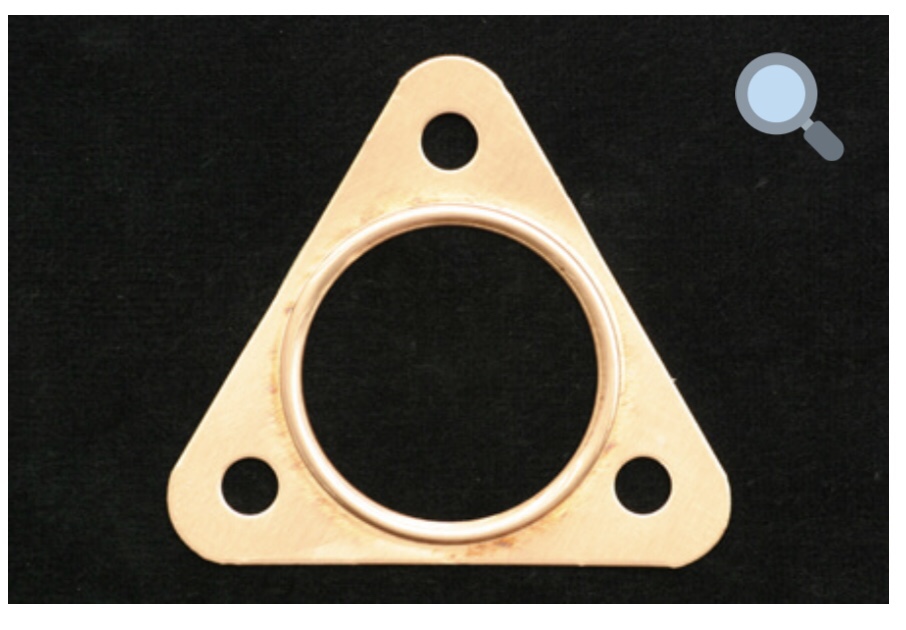
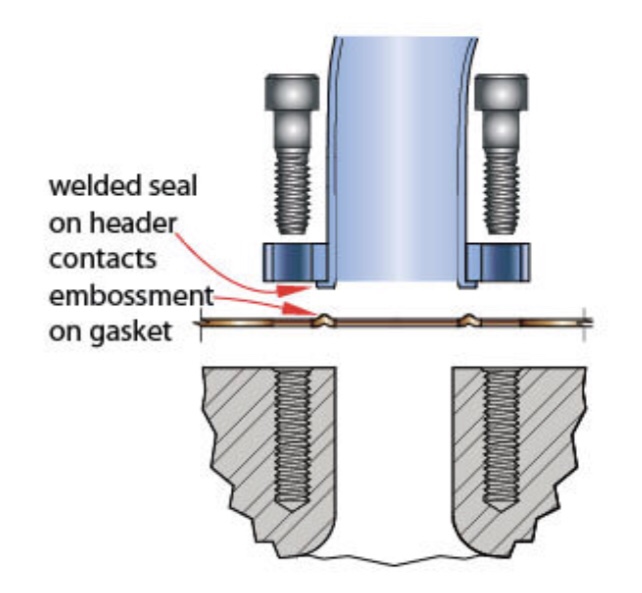
I like to place the gasket so that the raised portion is facing up towards the turbine housing. This way the turbine housing flange will crush the raised lip when you install the turbo. I coat the gasket with a good bit of high temp copper rtv on both sides, not so much that oozes into the header and flakes off and hits the turbine wheel at mach 2, but enough to coat the gasket good. I use 3 new hardened automotive grade studs and 6 new nuts. Install the turbo, tighten down the 3 nuts first until the gasket is formed and rtv is oozing out. Then I install the 2nd set of nuts and tighten them down. I then let the rtv cure for 24 hours before cranking it and taking a test drive with boost. This is the double nut or jab nut method. Once I have about 15-20 miles on it, I shut it down and let it completely cool to the touch and re-tighten the nuts. If I know I'm going to be running extreme boost levels, I will check the nuts before I "pull the pin" and make a hit. Easy Peasy, no leaks.
-Patrick-