Seat belts - and this time it is really a restomod
So I debated a bit on other items, are they restoration or are they modification. Well this one is definitely a "restomod" as the existing seat belts were worn out, didn't lock up and were filthy. As I have not gotten to the brake situation yet I wanted to make sure if I hit something with the front of the car my face wouldn't hit the steering wheel. The existing belts wouldn't lock up so they had to go.
Seat belt tech really hasn't changed in forever, so I just walked through the junkyard for about an hour trying to find something that kind of matched. Also, I was mostly looking in the rear seats as they tend to see less usage than the front seats. My last criteria was to get the longest belts I could find as the mounting positions on the Buick are pretty far from each other and I didn't want to run out of material.
Beside having less wear, I had one more reason for picking seat belts from the rear of the car...locking. Rear seat belts have an extra feature that makes them lock out to mount a car seat. You trigger it by pulling the seat belt all the way out, then as it winds back up you can hear the locking mechanism engage keeping the seat belt under tension while the car seat is mounted. Knowing that I will at one point race this car I wanted to be able to lock up the seat belt around me the same way it would normally lock up around a car seat. BE CAREFUL with this. The only way to disengage the locking mechanism is to fully retract the belt, if you buy ones that are not long enough they wont be able to retract all the way and once locked you'll be stuck with a completely useless belt.
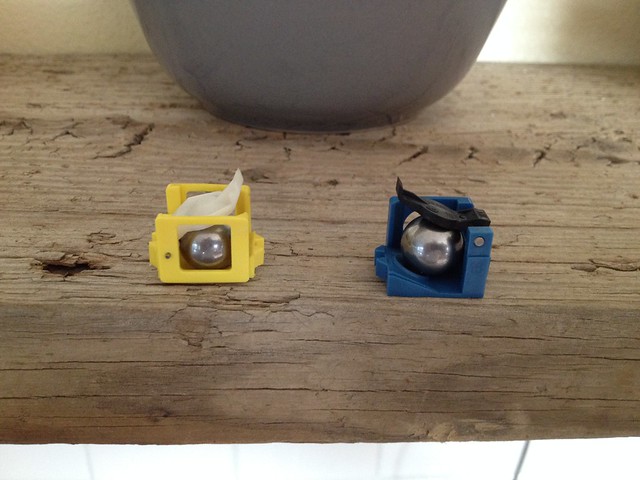
The other gotcha is with orientation and/or momentum locking mechanisms. The ones I scavenged came off a ford minivan and had a clever ball bearing device:
The bearing sits in a little cavity when everything is okay, but if the car brakes, turns, accelerates or flips upside down the bearing moves and engages the lock. These two came off different belts from the same car, which means they are calibrated for a very precise mounting orientation. No chance in this working for my car so these had to go. Be super careful when pulling off the backing plate of the seat belt...remember that one side has a spring that WILL jump out at you if given a chance.
Okay so now it's time to rip up your car.

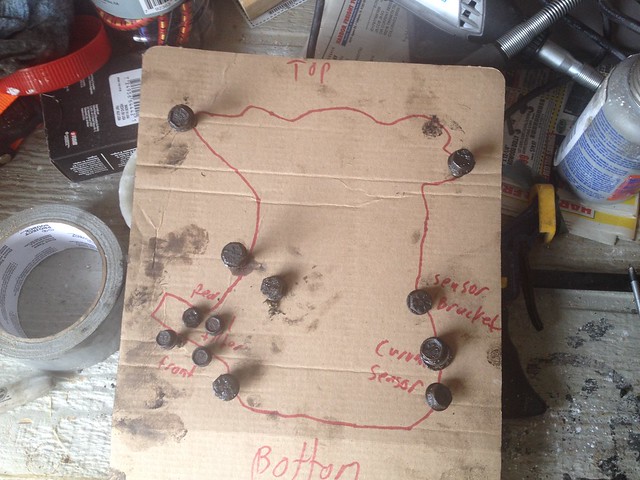
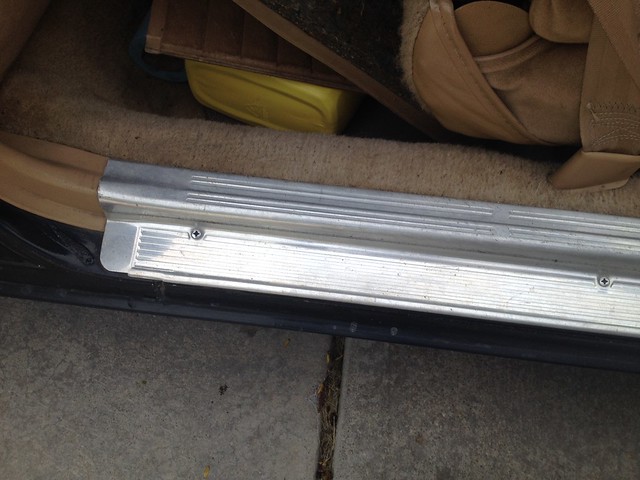
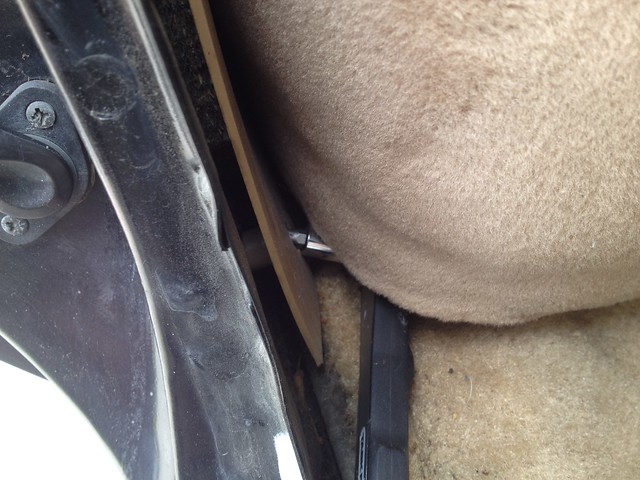
Lots of little screws with lots of differing lengths so just like in other posts, keep your crap organized. First thing off is the sill plate, nice warm up because that is dummy proof:
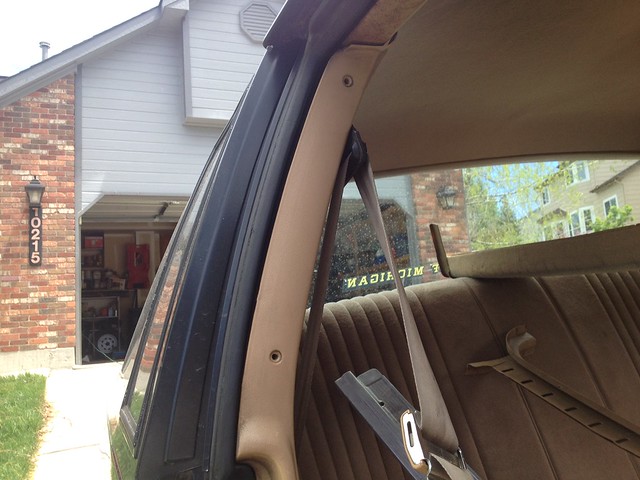
Just a few screws and that piece easily comes off. Next up is the trim piece around the striker side of the door. It has group of obvious screws in the jam:
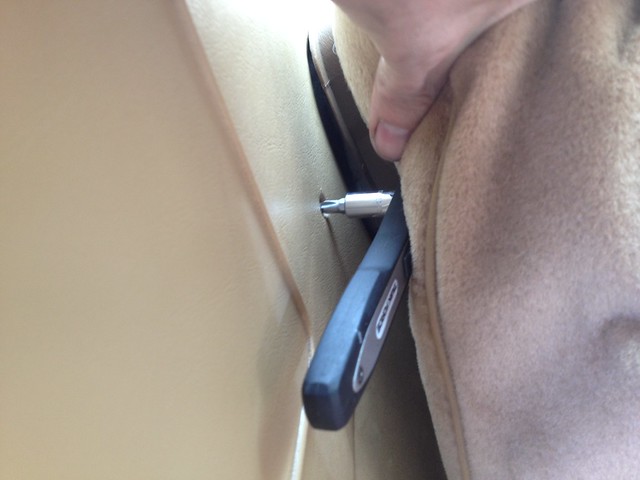
The top portion has a small tab that fits under a metal trim piece above the door. You should not have to remove the metal bit, just slide the tab out. However, you do need to remove the bolt that attaches the shoulder mount of the seat belt. What is it again?? T45 or T50 torx?? Oh yeah it
looks like a T50 but your 50 will not fit and the T45 is super wiggly and makes you feel like you're gonna strip it out...nice. I also tried a 1/4" allen key, which worked okay but not brilliant. In the end I didn't have any drama but there were definitely a few pucker moments when dealing with 30 year old bolts and sockets that don't fit quite right. I ended up replacing all those crappy torx bolts with standard bolts, I believe it is a 1/2" x 13 thread pitch.
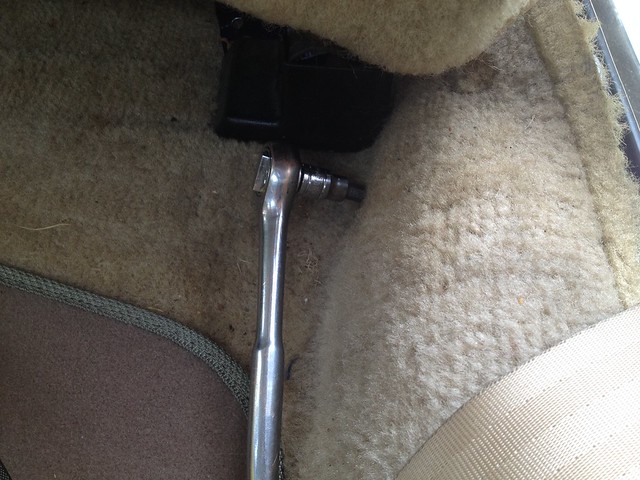
Next up was the window panel, it has a lovely screw behind the seat back:
You might also be able to use a really long skinny screw driver and push back the seat to make it work. I find my 1/4" ratchet is a go to tool for this kind of stuff. There is also a screw in the upper corner by the rear windshield, go ahead and remove the metal trim piece here as it is not worth fighting against.
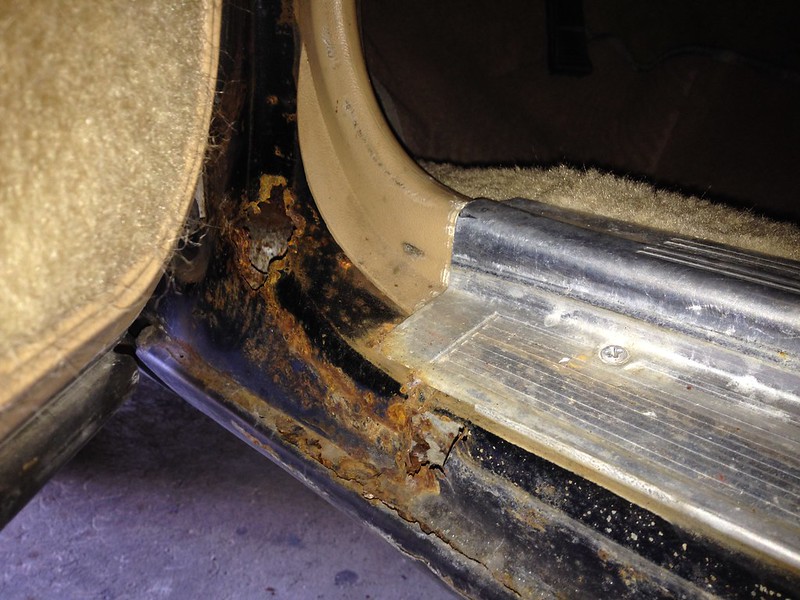
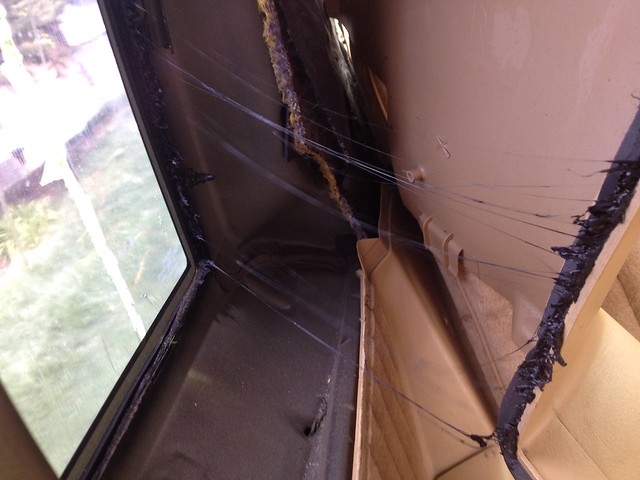
When you pull this trim piece back be careful of the icky sealant that comes off around the window itself:
Have a rag ready as this stuff will want to go everywhere and it impossible to clean.
Last bit is the the bottom cover where the armrest is. It has one screw that is pretty easy to get to behind the seat back and another one that is under the seat bottom:
You might have to use a pry bar to hold up the seat bottom to get enough room to work but shouldn't be too bad. Now you should have full access to the seat belt tensioner so use the same T45 or 1/4" allen to get it off. There is also a little locking mechanism that is attached to a lever in the door jam, this comes off with a small plastic nut. I taped up all the pieces of the locking mechanism so they wouldn't rattle around and annoy me later.
The last mounting position for the seat belt is to the floor pan under the front seat. You have a couple options here, either pull the front seat and peel back the carpet to get to the bolt head, or cut a small 'X' in the carpet over the bolt head...easy decision for me:
SUCCESS!! Celebrate however you like, beer, sweet tea, cheetos...all of the above.
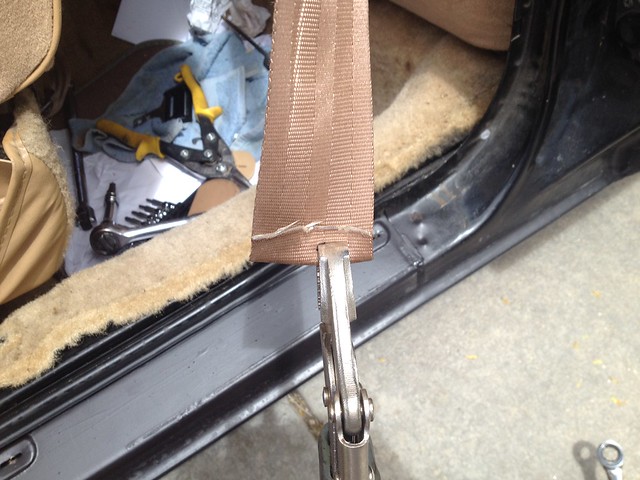
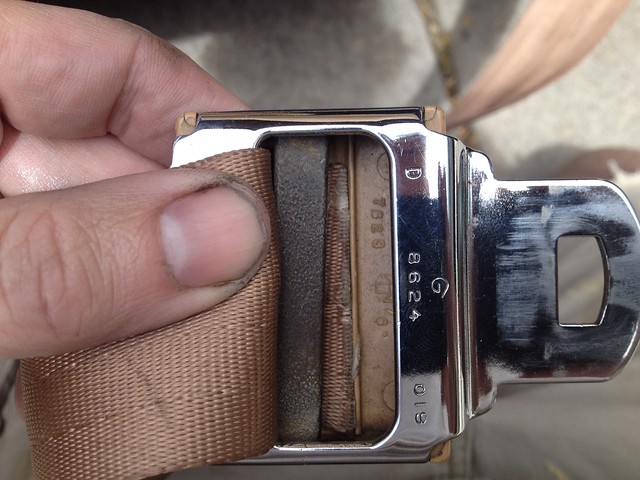
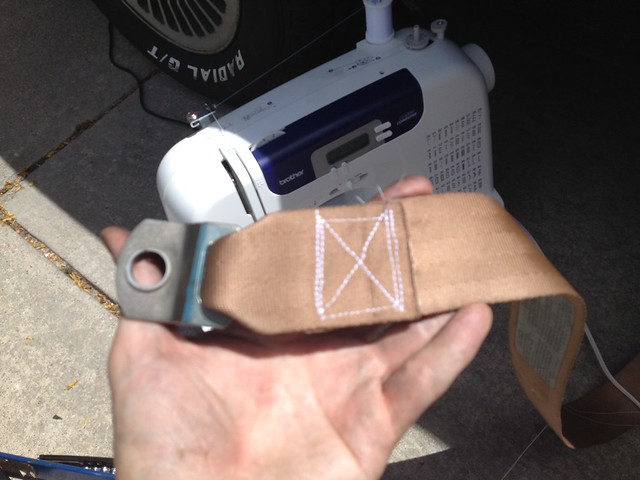
Now you are faced with another decision, the new seat belt buckle will not likely be a perfect fit to the existing buckle lock. So you either need to pull out the stock buckle lock with the seat belt sensor and make it work on the new one, or take off the new seat belt buckle and replace it with the OEM one. I prefer the look and feel of the original buckles so decided to swap the OEM buckle over to the new belt. To do this you will need to pull the stitches off the new seat belt to allow the buckle to slide off. Getting the OEM buckle on can be a bit tricky, I found if you crimp the end of the belt it can slide under the retaining rod a little easier:
Be ready for a bunch of trial and error with setting up the new belt, getting the shoulder and lap straps to align well and not be twisted will take some time. It is not difficult but can be frustrating. Just make sure to get all this figured out before putting the panels back on to avoid yet more time wasted.
Also, you will need to sew the end of the belt back together after putting the buckle on. I added a small amount of fabric glue to go with my stitching for added piece of mind:
All the trim bits go back in reverse order. Be ready for some cursing because the screws are self tapping so there is no 'right' way to put them back, just try to wiggle things around to find the original hole.
Overall this is a great restomod, belts are much better now and I'm no longer worried about smashing my pretty face up.