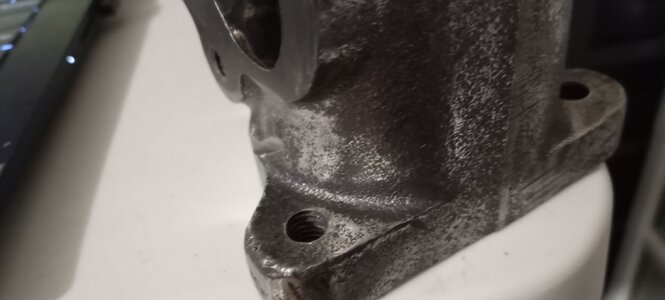
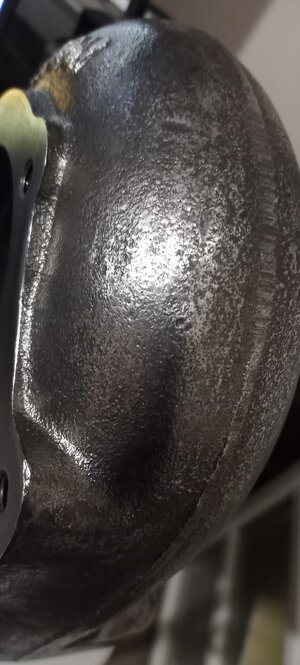
Ok, I have a Precision 6265 Turbo and I am trying to pull the exhaust housing off. This is a journal bearing turbo and I was able to removed the compressor housing, but when trying to remove the exhaust housing bolts I was able to remove three or four of the five or six. There are two that I can't remove and hence it is prohibiting me from removing the exhaust housing. I assume these two bolts were put in first as they do not clearance the cartridge. I am not sure though and I realize that a picture is worth a thousand words and I will upload a couple of images. It probably something simple or I can't take this turbo apart for painting.
How I port and paint a turbo.
- Thread starter SPOOLFOOL2
- Start date
Welcome!
By registering with us, you'll be able to discuss, share and private message with other members of our community.