MNcarbturbo
What's Fuel Injection?
- Joined
- Mar 9, 2009
- Messages
- 1,097
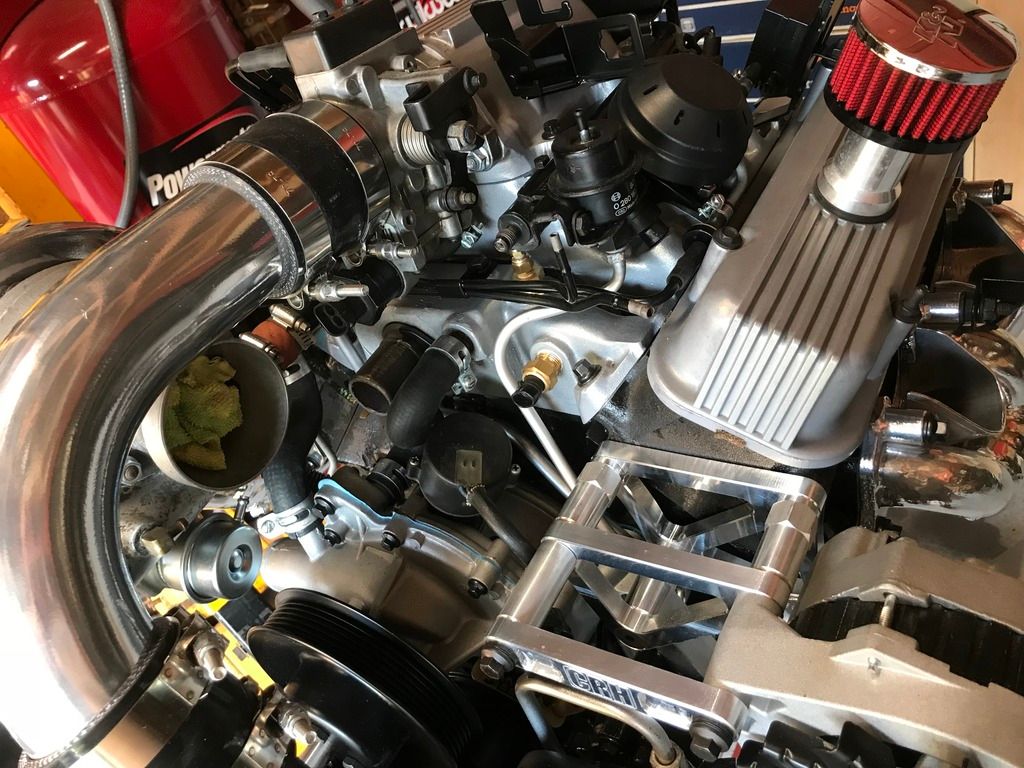
Wagon still isn't swapped. Been just driving it as is in between working on my 2+2. It runs so good that it's tough to justify taking apart until it's winter. I have been slowly hoarding parts here and there. Grabbed a 200R4 crossmember and turbo and heat shield.
Also decided to abandon the LC2 dash swap. The guy with a SBC swapped rusty 84 GN in town decided to not part the car out. Good news is I robbed the fiber optic speed sensor and VSS buffer out of my 2+2 (since it's LS and DBW with a t56 it didn't need it anyways). I am pretty sure it will fit in my stock 80 cluster and feed the ECM everything it needs for DCFCO and TC lockup.
I did redo the headliner. My glue was about 6 years old and must have been going bad, it's already sagging in the rearmost piece after the first day in the sun. Not sure if I am going to be able to peel it off again and reglue it or if I will have to buy more fabric and do it again.

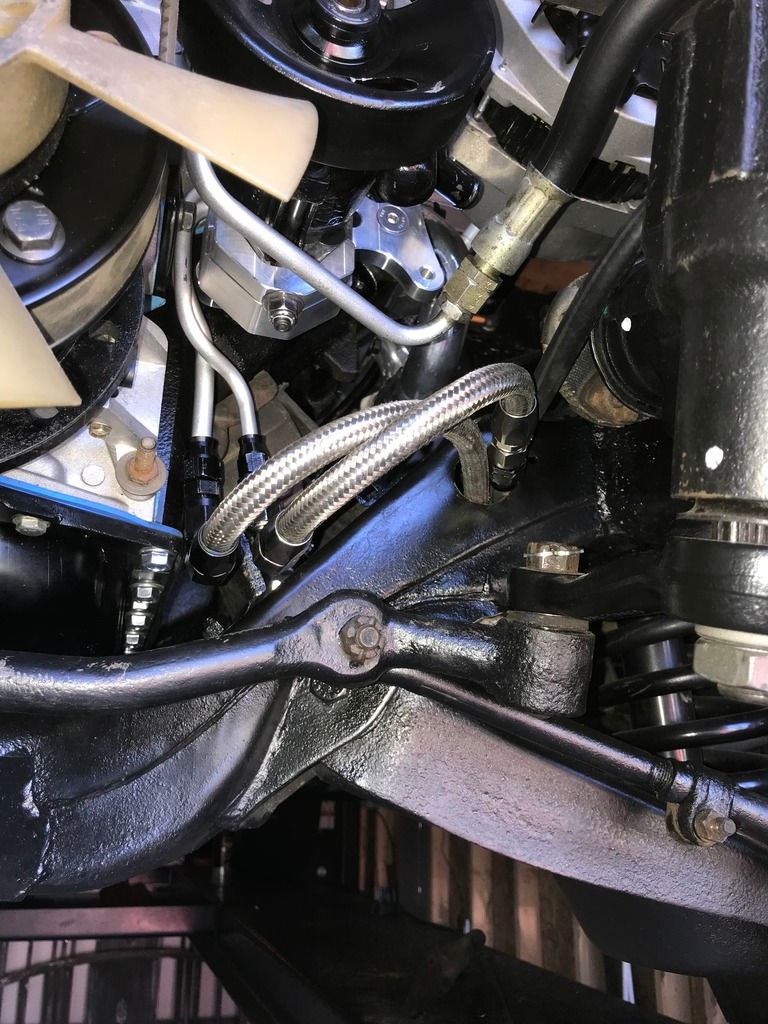
Other problems, trying to find my return fuel line situation. Have an earls saginaw line to AN adaptor and tried a AN 90 but it was too wide of a bend. Got a hydro JIC -6 90 but its also too tall. Anybody have a solution to getting a return line on the stock FPR? Hits the coolant crossover about 3/8 too tall. I could resort to having my TIG welder guy cut the hex out of the adapter and butt welding the halves together or just welding a female 90 AN line directly to this adaptor fitting but if something is available off the shelf I'd like to go that direction.

Also decided to abandon the LC2 dash swap. The guy with a SBC swapped rusty 84 GN in town decided to not part the car out. Good news is I robbed the fiber optic speed sensor and VSS buffer out of my 2+2 (since it's LS and DBW with a t56 it didn't need it anyways). I am pretty sure it will fit in my stock 80 cluster and feed the ECM everything it needs for DCFCO and TC lockup.
I did redo the headliner. My glue was about 6 years old and must have been going bad, it's already sagging in the rearmost piece after the first day in the sun. Not sure if I am going to be able to peel it off again and reglue it or if I will have to buy more fabric and do it again.
Other problems, trying to find my return fuel line situation. Have an earls saginaw line to AN adaptor and tried a AN 90 but it was too wide of a bend. Got a hydro JIC -6 90 but its also too tall. Anybody have a solution to getting a return line on the stock FPR? Hits the coolant crossover about 3/8 too tall. I could resort to having my TIG welder guy cut the hex out of the adapter and butt welding the halves together or just welding a female 90 AN line directly to this adaptor fitting but if something is available off the shelf I'd like to go that direction.


")


