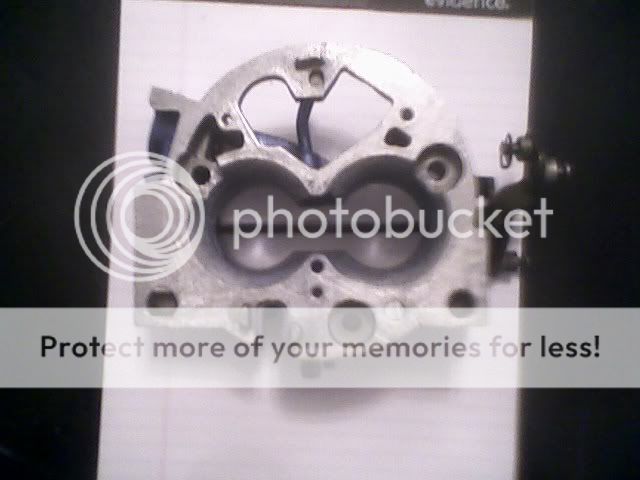
Buick V-6, oddfire, turbo and TBI

Once the board has its power supp ready, you can connect it to the stimulator and verify voltage on the main board. This is as per the assembly manual. OF COURSE my board isnt working as expected. Tomorrow's another day. Another testing day.

1390172575708.jpg


Posted from the TurboBuick.Com mobile app
 
Last edited:
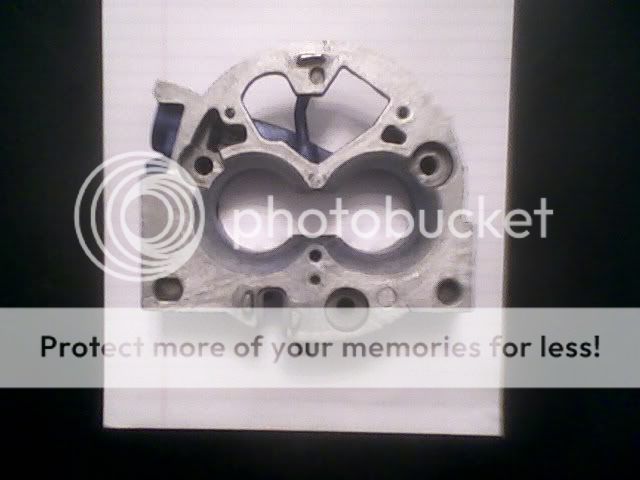
Will resume working on this during next winter. Right now focusing on the Cutlass itself - brake job, etc.

Posted from the TurboBuick.Com mobile app
 
The odd V6 engine is now in my basement, for a winter build. Did not have the cylinder honed or bored - they are perfect. Will reinstall stock crank, rods with new pistons.

Finally found all the hardware to install thr Isky TurboCycle camshaft.

Also found a "Hoof" timing set. Much beefier than the OEM setup.

1415923274931.jpg


1415923353627.jpg


1415923408698.jpg
 
Last edited:
Nice build, coming along nicely. Was messing around with TBI in a 3rd gen years back myself, I pulled the stock throttle body and modded it to increase air flow, didn't want to go the 454 throttle body route. I essentially cut down the center wall, and fabricated my own butterfly. The vacuum port that runs through there was filled with aluminum. I went a little further with it later down the road, as I replicated a blow thru carb with it and was intending on running it with a dual plenum intake manifold with injector bungs welded in and turbo charger, but I decided on going TPI soon after, so the project came to a halt...
TBI-2.jpg

TBI-3.jpg
 
Last edited:
Nice, I too was messing with the TBI, using the EBL Classic as soon as it was available. I went the 454 TB with 90lb/hr injectors, vac ref FPR, and a 150 horse sniff of gas (+more).

Hope you winter build comes along nicely, I have been watching this thread!:)
 
It's been a long time, && many things have happened! I had piled up so many parts. Can't go quit on this project :)

Started by completing by assembling the crank, piston and camshaft.

Next up: heads. porting to complete, then re-assembly.
 

Attachments

  • 27538943269_45044bb8a8_z.jpg
    27538943269_45044bb8a8_z.jpg
    65 KB · Views: 105
  • 39288071261_3c46f1293a_z.jpg
    39288071261_3c46f1293a_z.jpg
    71.2 KB · Views: 96
  • 39345602972_ec9a57bec0_z.jpg
    39345602972_ec9a57bec0_z.jpg
    103.9 KB · Views: 109
Last edited:
The engine is coming along nicely. I ran the oil pump, works fine; need to run it again with a pressure gauge.

next up: installing the manifold; rebuilding the 2BBL carb.


IMG_20180118_214009.jpg
 
I would agree normally.. :) but this is a temporary setup just to get the engine spinning. This is my first complete engine rebuild, so I want to do it in increments. Next step after seeing the engine run is to install a 4bbl/draw through turbo setup.
 
Last edited:
Speed daddy headers do fit even an old oddfire engine, had to remove about 3/4" length at the junction underneath the oil pan to make it work.

IMG_20180220_212324.jpg
 
oil pump is a-pumpin' as it should. low drill speed to run the pump means pressure is not 100% of expected pressure.

IMG_20180222_182401.jpg
 
Top