Pronto
No amount of evidence will ever persuade an idiot.
- Joined
- Dec 9, 2002
- Messages
- 16,822
RPE was a reliable builder. Many are not!
By registering with us, you'll be able to discuss, share and private message with other members of our community.
SignUp Now!I'm glad it worked out well for both of us Bobby builds a hell of a motor!I bought a used RPE Stroker from @chasmat2316 in 2018 and have been beating the shit out of it since I installed it in January of 2019. He was going to build a Stage II engine and decided to sell his engine to fund the new one. Great transaction and I am happy with the engine.
Bryan
I have 2 built 455 cars with 600 pounds of tq a piece , the hit is very similar to a well built Turbo Regal, you just get 4x the gas mileage in the Regal LOLThis will be a sound engine when I'm done with it. I don't take shortcuts. I'll be honest coming from well built 455 I have no clue what to expect from this engine so it's going to be a surprise the first time I drive it. I've never even driven a Grand National or Turbo Regal
Yes he does ! Hope all is well with your Stage II sir.I'm glad it worked out well for both of us Bobby builds a hell of a motor!
Verticle scratches in the cylinders are from not chamfering/roll radiusing the bottoms of the cylinders and not doing a correct 4 or 5 step hone nor finishing up with the Sunnen stubby brushes to scrub and polish the torn and folded hone swarf left in the roots if the crosshatch.
That residual cast iron is now imbedded in the piston skirts and is what caused the scratches, and if not removed (one piece at a time and very time consuming) from the piston,
it will rescratch the walls when the coating wears off of those imbedded particles that are taller than the skirt, and they will do that shortly after startup again.
Also, not cleaning the cylinders thoroughly and correctly also causes the scratches.
Correctly cleaning the cylinders requires cleaning with detergent and water, then scrubbing with brake cleaner on blue paper towels, then finally wiping out the bores with folded blue paper towels and ATF ( it has lots of chemical detergents,) and the lubricants also help float the small metal bits from the cross hatch to the towel pad. Keep wiping each cylinder with clean ATF soaked blue paper towels until no more dark metal particles are found on them. You will be surprised at how much scrubbing and wiping with fresh towels will be required.
No more scratches on the walls and pistons, and no more shiny flecks of cast iron metal in the skirts! We spend about an hour on a V-8 doing the final manual cylinder cleaning! Then clean the other machined surfaces. The jet wash and initial brake cleaning are just the start of the process.
Don't forget the lifter bores (after they are lightly honed) decks, and main bores too.
If you are not spending 2 hours or so manually cleaning the block after the jet wash, the block isn't clean!
That is only one of the reasons why professionals get what they do to "just assemble" an engine.
TIMINATOR

These are Molnar rods with arp L19 bolts.What is the piston/wall clearance now?
Do the rods have ARP bolts if not, you will need to resize them after adding the ARP bolts. ARP bolts torque to a higher amount, and the underhead is different. Also, check to make sure the underhead chamfer clears the underhead radius of the ARP bolts, it often doesn't. If they have ARP bolts check that the last guy made SURE that the rod bolt holes don't hit the underhead radius. If you have to rechamfer very much, the big end roundness may be off, requiring a light resizing.
TIMINATOR
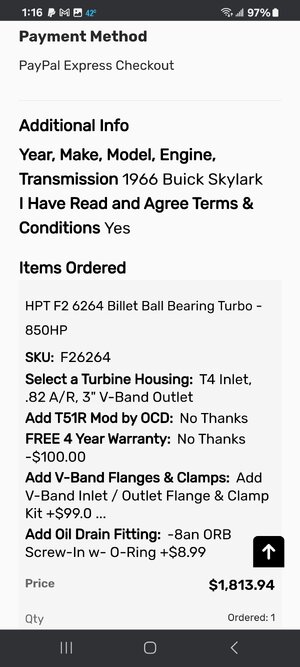
Turbokits.com has the best deals on HPT turbos we ordered 2 already from them your turbo would have been $1,662 shippedOrdered an HPT 62/64 Turbo for the engine. Saving the Garrett turbo for the 300 V8 build