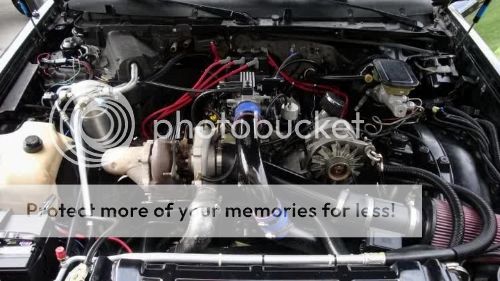
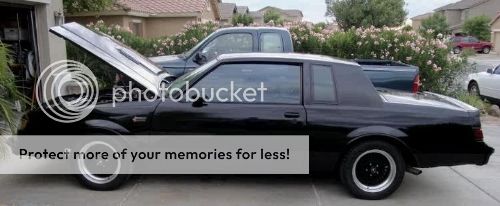
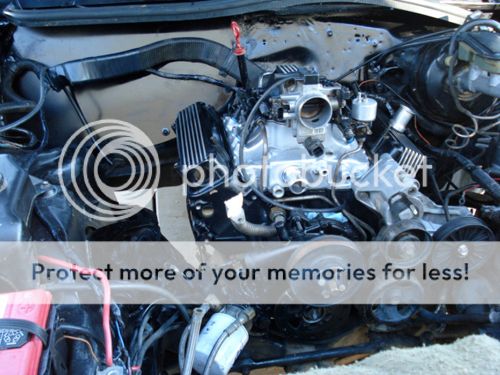
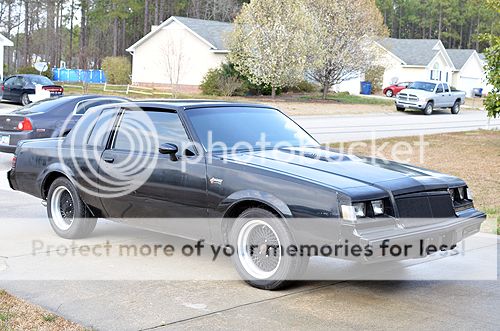
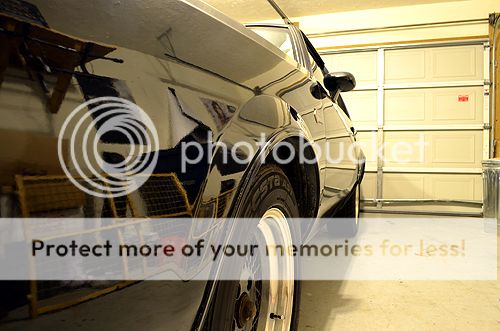
I've owned my 1984 Buick GN since May of 2009. I purchased it out in Phoenix, AZ from a local owner by the name of Richard. It had 85K Miles, an Intercooled transplant and a very solid street combo running high 11s low 12s.
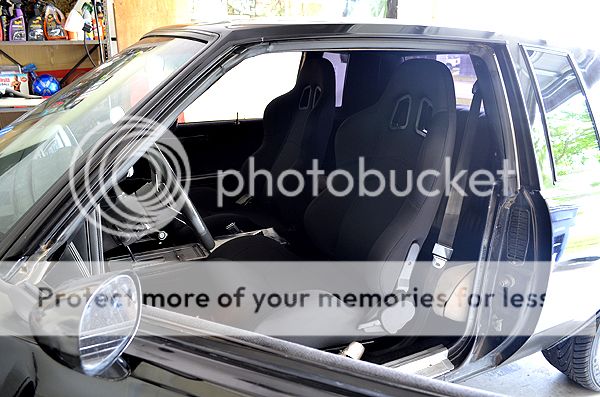
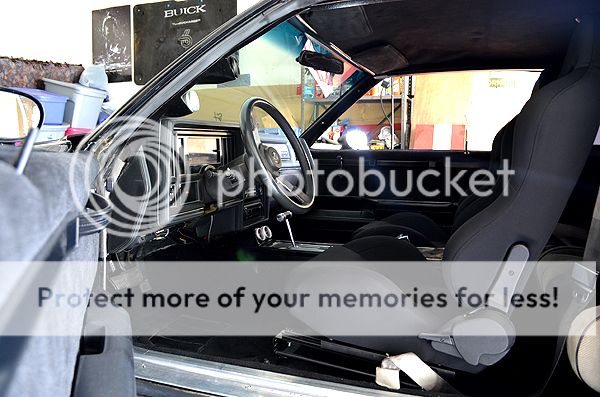
Below are some of the pictures I took when I first purchased it.
I drove the GN occasionally and put 5k miles on it the first year and a half of owning it. In the month of February 2011 I left for the service and the GN took a backseat and sat outside my mother-in-law's backyard.
In some unfortunate turn of events, the GN was experiencing knock issues while I was away and was then again put in the backseat and put in shut down mode. As life happens, care for it was not of primary concern and it wasn't until close to 2 years until I came back to AZ to deal with the GN.
Below are the photos of the reunion.
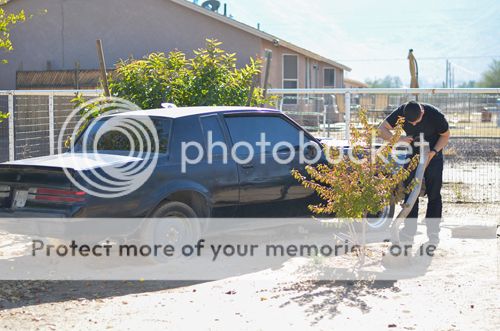

As you can see, the GN is very filthy and paint is heavily oxidized.
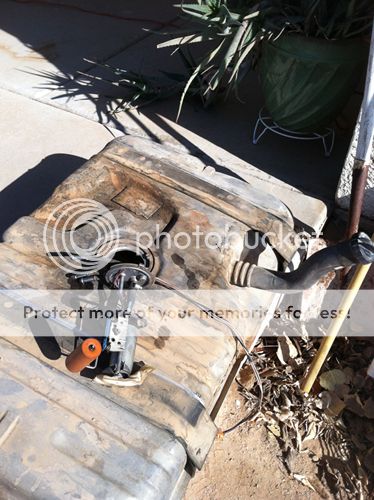
I spent the first few days I was in AZ trying to clean up as much as I could.
Below are some of the photos of the cleaning process.

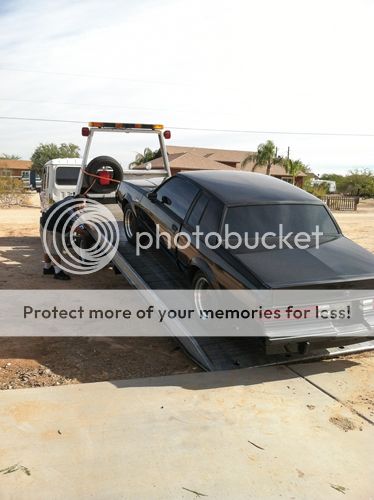
I took the car to Nick Micale for a complete engine rebuild.
Below are the photos of the GN being picked up and dropped off at Nick Micale's place.
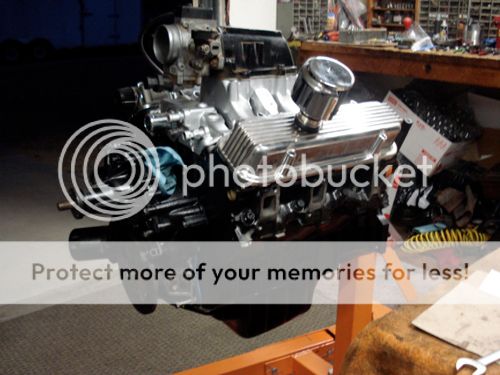
While the GN was in surgery, Nick Micale was nice enough to keep me updated and sent me photos as he progressed with the rebuild.
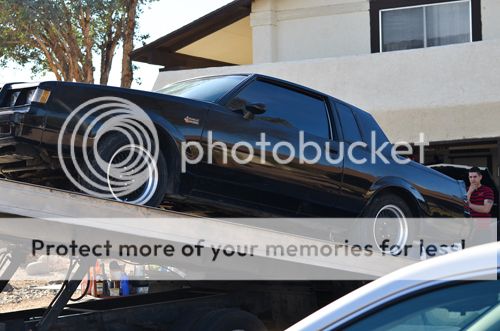
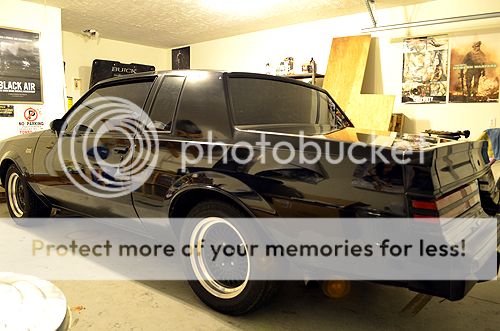
After receiving expert care and other goodies from Nick Micale, I had the GN shipped from Phoenix to North Carolina.
Below are the photos when it first arrived on March 30th, 2013.

As you can tell the paint is heavily oxidized from sitting under the grueling AZ sun for the past couple years.
I had purchased a set of HI/LO HIDs from Alradco.com back when he had a special on these.
Installation was very easy and connected to the factory wiring with no problems so far.
Below are some of the HID photos, the photo with the lights on was taken with the garage lights off.


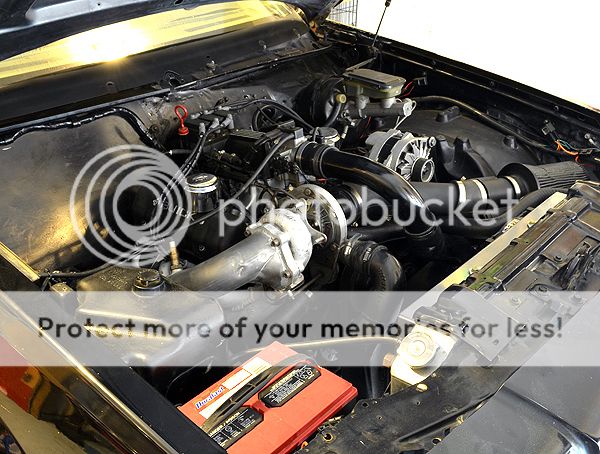
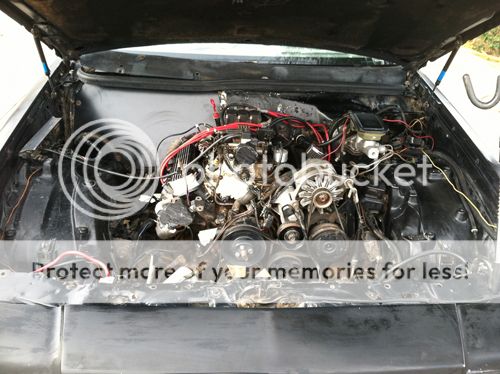
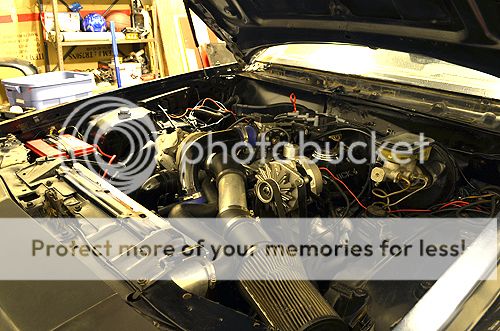
Below is a photo of the Engine Bay.
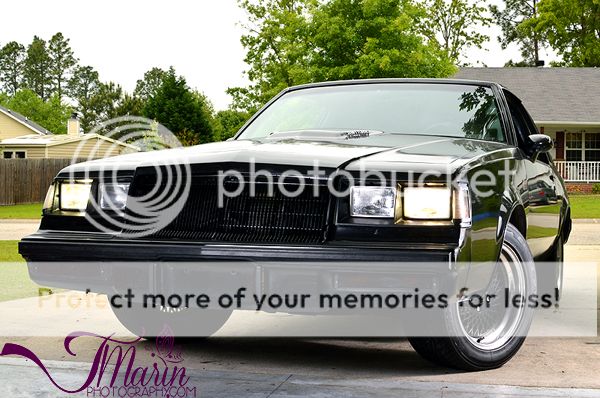
I tackled the oxidation this weekend. I went with basic Meguiar's products you can find at a parts store. I started with their Clay kit and moved on to 2 layers of their Ultimate Compound by hand. I still have another layer of Ultimate Compound to rub on and then I will move on to their Ultimate Polish. Not sure which Wax I will be going with. So far after just the Clay Bar and 2 layers of Ultimate Compound everything is looking NICE!! This stuff is definitely worth its weight in gold for its cheap price.
Below are photos after using the Clay Bar and 2 layers of the Ultimate Compound.


The Build
*109 Block
*Stock Crankshaft
*206/206 Flat Tappet Hydraulic Cam
*100lbs Valve Springs
*0.030 TRW Forged Piston
*Stock Rods
*Ported Iron Heads/Intake
*80 LBS Injectors
*DW300 Fuel Pump
*3 Inch Downpipe with Y Pipe
*2.5 Inch Hookers Exhaust
*Stock Turbo
*Griffin Aluminum Radiator
*Derale Dual Fans 4,000 CFM
*Power Logger with TT 6.1, AEM Wideband, Julio's Fuel Transducer
*Stock Intercooler with Dutt Neck
*LS1 MAF with Translator (Thanks John AKA Meg's Dad)
*12" LU 2400
Below are some of the pictures I took when I first purchased it.
I drove the GN occasionally and put 5k miles on it the first year and a half of owning it. In the month of February 2011 I left for the service and the GN took a backseat and sat outside my mother-in-law's backyard.
In some unfortunate turn of events, the GN was experiencing knock issues while I was away and was then again put in the backseat and put in shut down mode. As life happens, care for it was not of primary concern and it wasn't until close to 2 years until I came back to AZ to deal with the GN.
Below are the photos of the reunion.
As you can see, the GN is very filthy and paint is heavily oxidized.
I spent the first few days I was in AZ trying to clean up as much as I could.
Below are some of the photos of the cleaning process.
I took the car to Nick Micale for a complete engine rebuild.
Below are the photos of the GN being picked up and dropped off at Nick Micale's place.
While the GN was in surgery, Nick Micale was nice enough to keep me updated and sent me photos as he progressed with the rebuild.
After receiving expert care and other goodies from Nick Micale, I had the GN shipped from Phoenix to North Carolina.
Below are the photos when it first arrived on March 30th, 2013.
As you can tell the paint is heavily oxidized from sitting under the grueling AZ sun for the past couple years.
I had purchased a set of HI/LO HIDs from Alradco.com back when he had a special on these.
Installation was very easy and connected to the factory wiring with no problems so far.
Below are some of the HID photos, the photo with the lights on was taken with the garage lights off.
Below is a photo of the Engine Bay.
I tackled the oxidation this weekend. I went with basic Meguiar's products you can find at a parts store. I started with their Clay kit and moved on to 2 layers of their Ultimate Compound by hand. I still have another layer of Ultimate Compound to rub on and then I will move on to their Ultimate Polish. Not sure which Wax I will be going with. So far after just the Clay Bar and 2 layers of Ultimate Compound everything is looking NICE!! This stuff is definitely worth its weight in gold for its cheap price.
Below are photos after using the Clay Bar and 2 layers of the Ultimate Compound.
The Build
*109 Block
*Stock Crankshaft
*206/206 Flat Tappet Hydraulic Cam
*100lbs Valve Springs
*0.030 TRW Forged Piston
*Stock Rods
*Ported Iron Heads/Intake
*80 LBS Injectors
*DW300 Fuel Pump
*3 Inch Downpipe with Y Pipe
*2.5 Inch Hookers Exhaust
*Stock Turbo
*Griffin Aluminum Radiator
*Derale Dual Fans 4,000 CFM
*Power Logger with TT 6.1, AEM Wideband, Julio's Fuel Transducer
*Stock Intercooler with Dutt Neck
*LS1 MAF with Translator (Thanks John AKA Meg's Dad)
*12" LU 2400
Last edited:
")