80 Malibu Wagon

Small update.

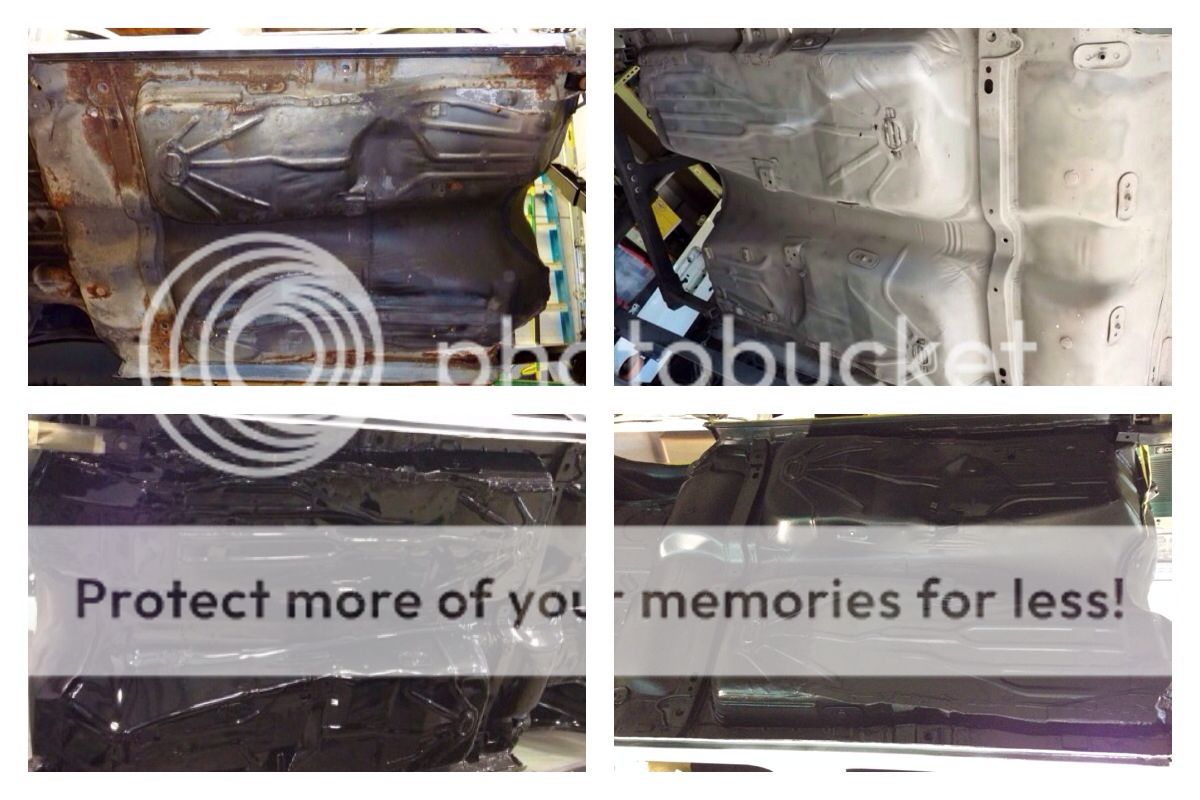
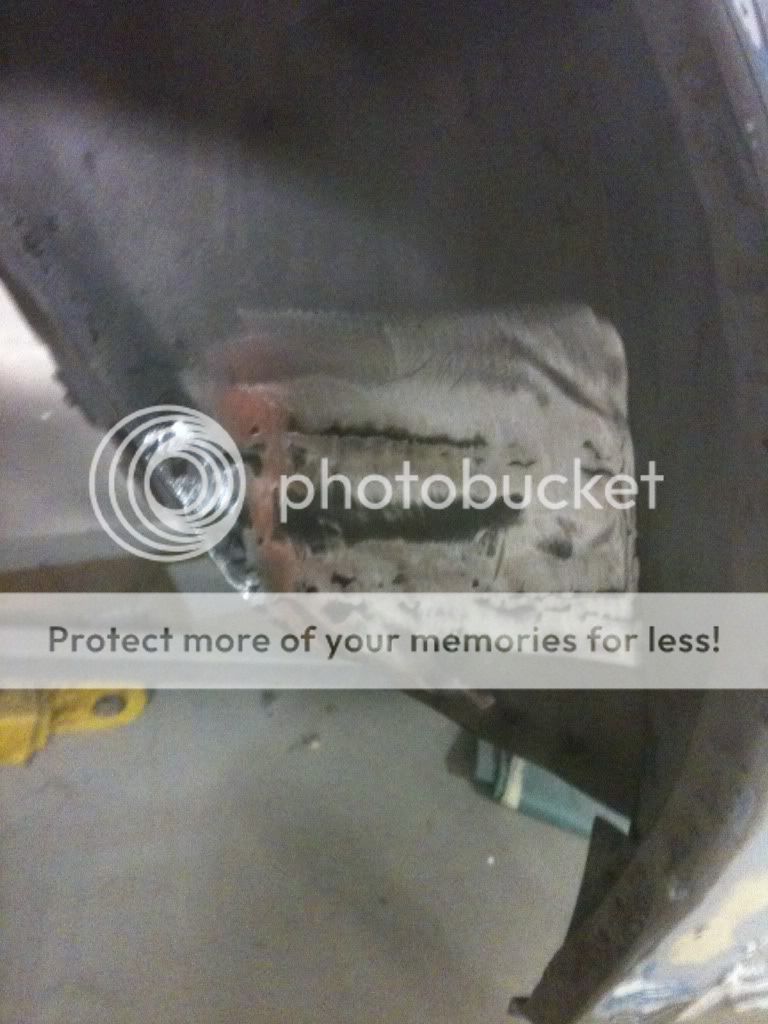
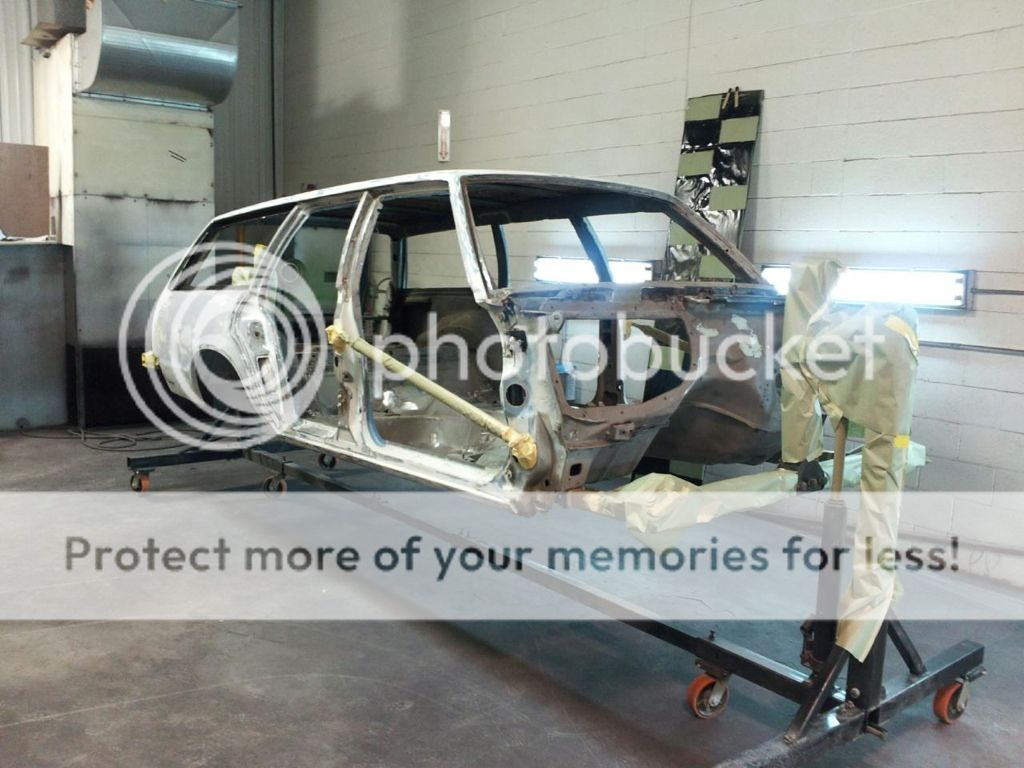
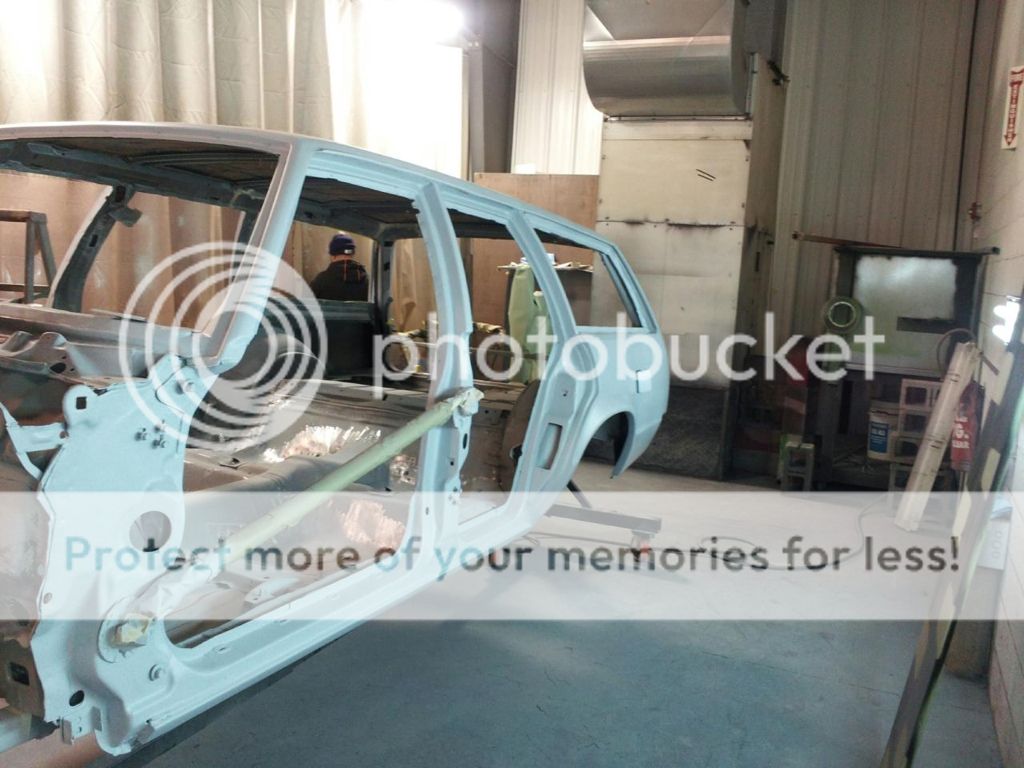
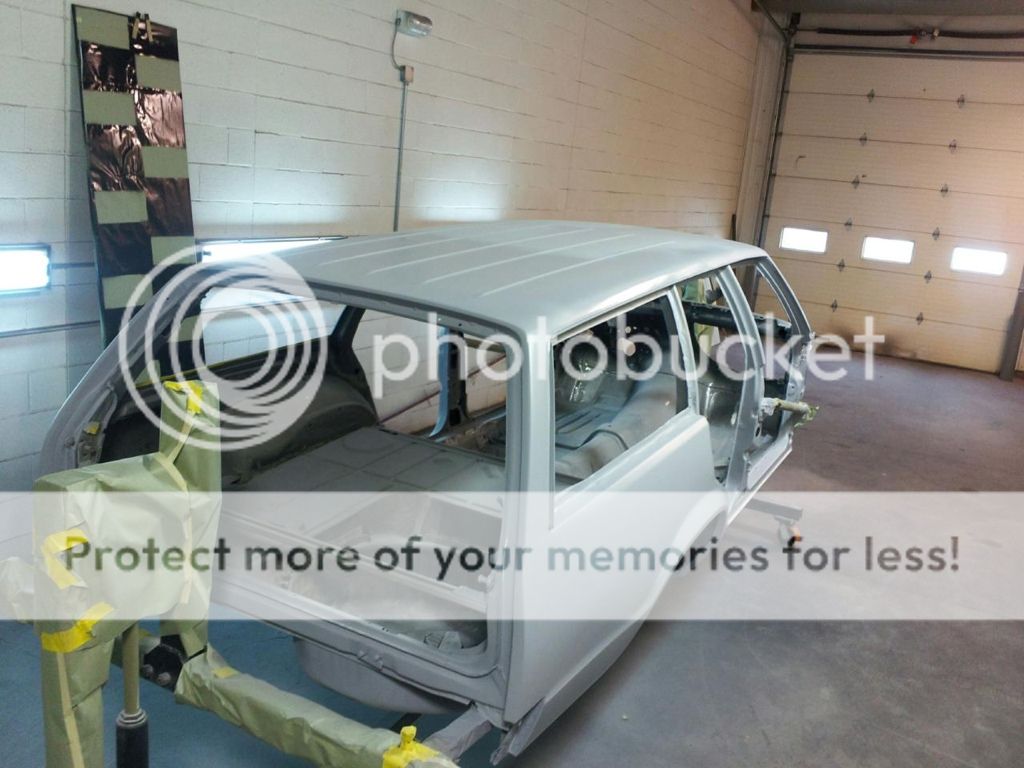
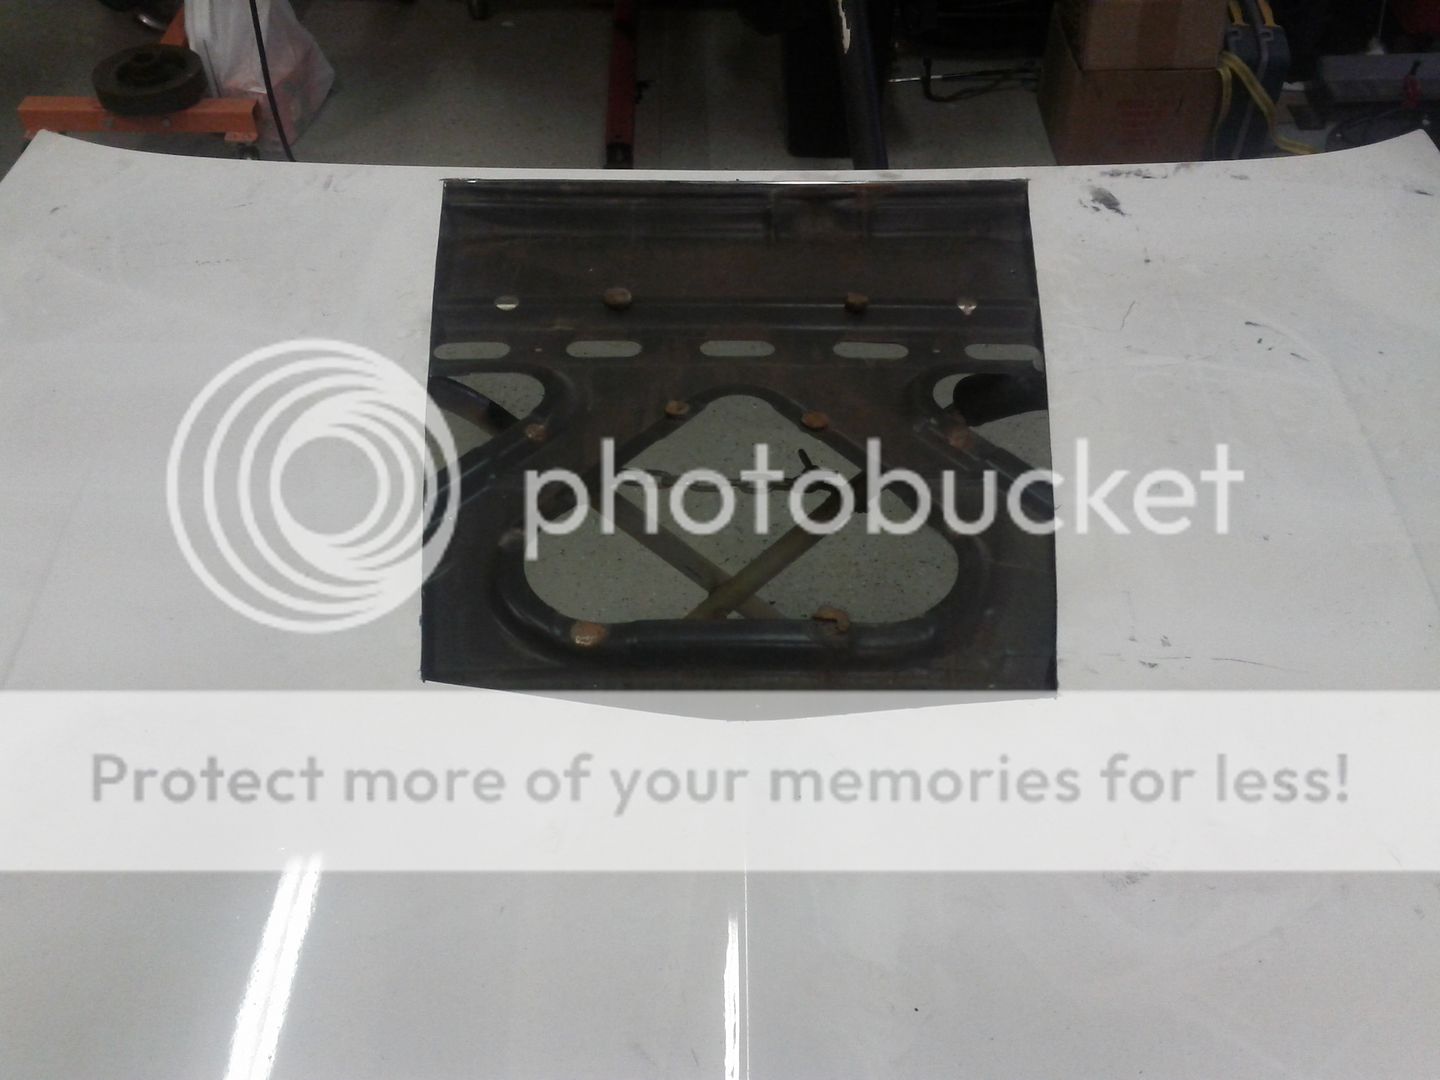
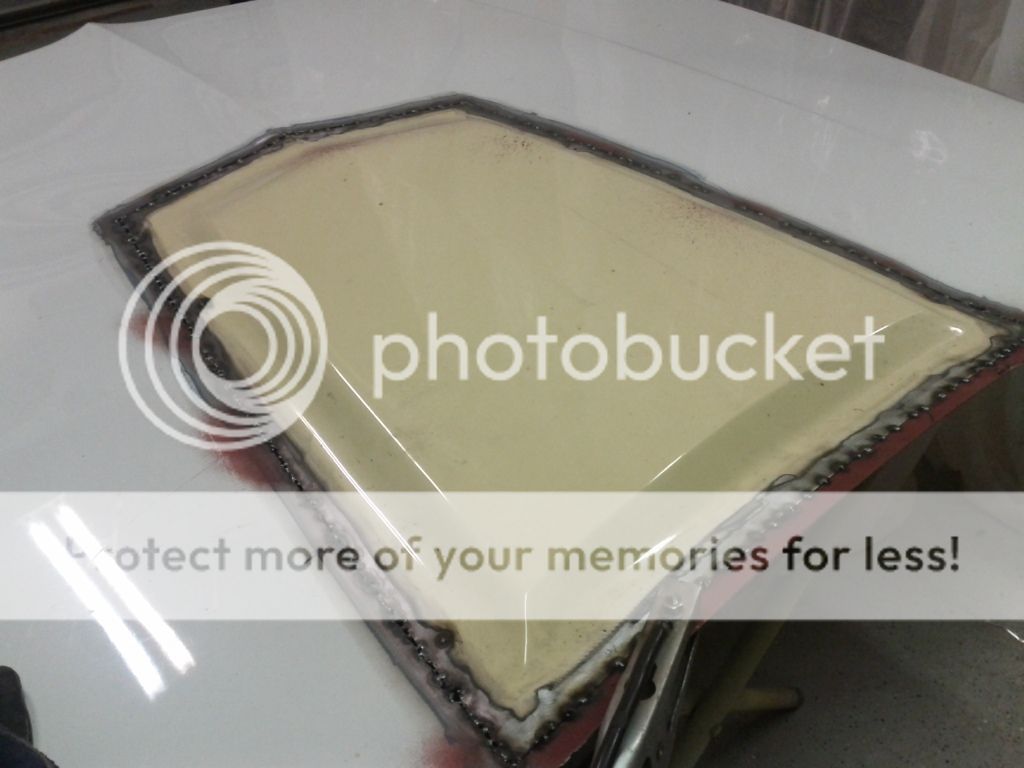
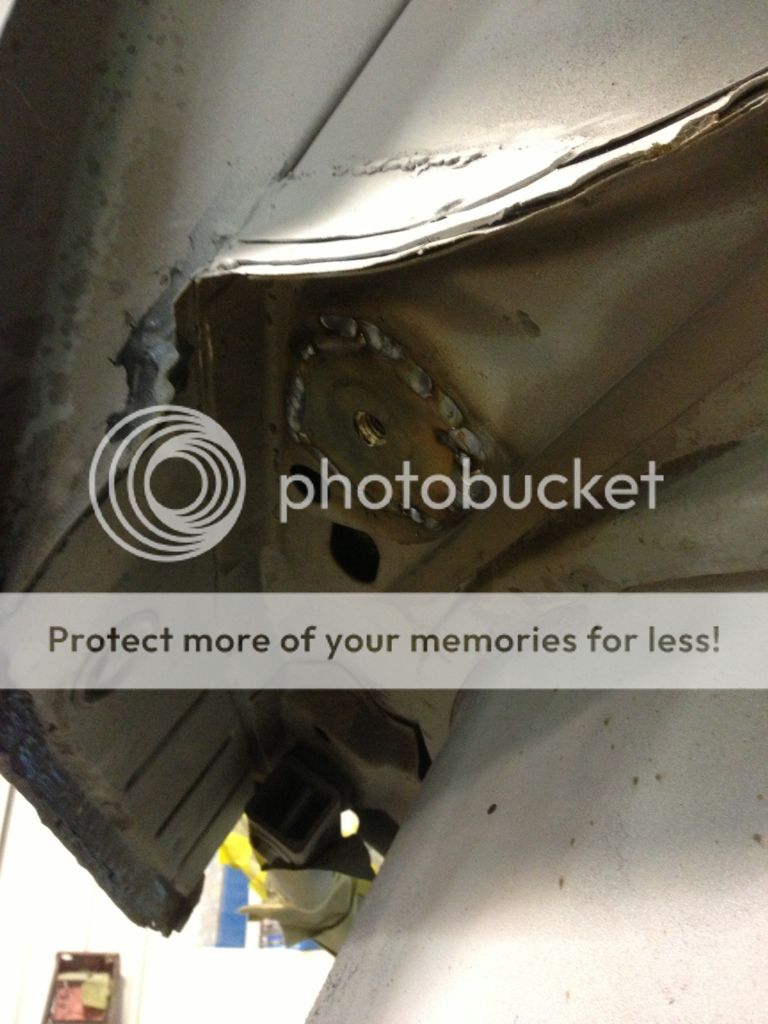
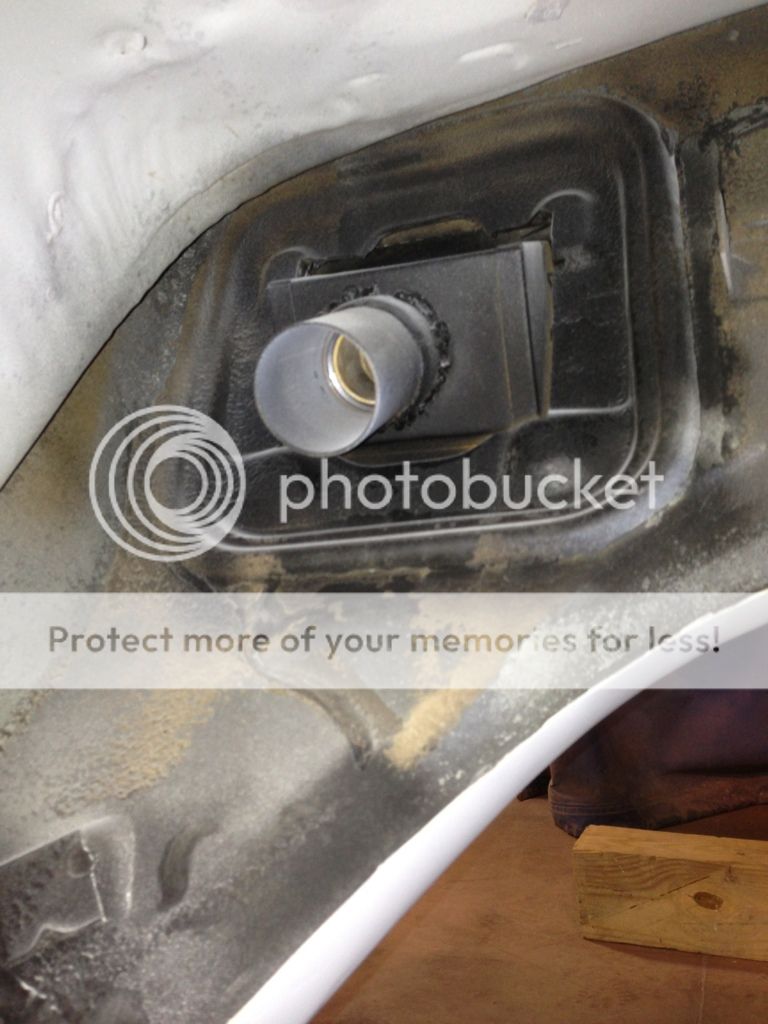
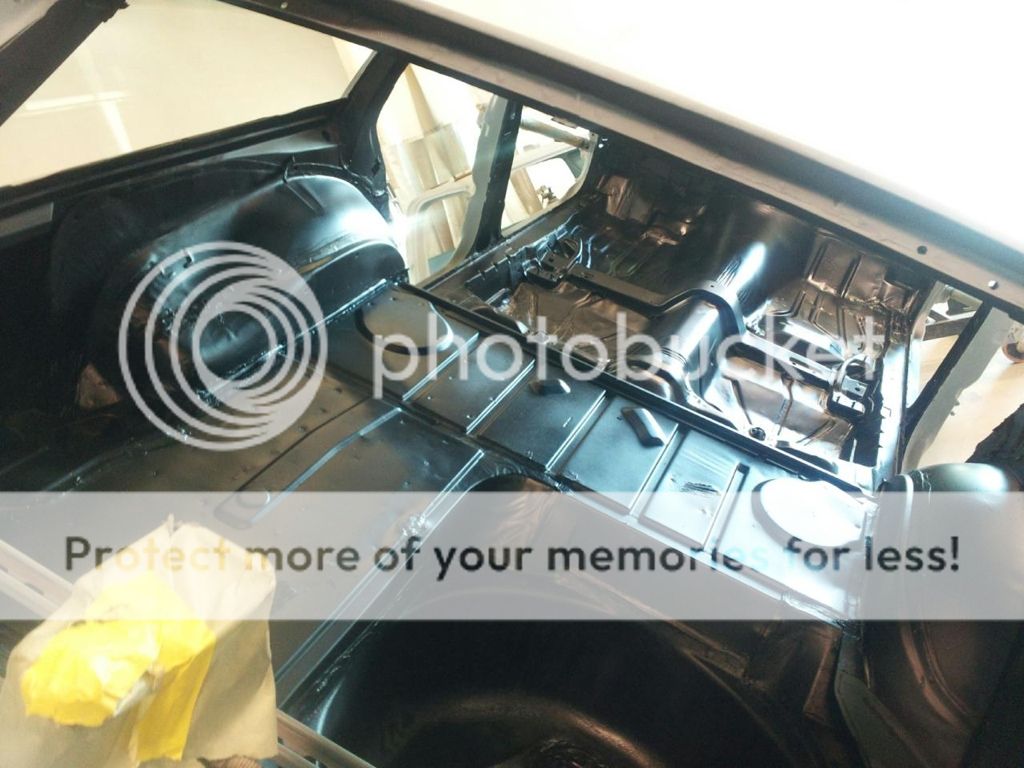
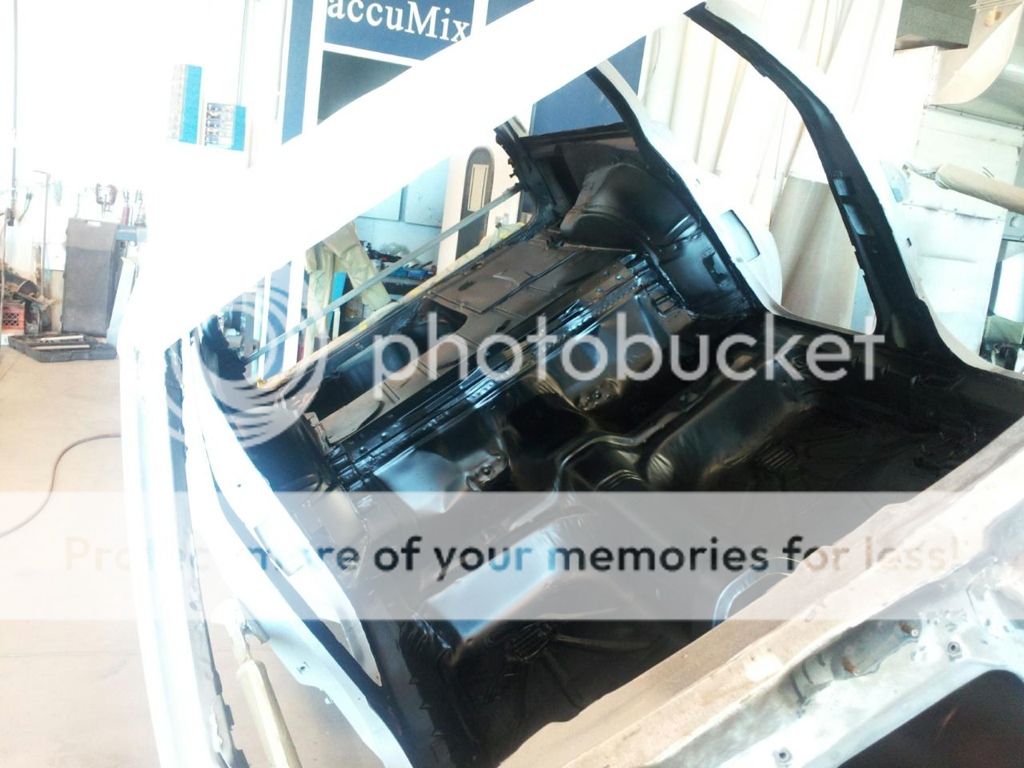
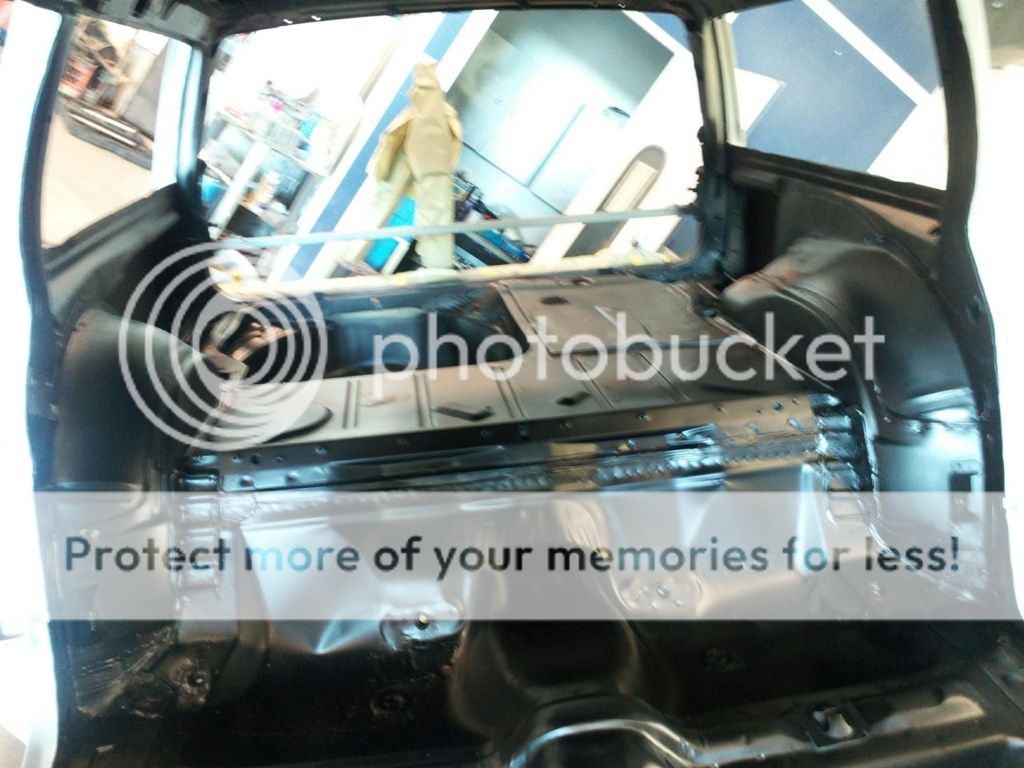
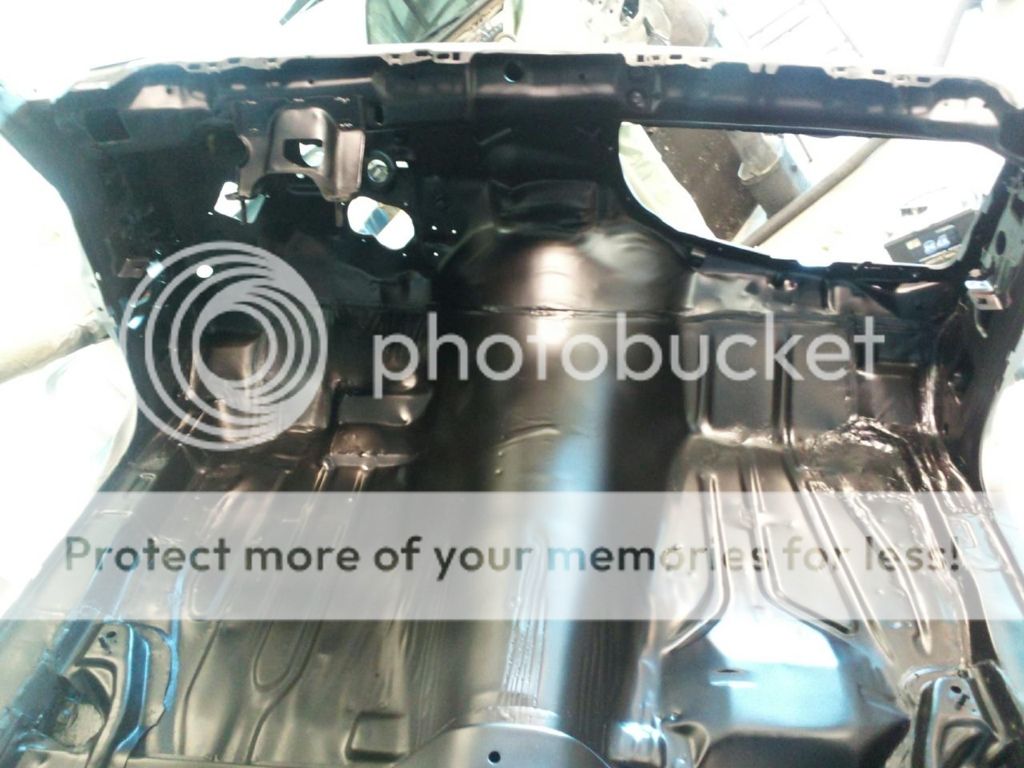
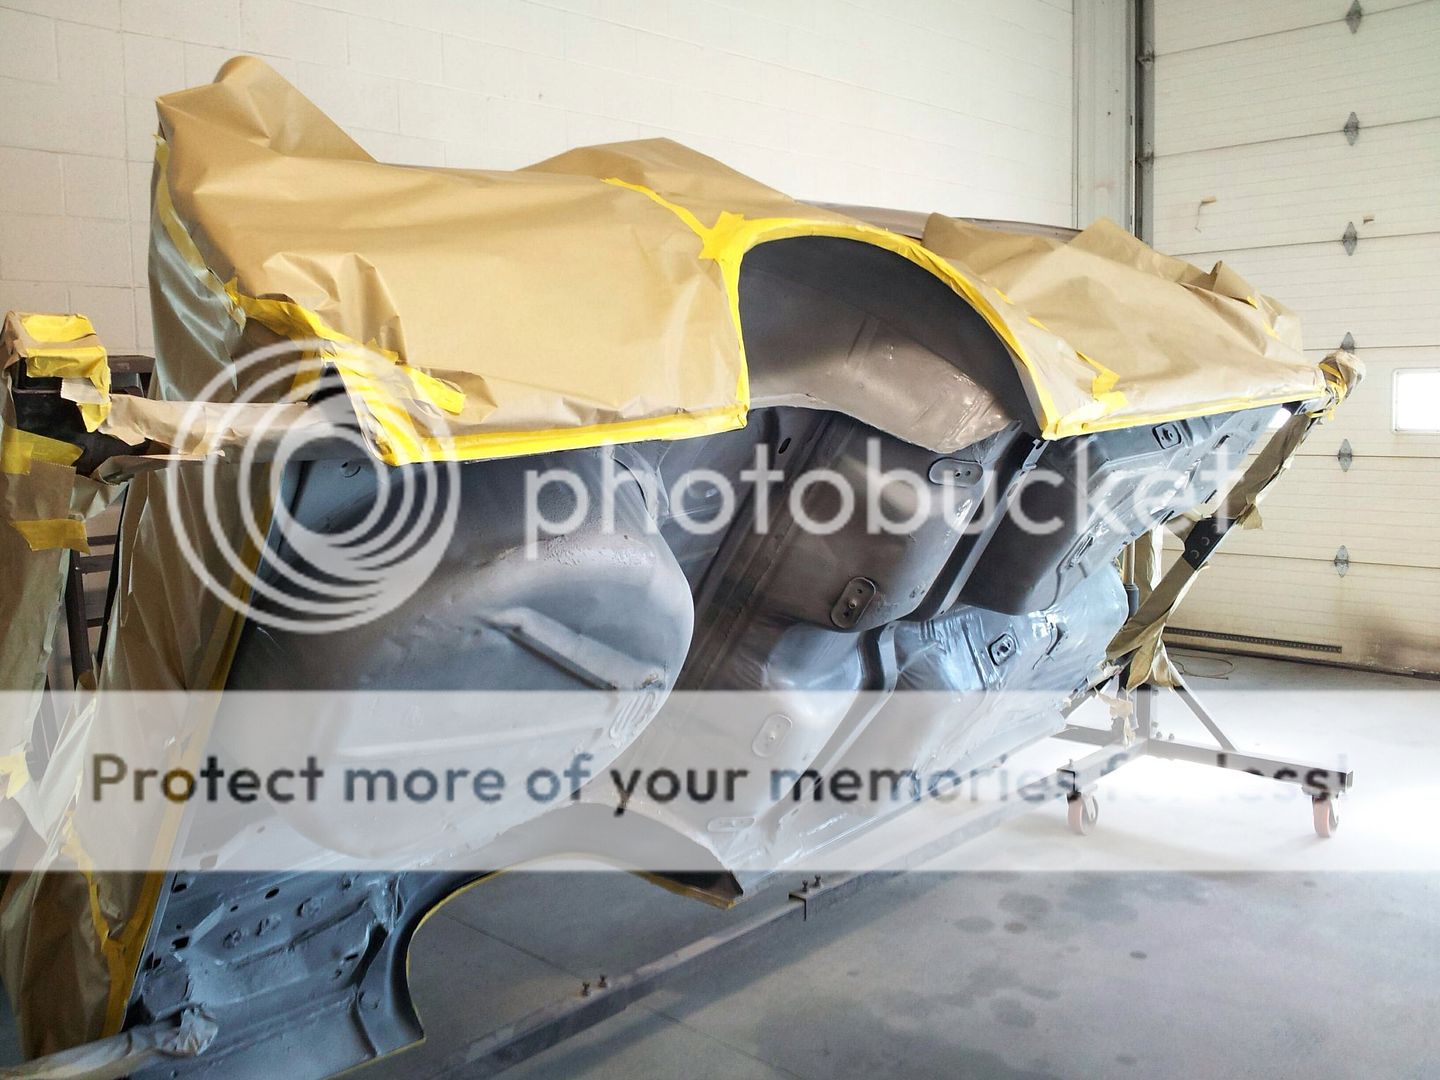
Lots of work has been done to the body, no pics, but the roof is ready for paint. The holes in the floor, firewall have been repaired.

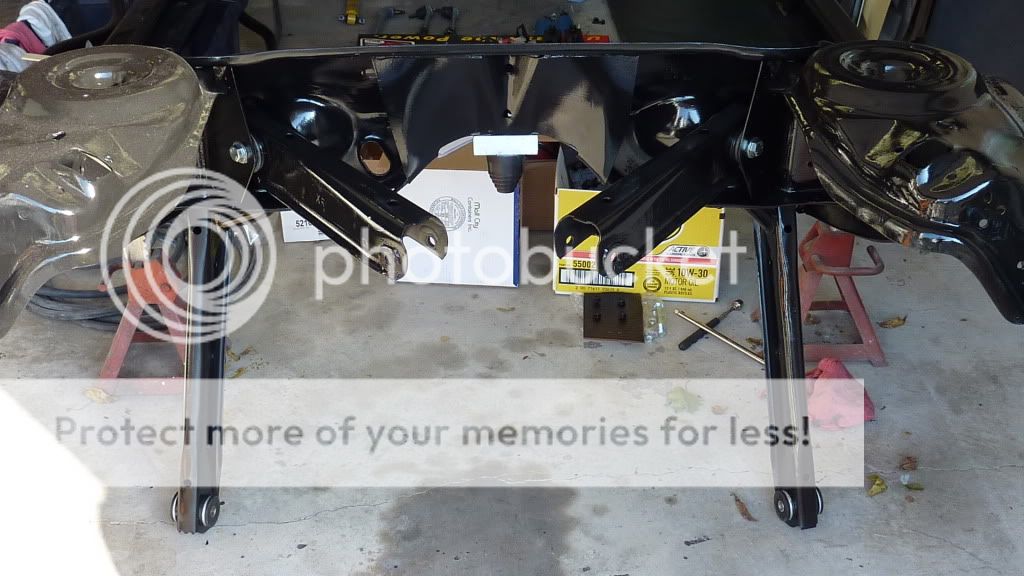
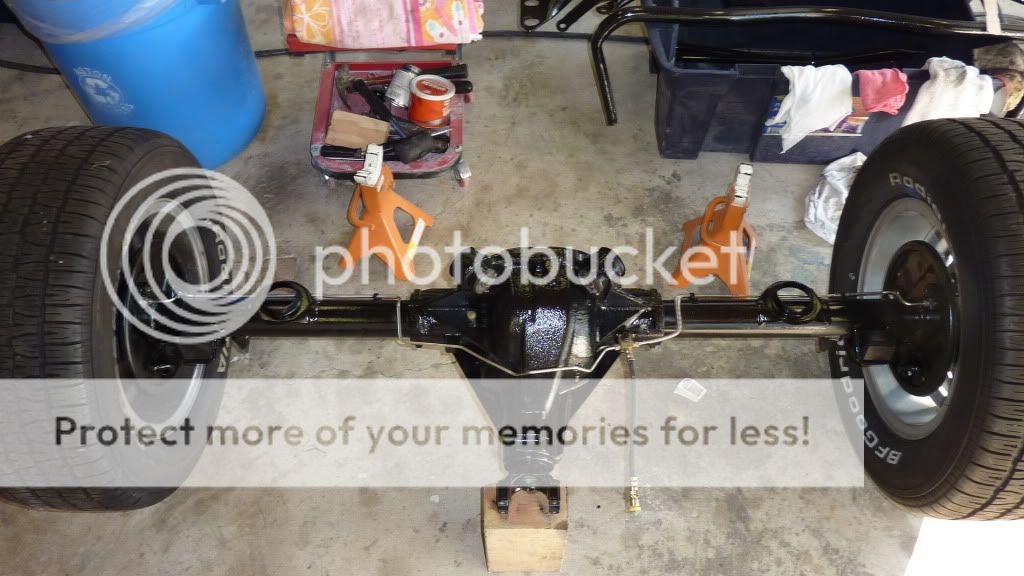
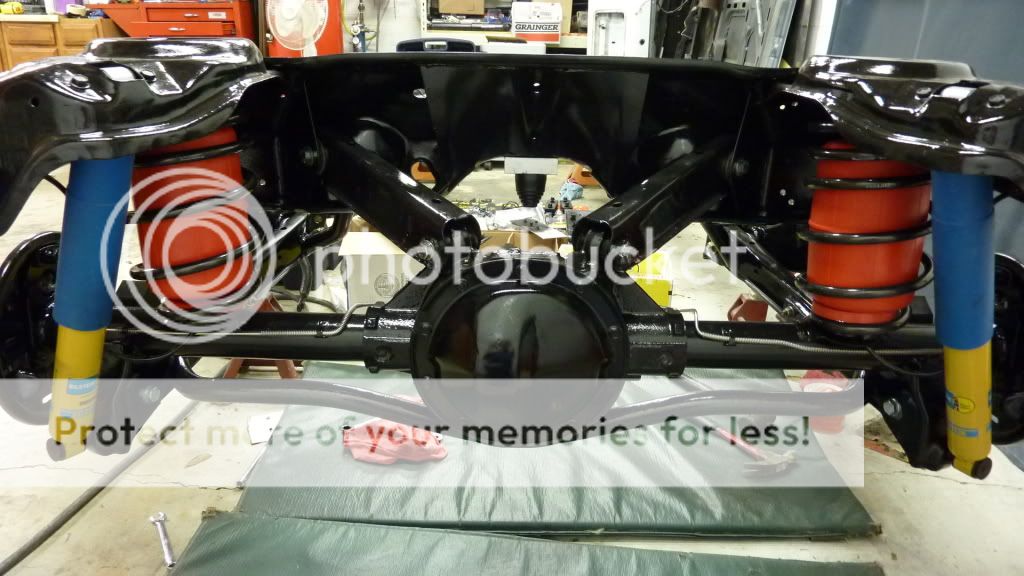
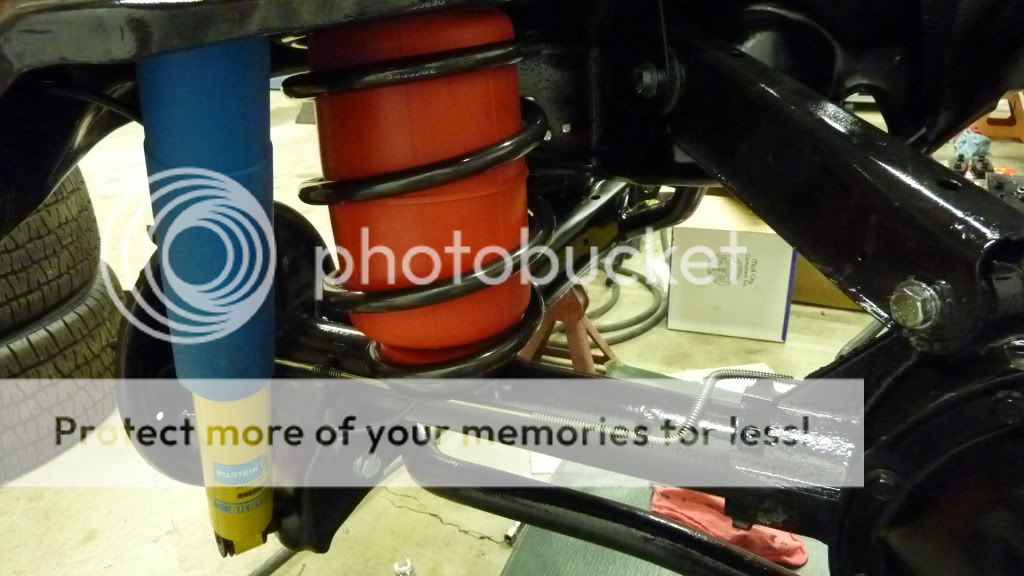
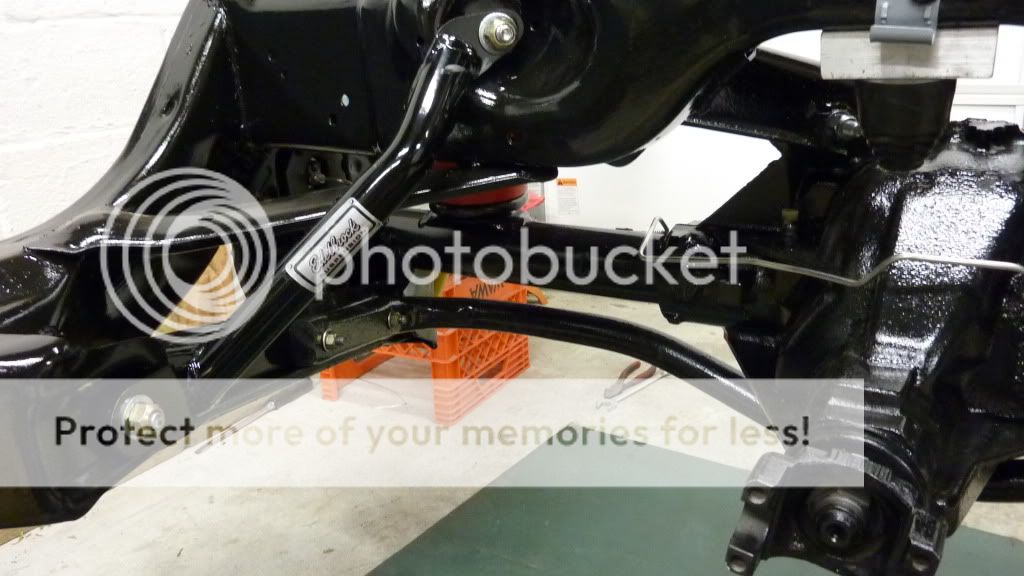
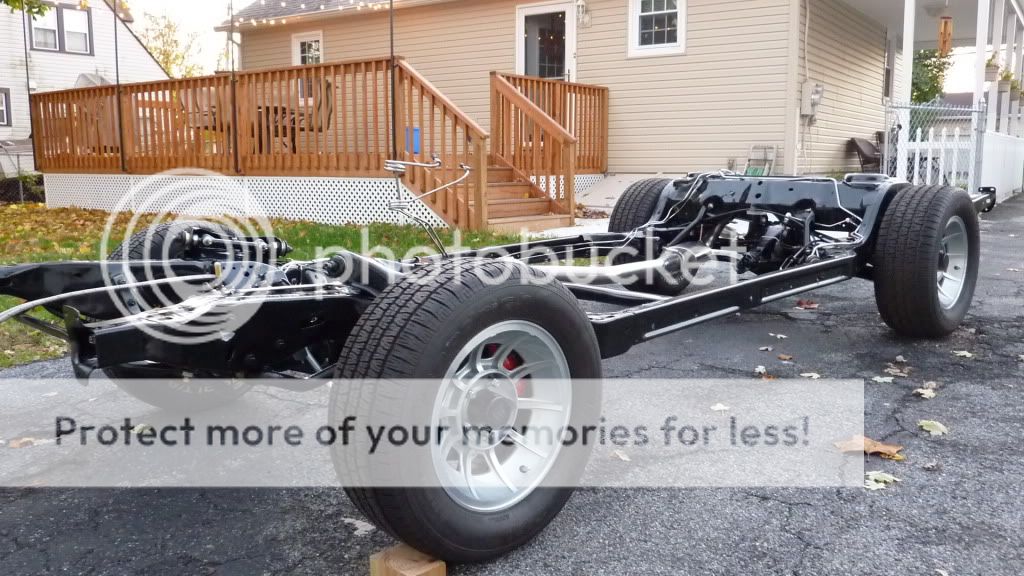
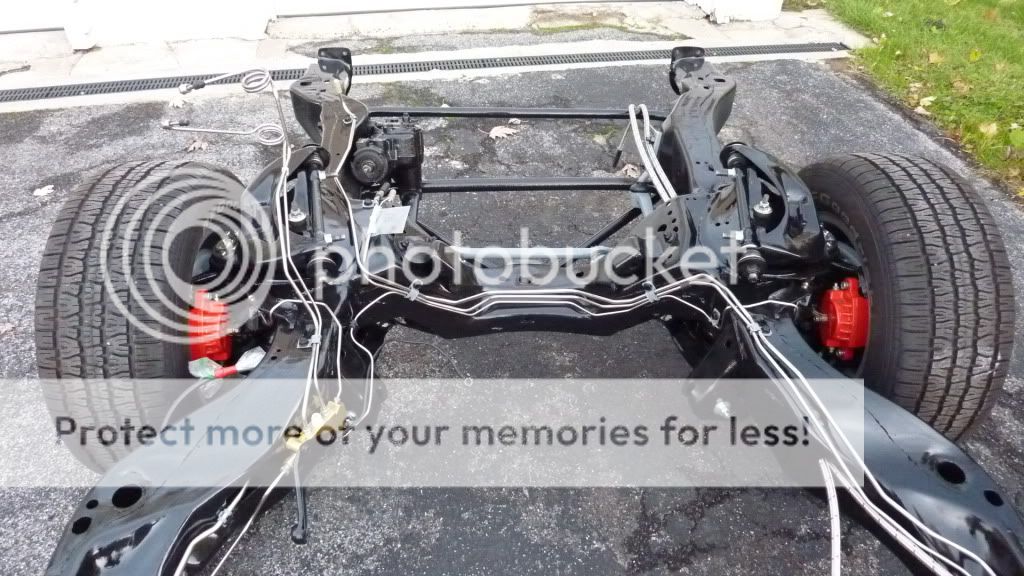
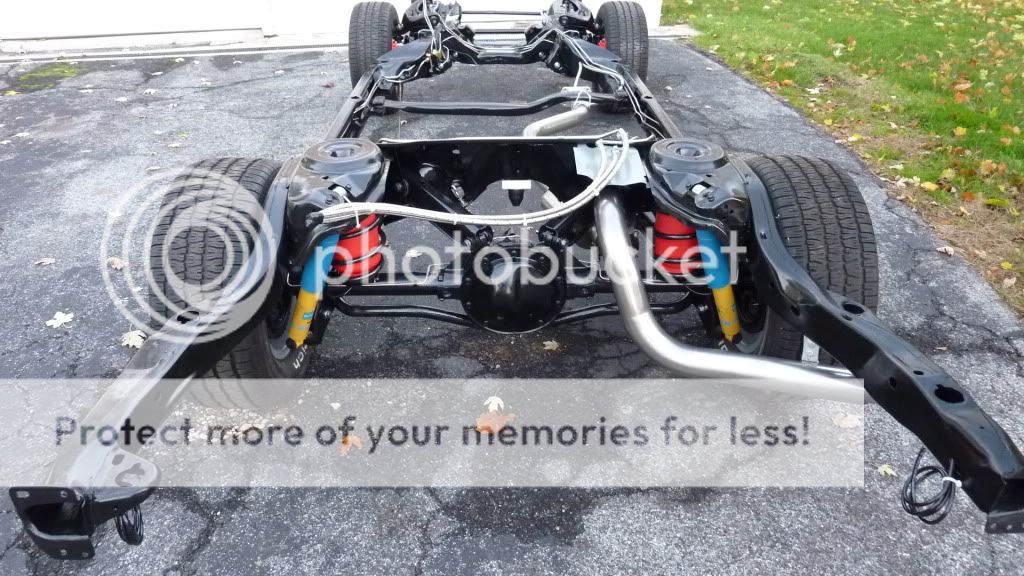
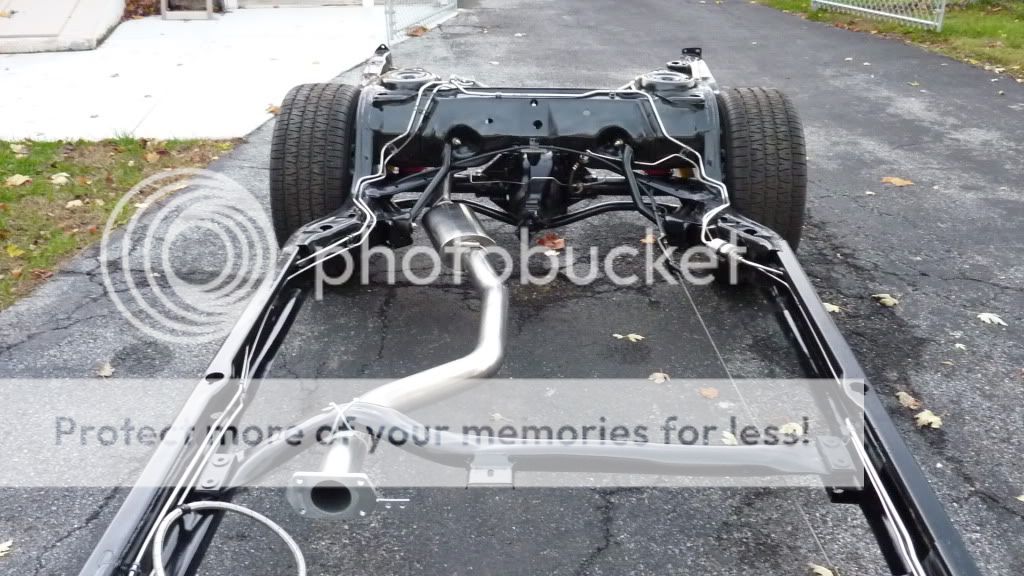
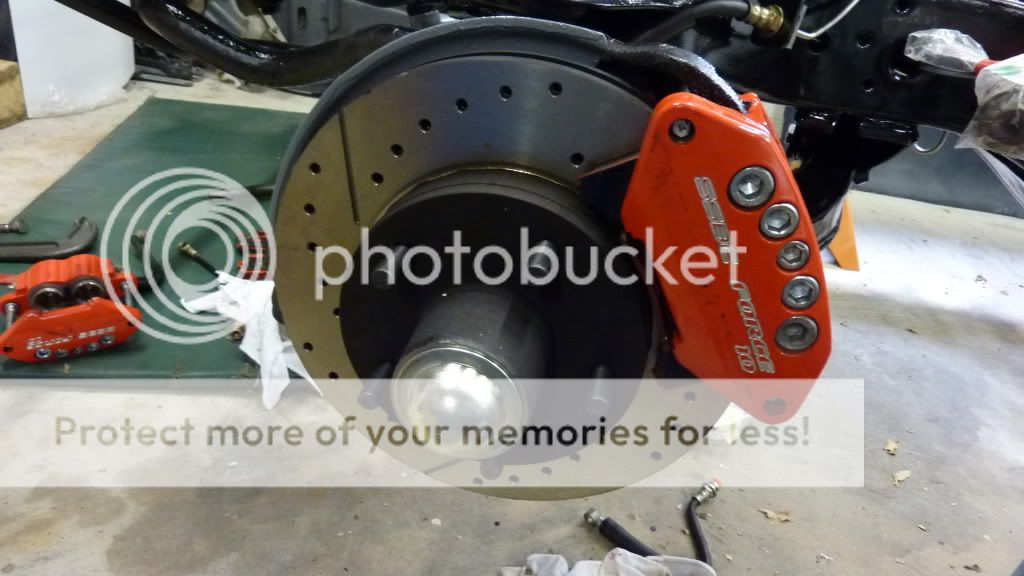
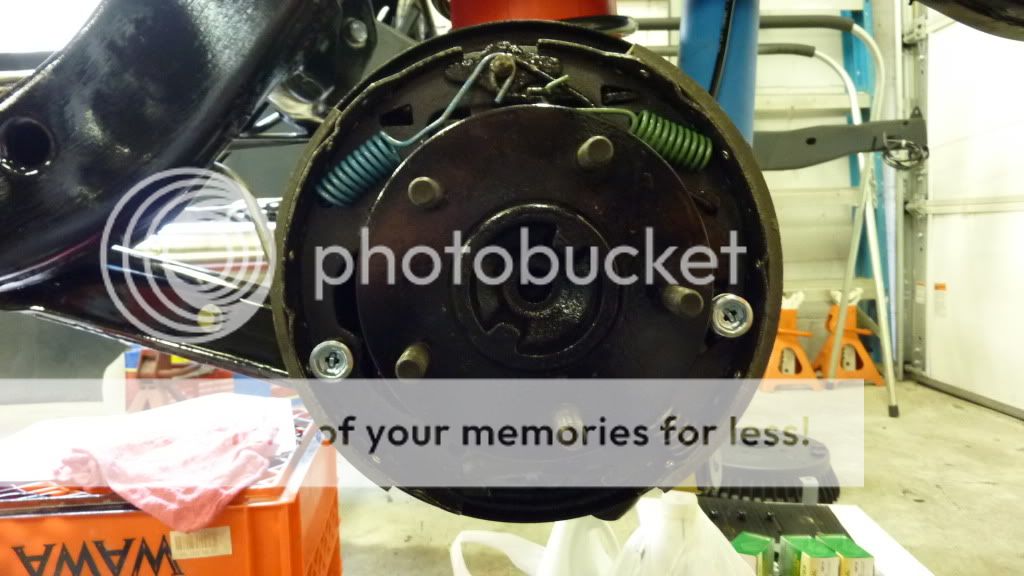
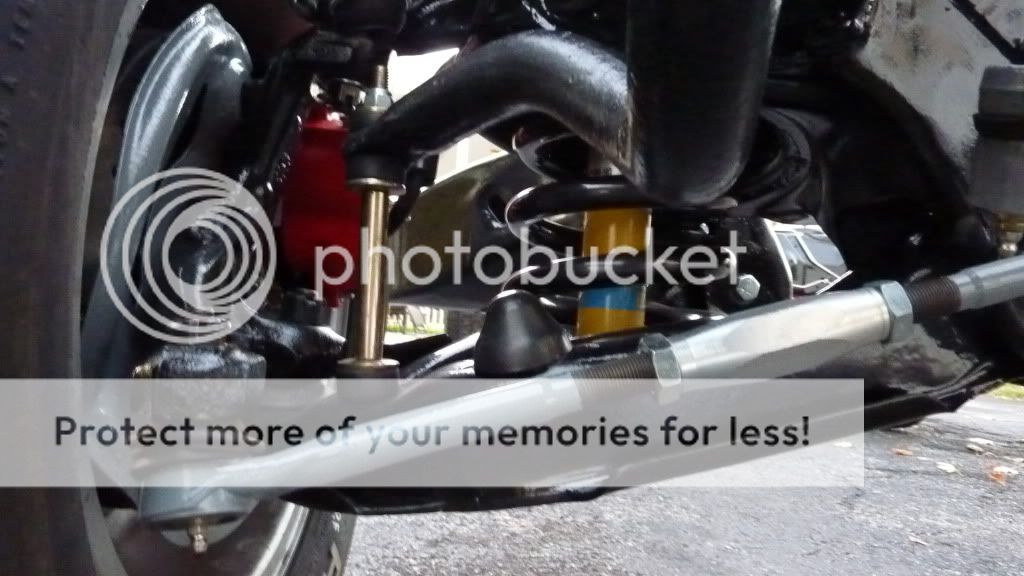
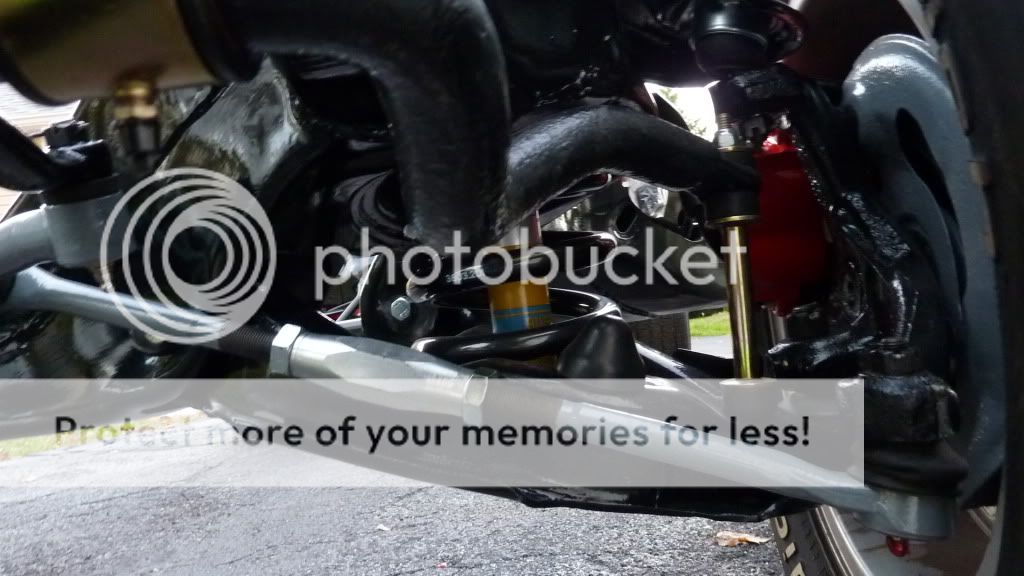
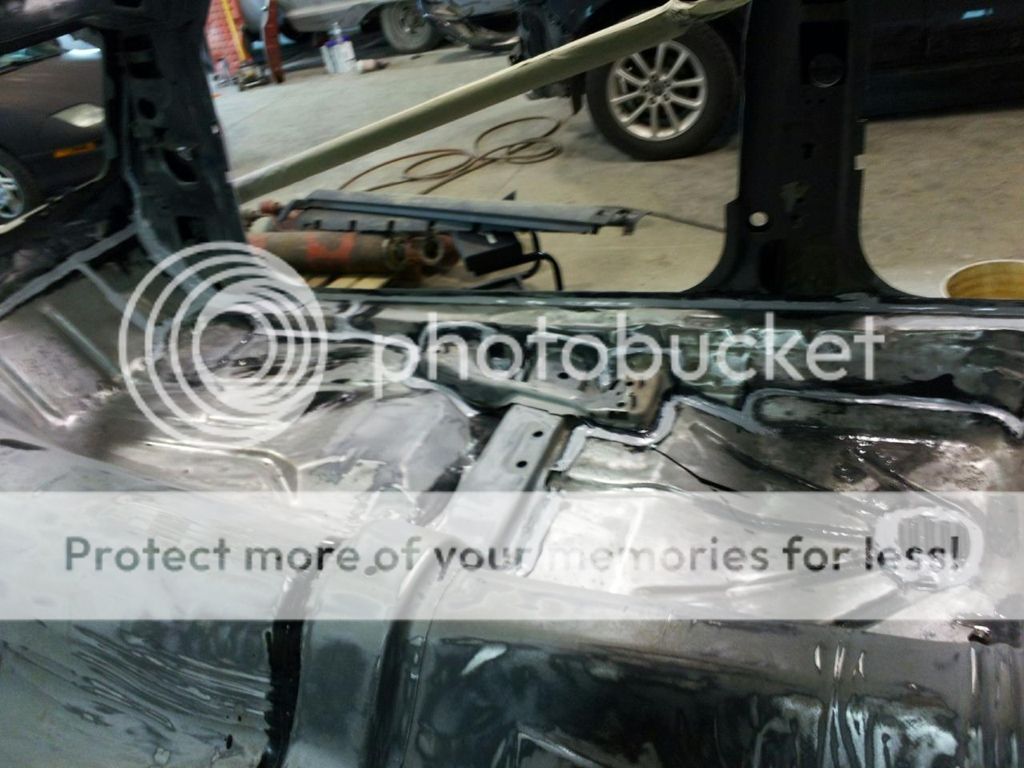
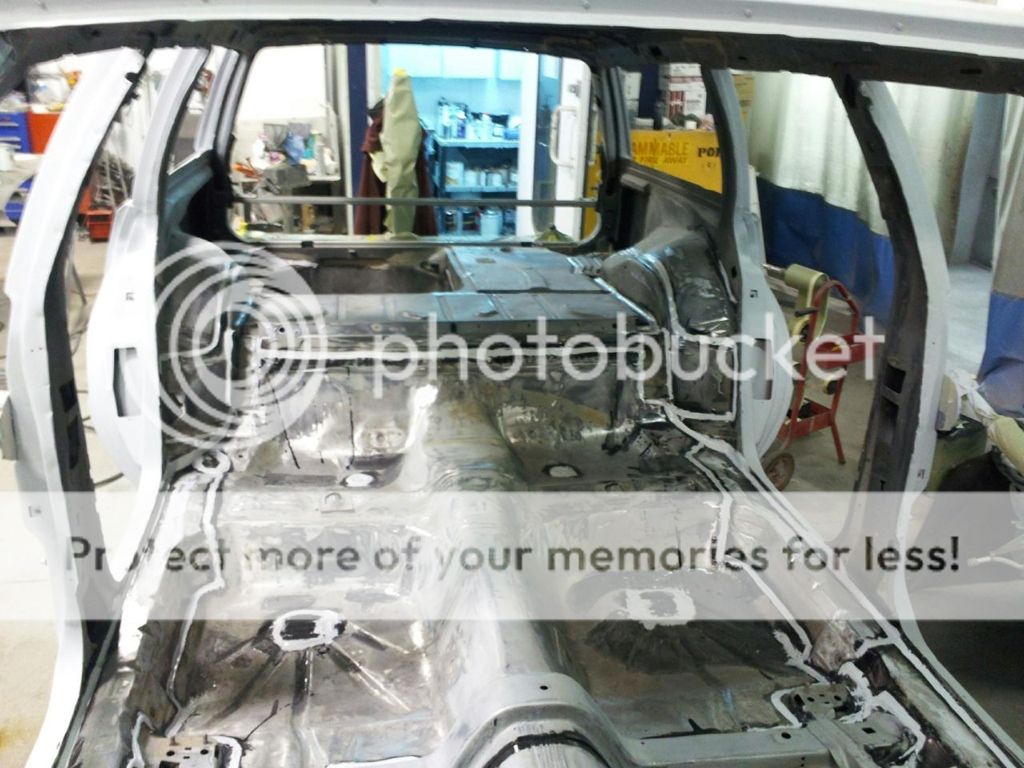
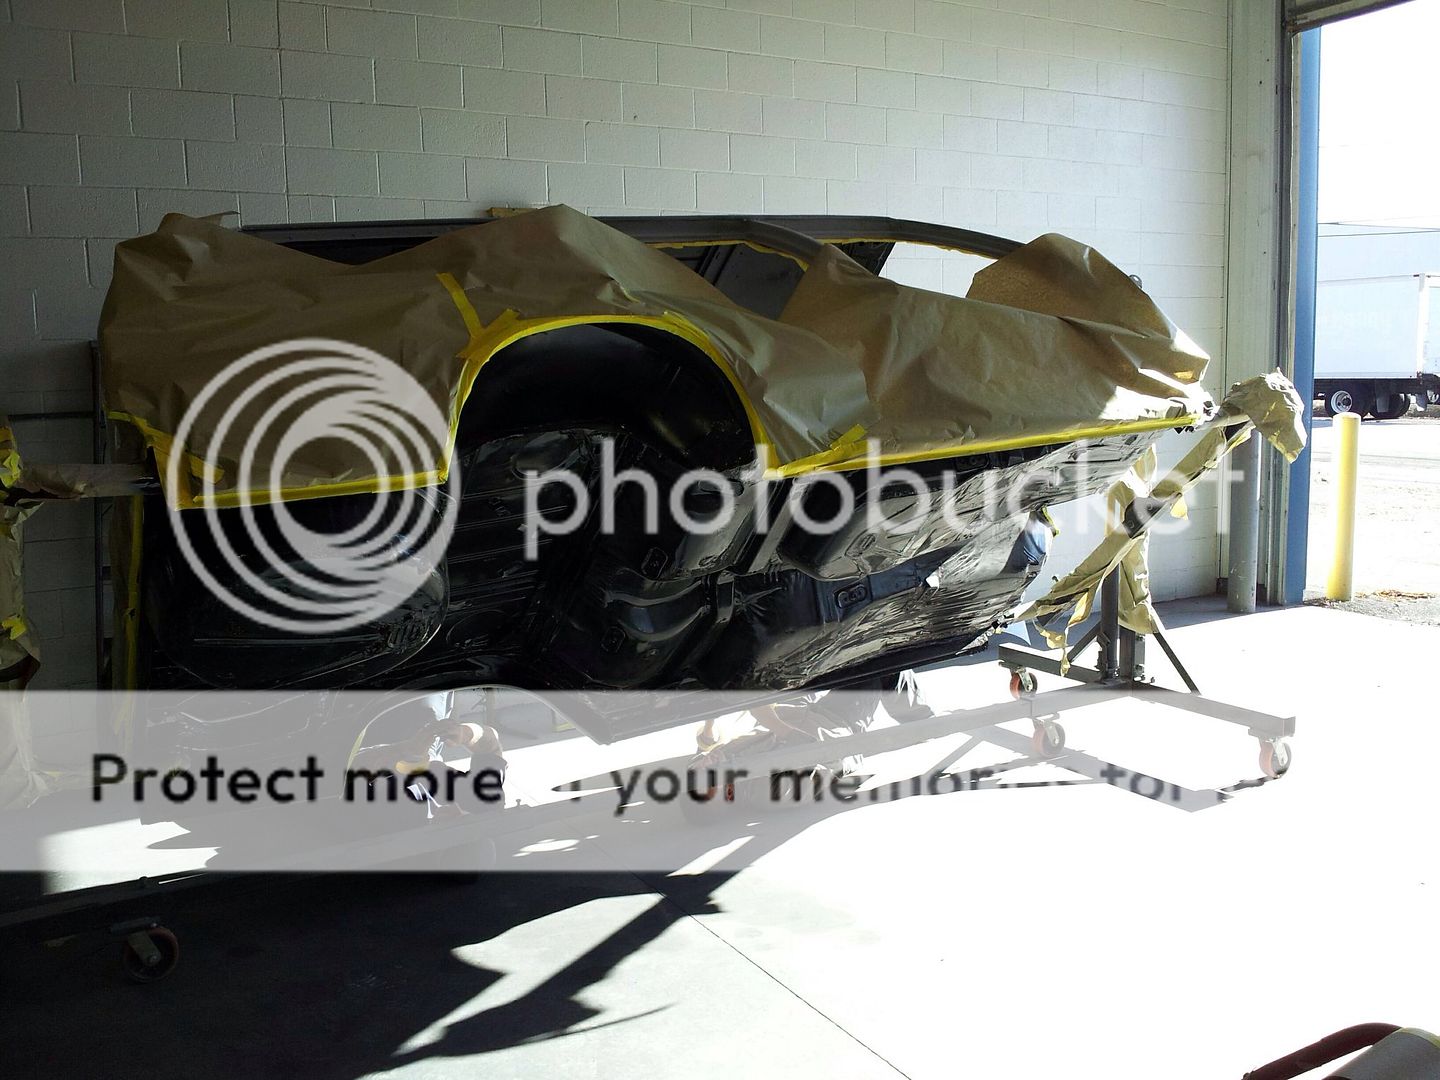
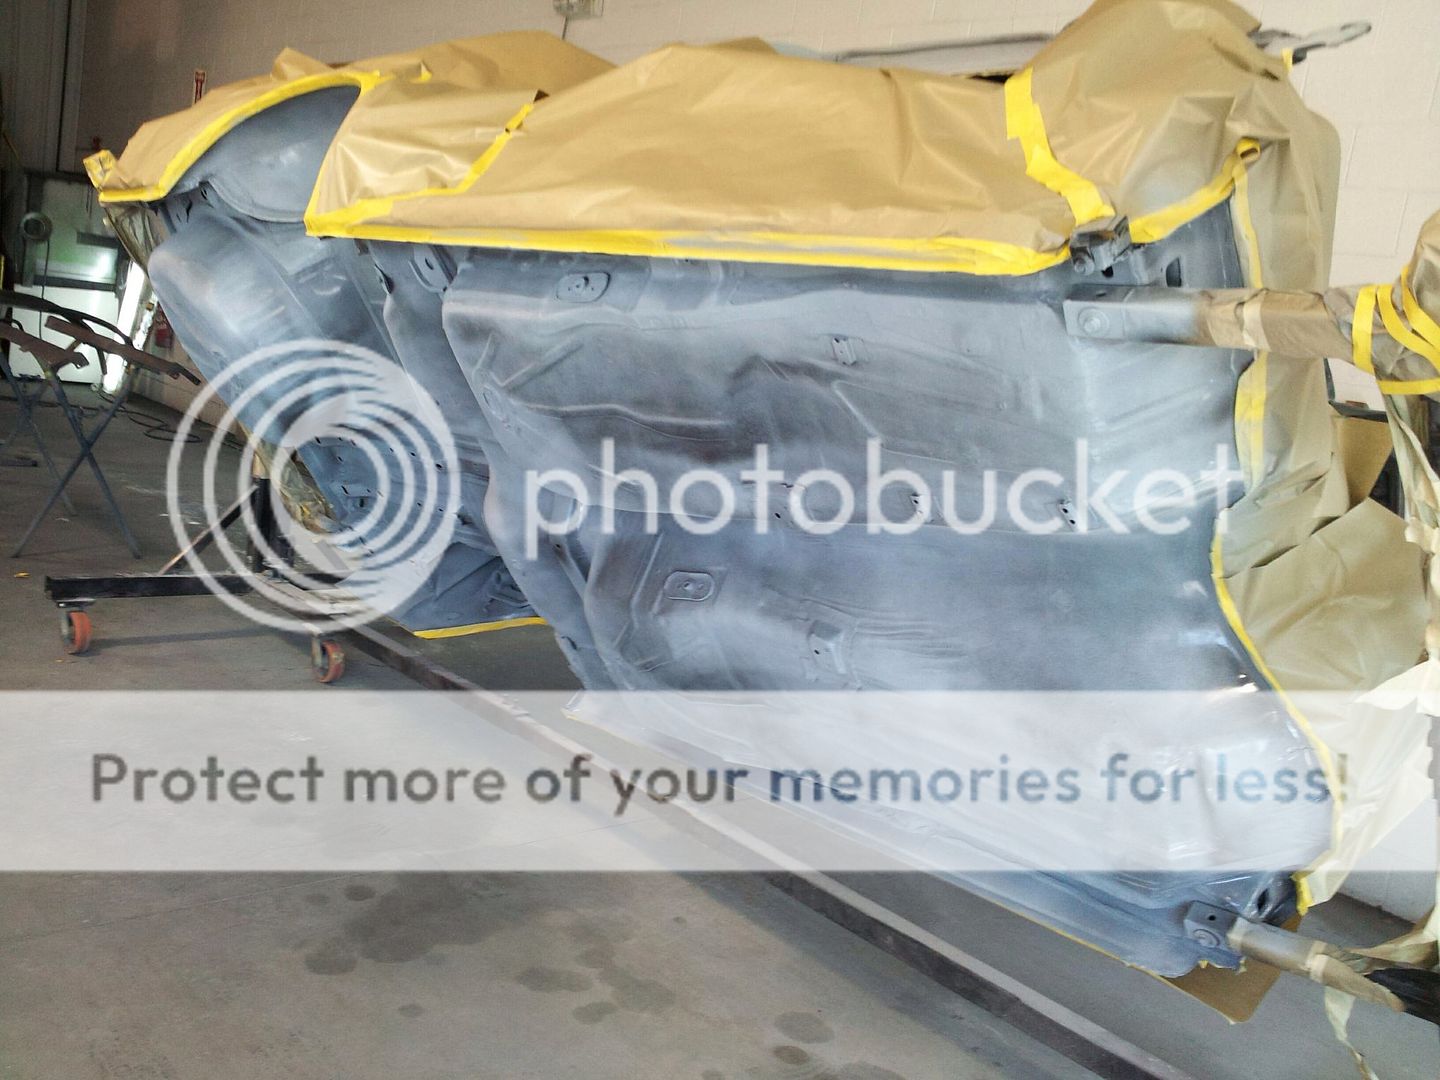
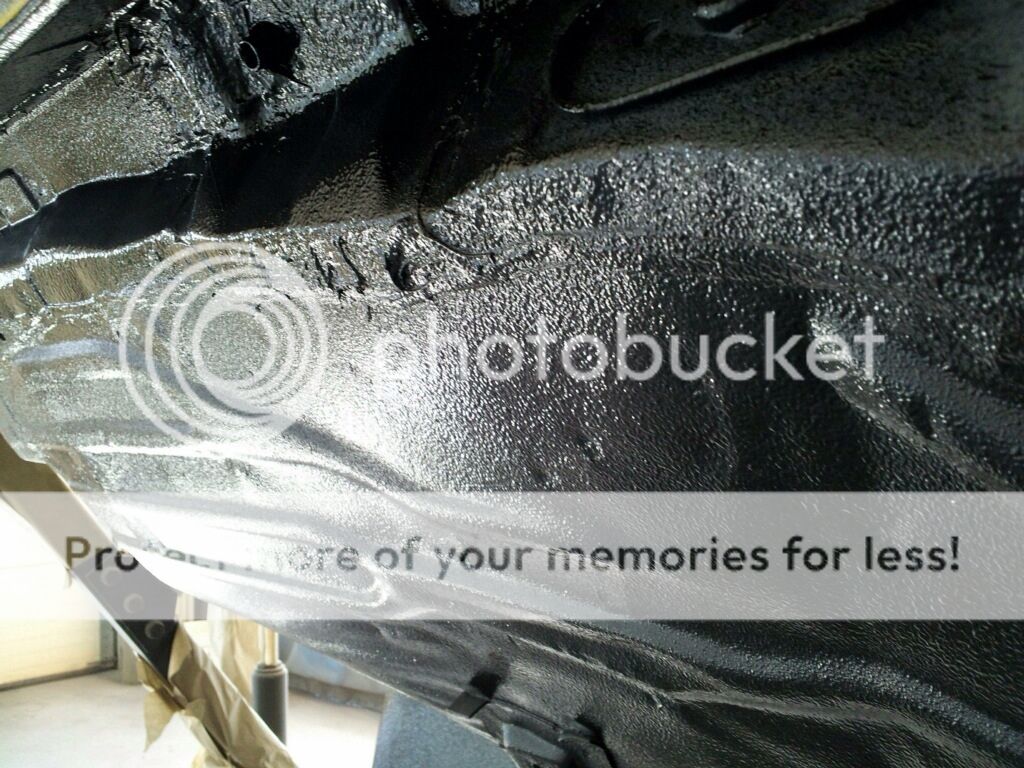
I got back to working on the chassis again today. I decided to install the rear rather then finish up the front suspension to get the rear out of the middle of the garage. More room to move now :D

P1010586.jpg


P1010589.jpg


P1010598.jpg


P1010600.jpg


P1010609.jpg


More pics here: Malibu pictures by turbo231 - Photobucket
 
Havent done an update here in a long while. Still working on the car progress has been slow.

3/1/12
Stopped by the body shop they have the lower quarter panels just about finished up. Its all still in rough metal work form.
Still have to address some rear glass jamb rot, and some body mount repairs are needed but by the end of march they say they will be done metal work and have the body sealed, and in primer so we can put it back on the frame hopefully in mid April.

025.jpg

026.jpg

028.jpg

027.jpg

IMG_1456.jpg

IMG_1458.jpg

IMG_1457.jpg

IMG_1451.jpg

IMG_1453.jpg


5/8/12

Lower quarters are in welded up, new flush mount LED marker lights cut in and quarters are in filler.

New fuel door is tacked in place, one piece to fill in yet
photo.jpg


10/25/12
The tail gate has been modified, it rough metal needs finish and filler but the hard parts done. I will have a 3rd brake light in the pocket above the license plate and the plate will be lit with 2 small LED's

6B0F1351-D207-435D-B64C-5EF237B150E4-7749-000003B59C79FDBC.jpg

0416D49F-0394-4ED3-957C-20F377872379-7749-000003B5907A4773.jpg

700BE936-A6C8-4E44-B01C-E6F5786EA1E4-7749-000003B5975740B6.jpg


Starting the hood next adding the Turbo Regal hood bulge.

Flush mount markers just about complete. Fitting the lens and another skim coat of filler needed around the lens then final sanding. Next the body shell goes into full primer, blocking, etc...

8A417CEE-681A-473F-B3BE-86D0DAB18E82-743-0000001693BB417C.jpg


11/20/12
Primer time
58AC393A-685C-4025-946E-331C4AA93634-11624-000001BFF3251847.jpg

DCA50439-DD95-49AF-8F6D-07371D9596C8-11624-000001BFF8CD7A97.jpg

88C8016C-400E-4A65-8A31-7C40763308C5-11624-000001BFFDB51FF3.jpg
 
Still chipping away at the hood
IMG_20121227_153214_zps512003ed.jpg

IMG_20121227_153229_zps350c6688.jpg

C7692BDC-C4ED-4445-B0EC-872292BFEFBB-5493-000000E377DD07BE.jpg


Interior of the body shell was finished up yesterday, final welds complete metal was etched, seams primed, seam sealed today it gets paint.
1F5371B3-998E-42FB-83EF-3C58F8D3983E-2989-0000007287A1C8FC.jpg

C72A3D19-2A75-414B-AF32-388B93D01E27-2989-0000007294C6A320.jpg


Body mount behind the pass side rear tire was repaired
26D53F29-4483-4FB4-8D95-55A72005F5AC-2989-0000009617CE20FF.jpg


Ant I snapped a shot of the rear of the new fuel fill a few people had asked how it fit in there.
77F7A9BB-7827-45D9-BA59-8B93C2DA735F-2989-000000961D738743.jpg


Etched and painted

E559FDF8-90BD-43B0-B096-A76A15B792BE-1474-0000003C8B59C059.jpg

0D5728AC-ADEC-453D-9396-95521BF23916-1474-0000003C8FCB5F3A.jpg

1AEC79FF-3199-4C0B-A513-18D736D33FBF-1474-0000003C94D9BC10.jpg

C85BFD23-D2A5-4431-8E65-0C3915219FBE-1474-0000003C9AB09D2C.jpg
 
Thanks, here is the latest.

Its getting closer to coming off the rotisserie, still needs to be undercoated. Some final primer/sealer in the jamb's and then the jambs, rockers, and glass opening area's will all be cut in before going back on the chassis. Hopefully by the end of September it will be back on the chassis and we can then get some doors ready and hung & work on the front end metal and finish up the tailgate and get it painted already.


its now undercoated with the spray on bedliner stuff. Had to scuff the por15 then etch prime for the bedloner material to work correctly. I dont plan on taking in the water but they say it should float now.

Minor things to finess and then it gets cut in then back onto the chassis.

DF5C5373-6330-4CC2-B462-4FB41A719AFB-8659-00000ADD1D641316_zps4a09ae4f.jpg


57011072-080F-4AAF-8CCE-A5969C10B7A6-8659-00000ADD2287C925_zps2d7df141.jpg


EC1941B1-CC34-43FB-9809-1020A46CE15F-8659-00000ADD26F1ADB0_zps800ed046.jpg


5BDC1C2B-DFFC-4924-8C04-559E68B110DA-8659-00000ADD2F4C35D1_zps88bc7440.jpg


61BF43C7-641F-4DF6-A02C-E8CC5984322A-8659-00000ADD2B32575D_zps74113f50.jpg
 
I fckn hate when people do these frame off's........


makes me feel so lazy...:) you have great skills and she looks awesome..hope it falls off the freakin rottisorie ---j/k im jealous..:D

Also can you tell me who refurbished the Stock T wheels,,look awesome...they for sale..
 
Better pictures of the undercoat (POR 15's, POW-R-Liner)
spacer.gif


74C3BE80-D43D-485B-9741-D383F4ED9E14-7542-0000061D20F5BA67_zpsf95b4015.jpg

B0A092C4-4C67-4F27-AA3C-932B0EBE5333-7542-0000061D2687C56F_zpsa326297e.jpg

B719BF23-33F2-4EE4-993F-FBB174CEE40D-7542-0000061D2BE293A3_zps0297a4e5.jpg


Start to finish collage:

3A68EBC9-3084-44C0-9CDF-1C03C09C4516-7542-00000624FC1EF5AD_zps5d17c6aa.jpg


Awesome job so far, who did the T wheels for you?
 
Top