You can type here any text you want

Building a 1964 Buick Special

Welcome!

By registering with us, you'll be able to discuss, share and private message with other members of our community.

SignUp Now!
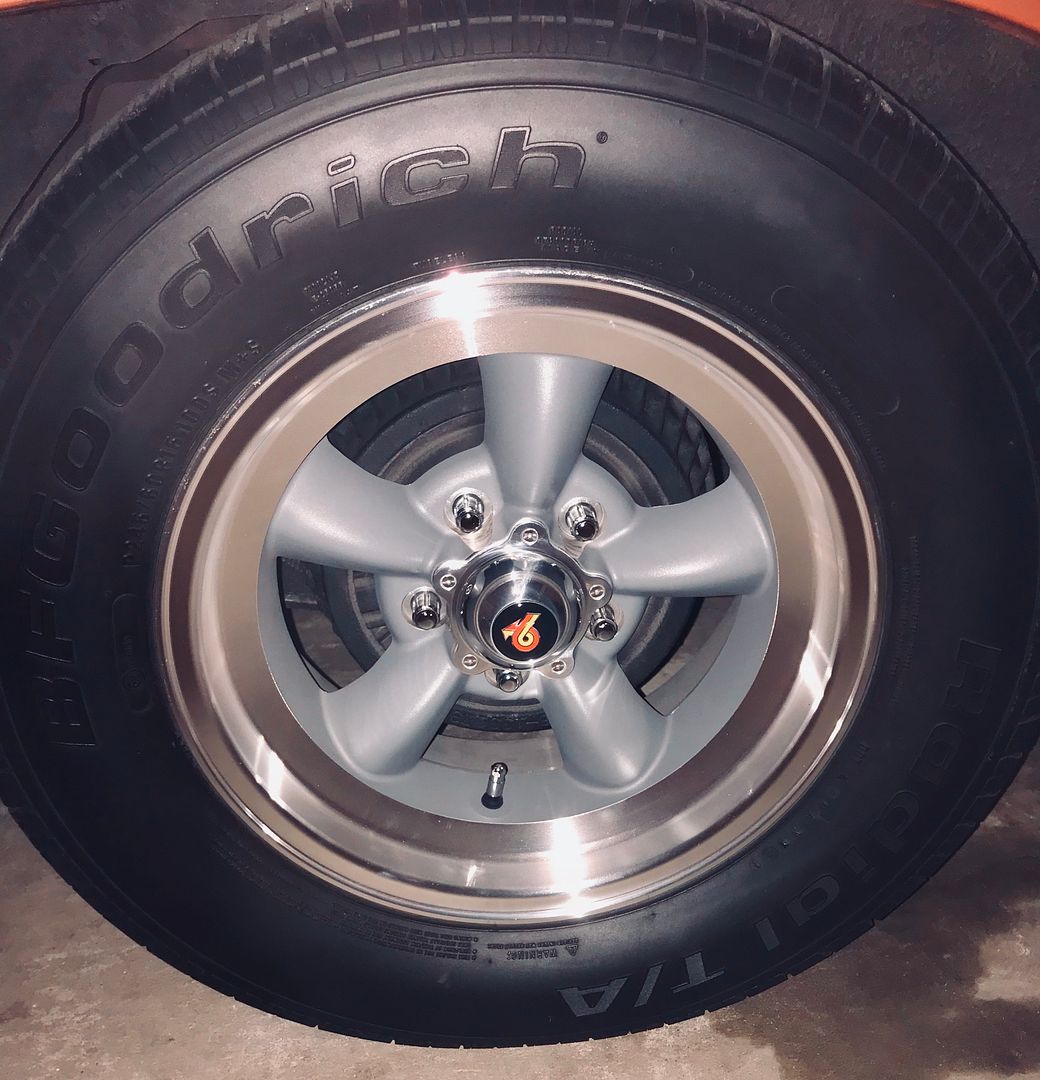
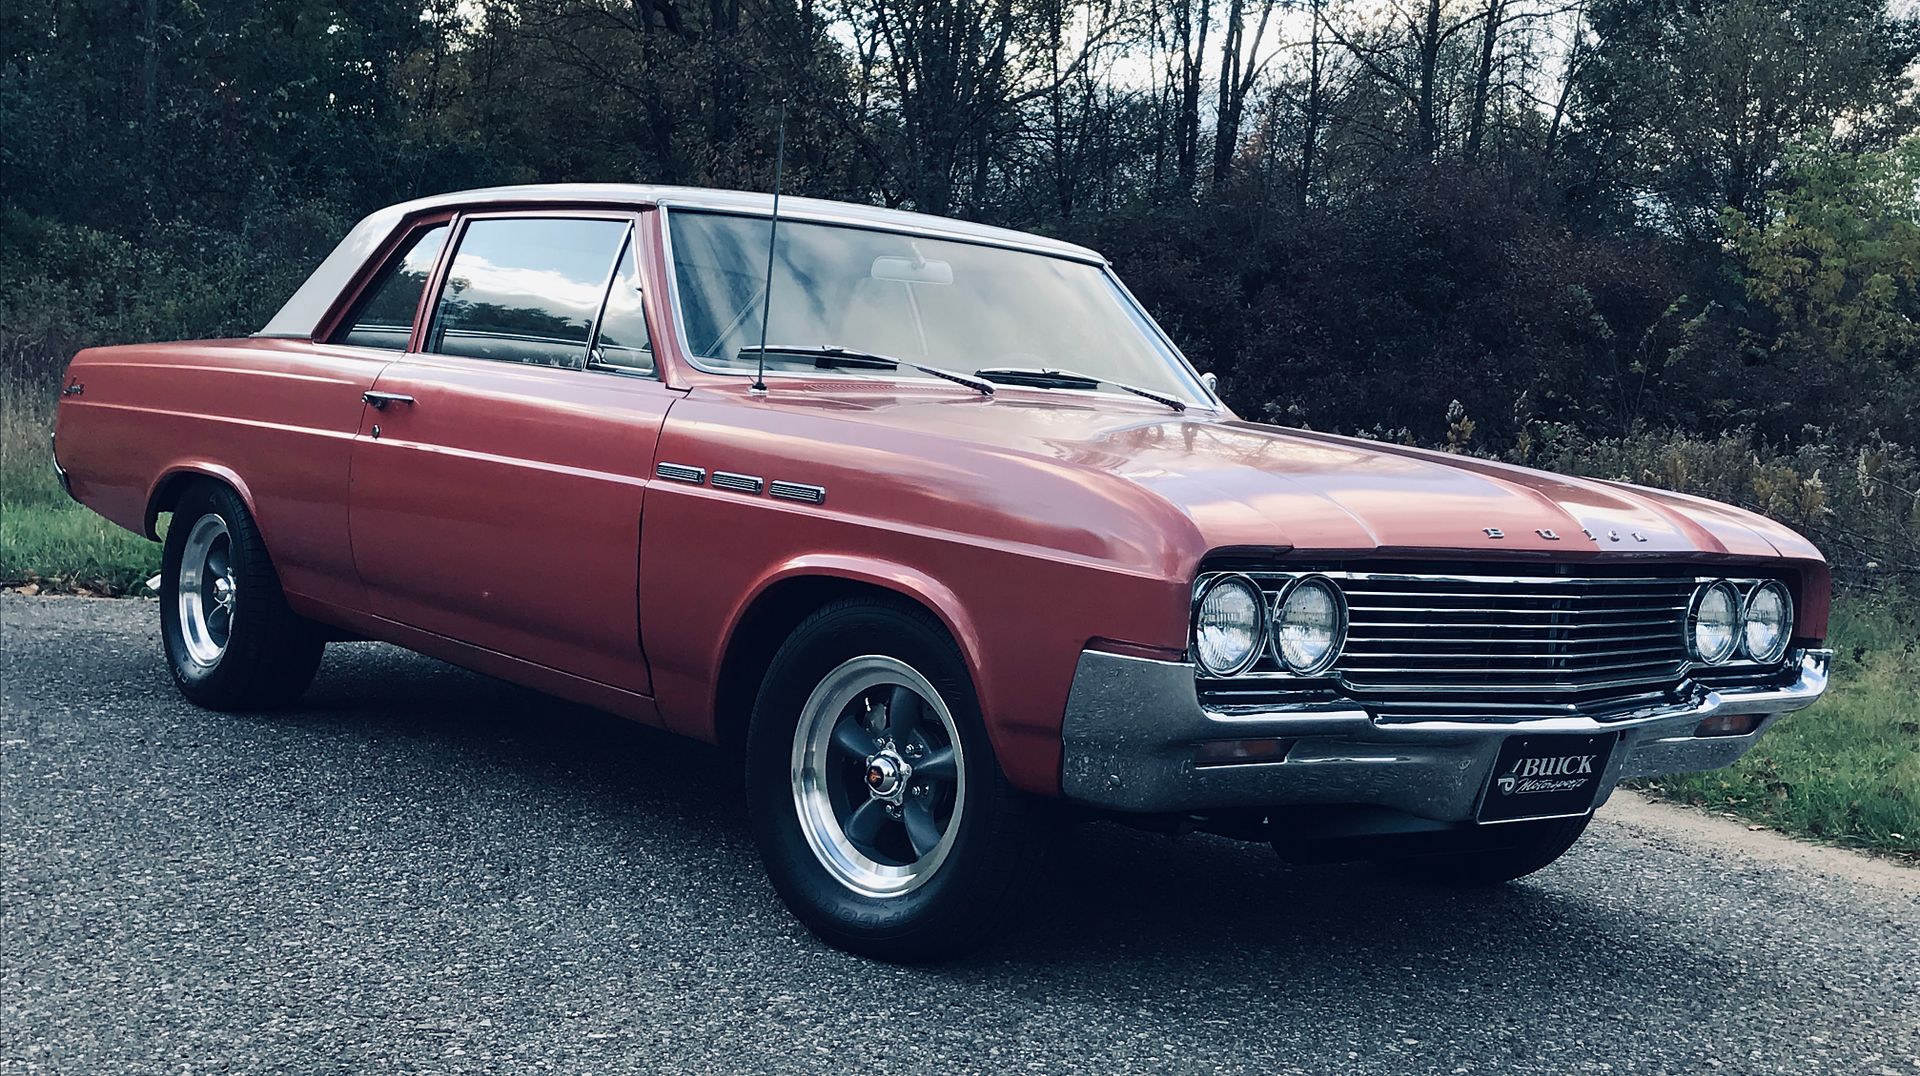
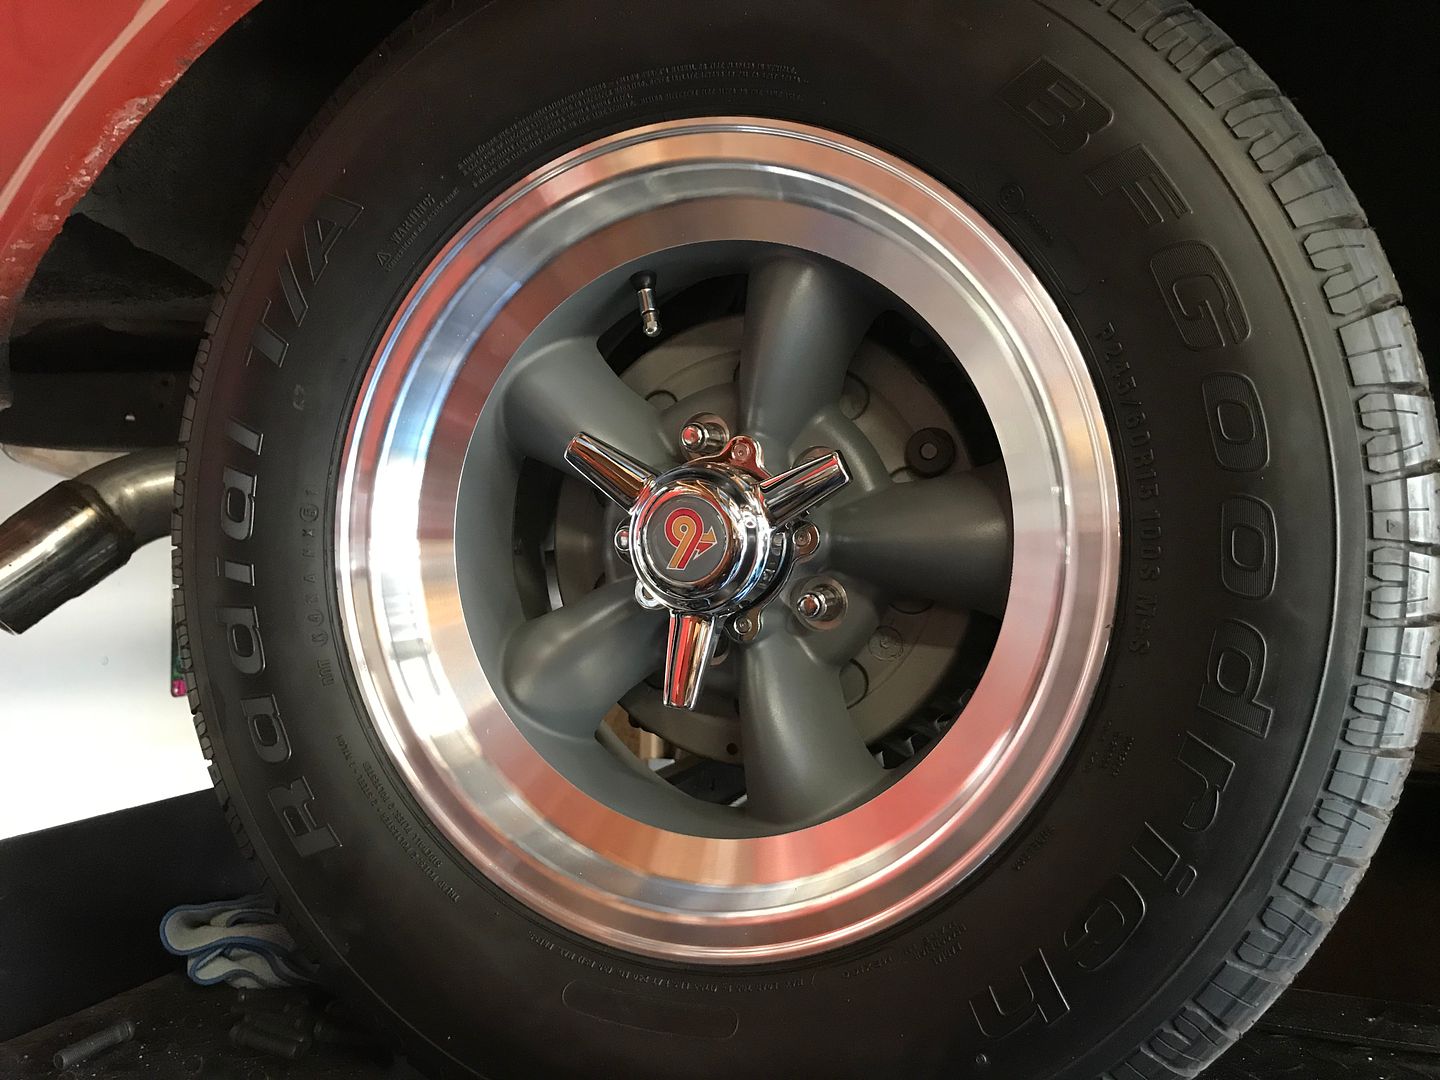
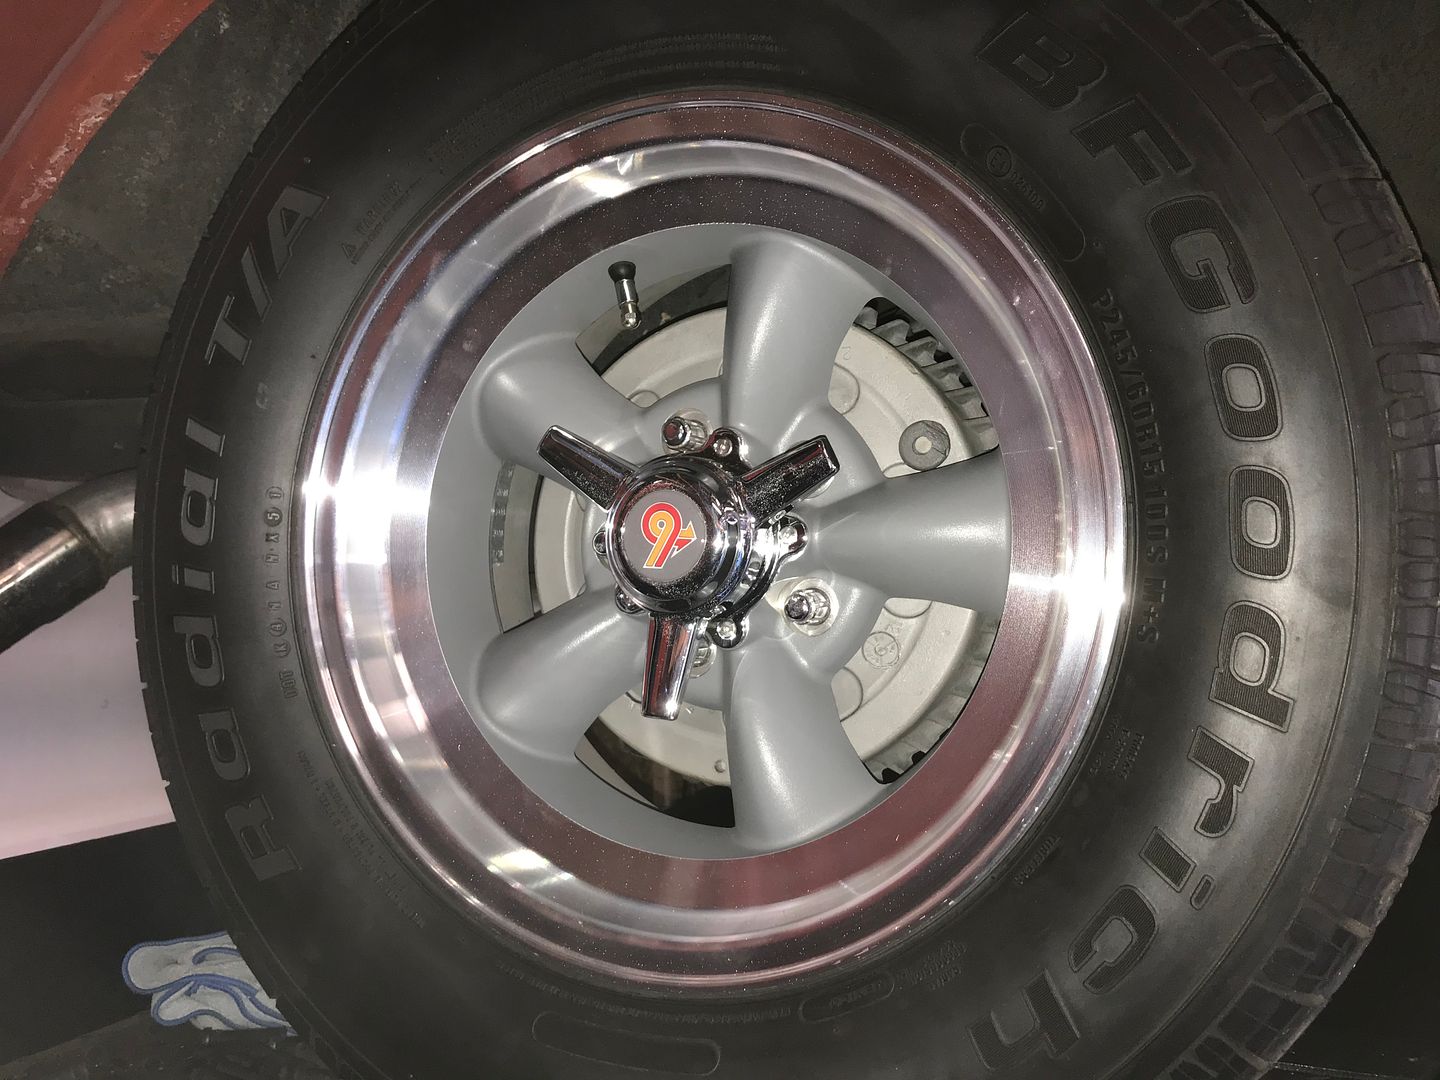
A little customization to the American Torq Thrusts. The decals came from a vendor called 3dcarstickers.com. They take a while to arrive due to them being eastern Europe, but they were worth the price (under $10!).

B578FBB2-CE0E-48A5-9237-74079F697013_zpszw6qcrep.jpg
 
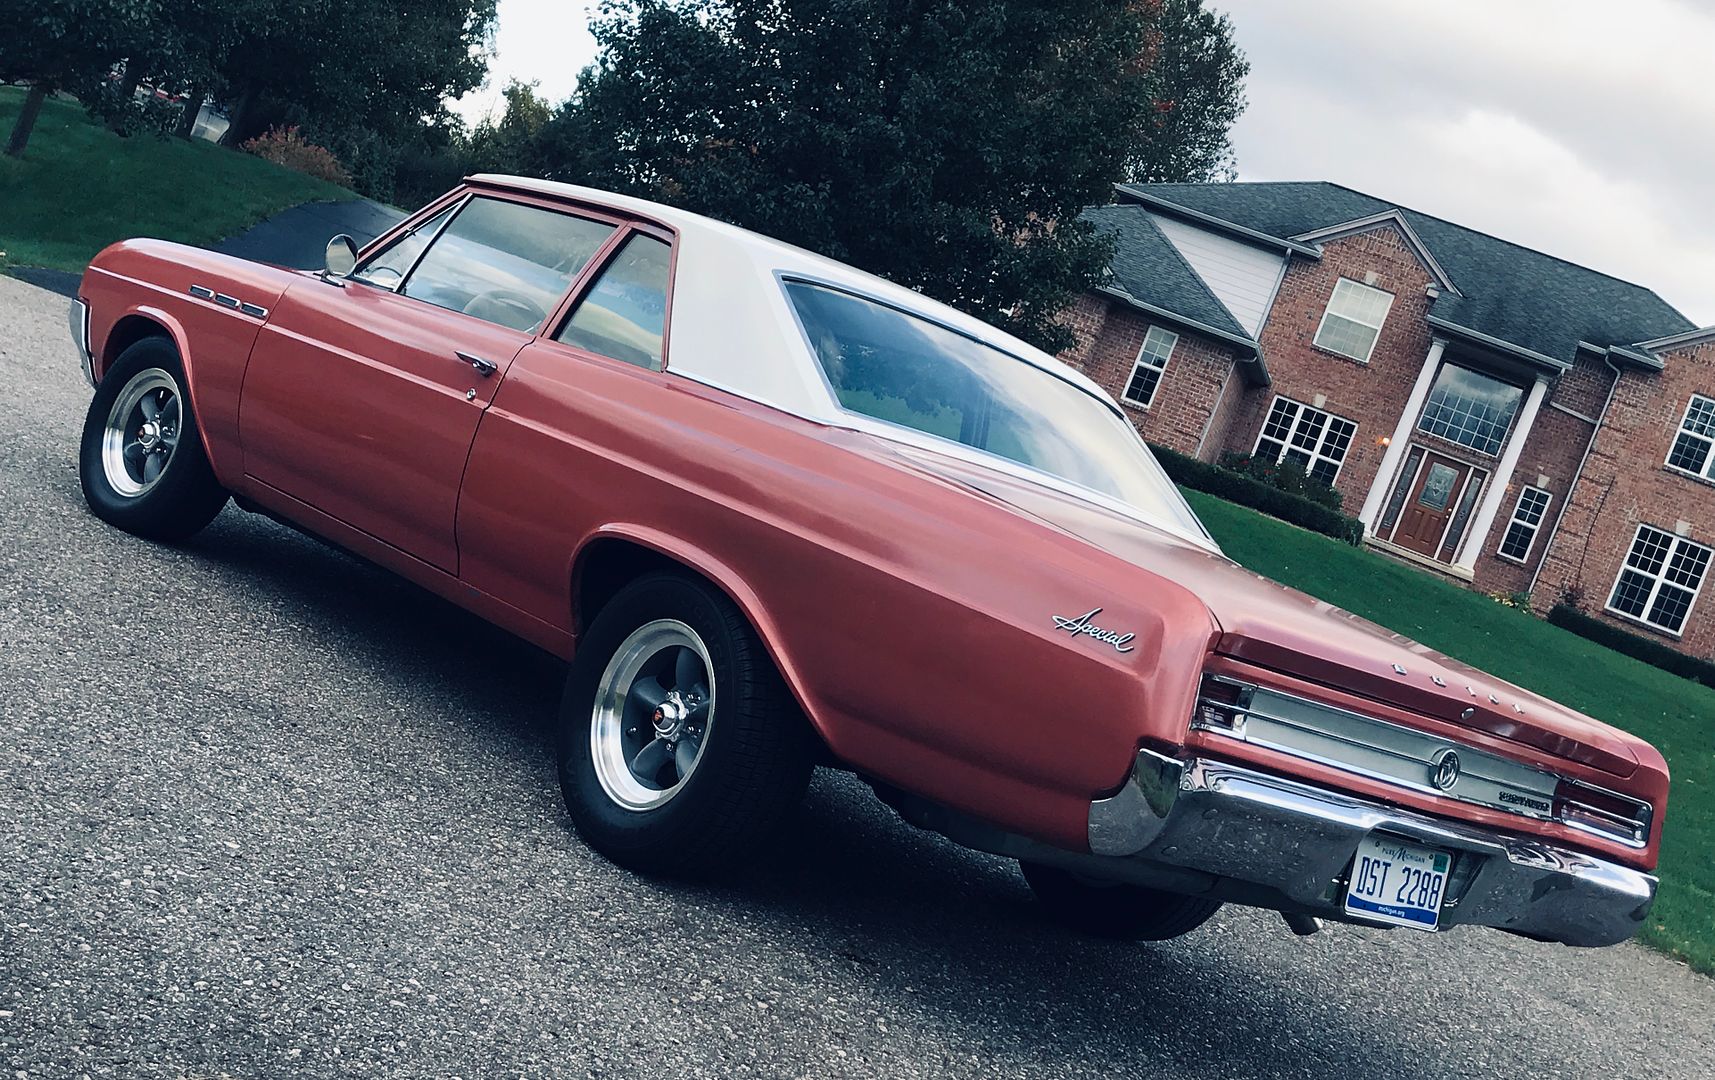
Been working with a few new photo filters. If the picture of the car looks better than the actual car, you know you've found a good filter!

82E2F973-2796-4030-88F6-01B2AC80FCA8_zpsznuikclp.jpg


2AE12AED-3371-48E0-B8EA-914EA97206F0_zpsr9wprvz6.jpg


I'll need to make some upgrades this year, so stay tuned. The engine mounts are shot (I used the stockers from the original '64 225 V6), and upgrading to the turbo V6 versions means updating the frame brackets as well. I was able to source the frame brackets from another member.

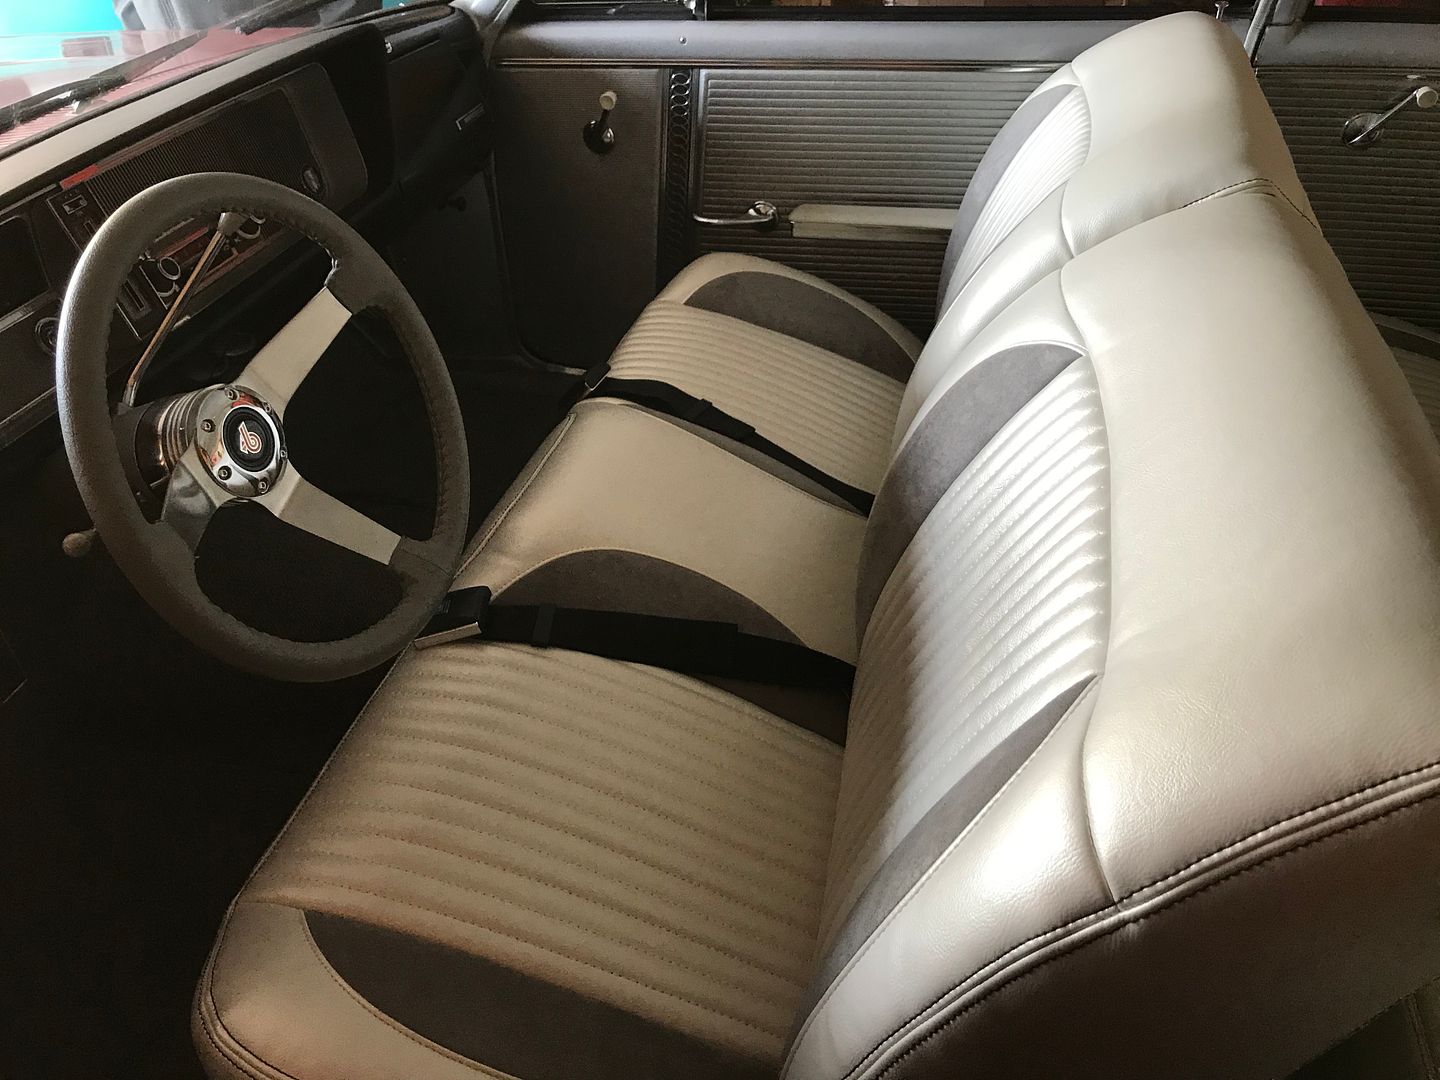
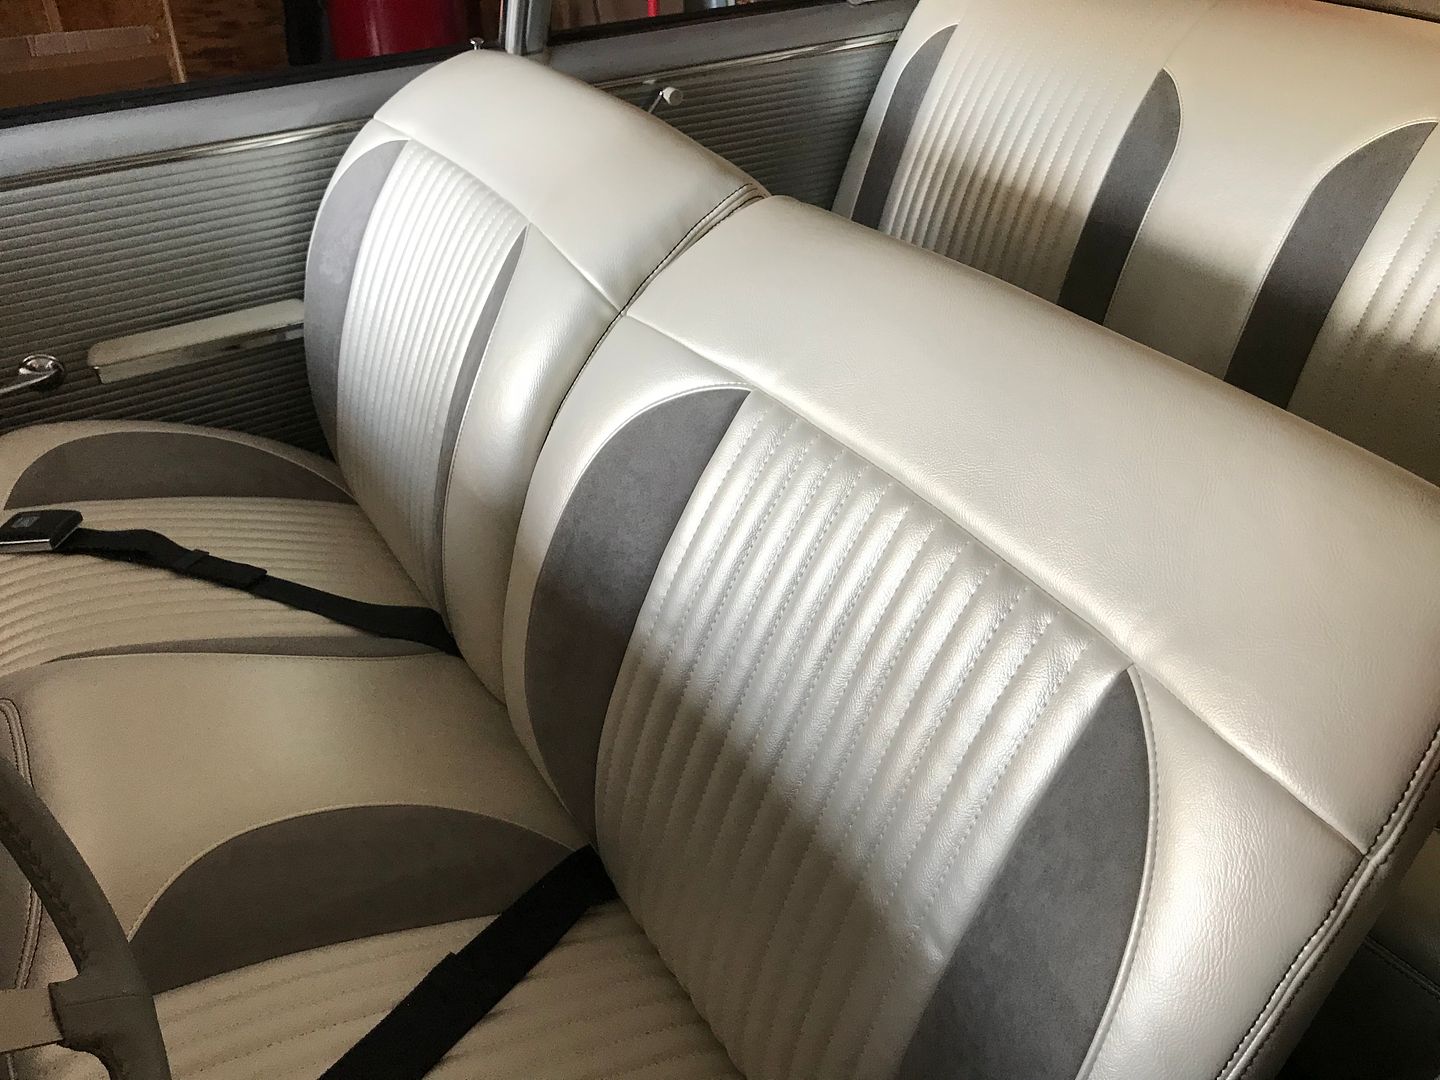
Also in the works is upgrading the seats. I'm begrudgingly doing this because of the excellent condition of the stock interior; however, the large amount of miles I've been putting on the car have forced me to look for a comfort upgrade. I've ordered replacement covers for the front and rear benches from TMI, along with improved foam for the front bench. More pics to come soon -
 
Last edited:
I can't think of many cars that beat the lines of your classic!!!!!!!!
 
Fantastic work !
Maybe you should market that intercooler scoop i'm sure some of the Slic guys would buy it.;)
 
I've finished the "easy" part of this winter's upgrades (the new seat covers from TMI). The front seat also uses their foam, which provides a bucket-like feel. They are very comfortable. The color is pearl white with grey velour inserts, which is very nice with the stock door panels and carpet. I'm interested in honest opinions!

CDD9B691-9F46-4607-9341-659E3475FAF7_zpsr4rvlaje.jpg


DD85F79E-879C-41CB-B633-57DF3ACC26EB_zpshan0jtd9.jpg
 
This weekend, I added a little more "TR" content. I scored a set of very clean used aluminum drums from a local turbo Buick guy. The drums are 9 1/2" - just like the rear drums back in '64. I just slipped them over top the existing brakes, and readjusted.

I'll try to get full size images up later today.
 
Last edited:
Next order of business... Methanol injection!

I've purchased the kit from @Razor, and will be working through the mods to fit to my car. This will include creating some space and fabbing mounts for the TB alky tank, and finding a suitable location to mount the pump.

I'll also be covering the necessary upgrades, such as the feed for the electric fuel pump directly from the alternator (hot wire kit), new u-joints for the stock 1964 driveshaft, adjustable FPR (already installed), new injectors, and re-burning the chip via @Eric Stage I .

Initially, I will be running the stock turbo and IC, but will likely upgrade to a better turbo and (at a minimum) use ArizonaGN to modify the stock IC. My goal is to have a car capable of 12 flat-ish, or high 11s with some careful tuning. That means 450hp or so goal, so nothing crazy.
 
Stage 1 of the methanol update included adding an adjustable fuel pressure regulator, as well as installing a 3" downpipe + adjustable boost pressure valve.

The regulator installation was straightforward. The downpipe required a little more engineering (ie - a big freaking hammer). I purchased an external WG downpipe from another user on this board. It looks to me to be possibly an older model GN1 style. The boost valve is from Lorenz Racing & Performance.

The downpipe required a few mods, including:
  1. providing some clearance on the pipe in the area of the upper control arm rearward mount,
  2. providing some clearance to the frame, and
  3. opening up the WG hole in the pipe flange to the size of the SCE gasket to ensure good flow
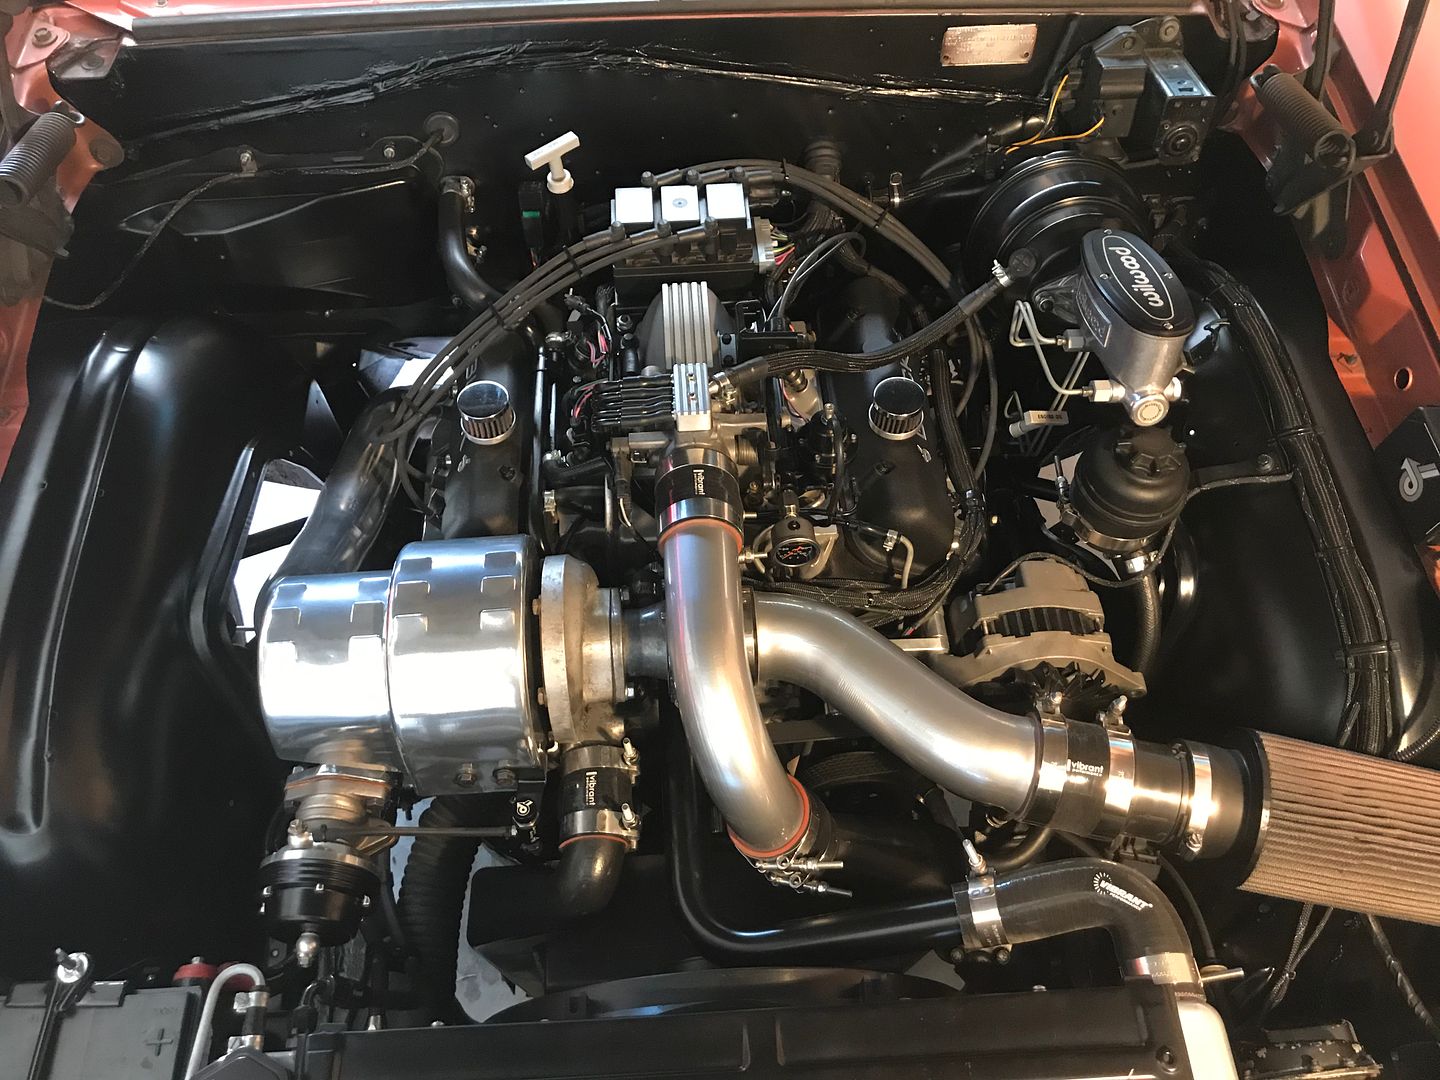
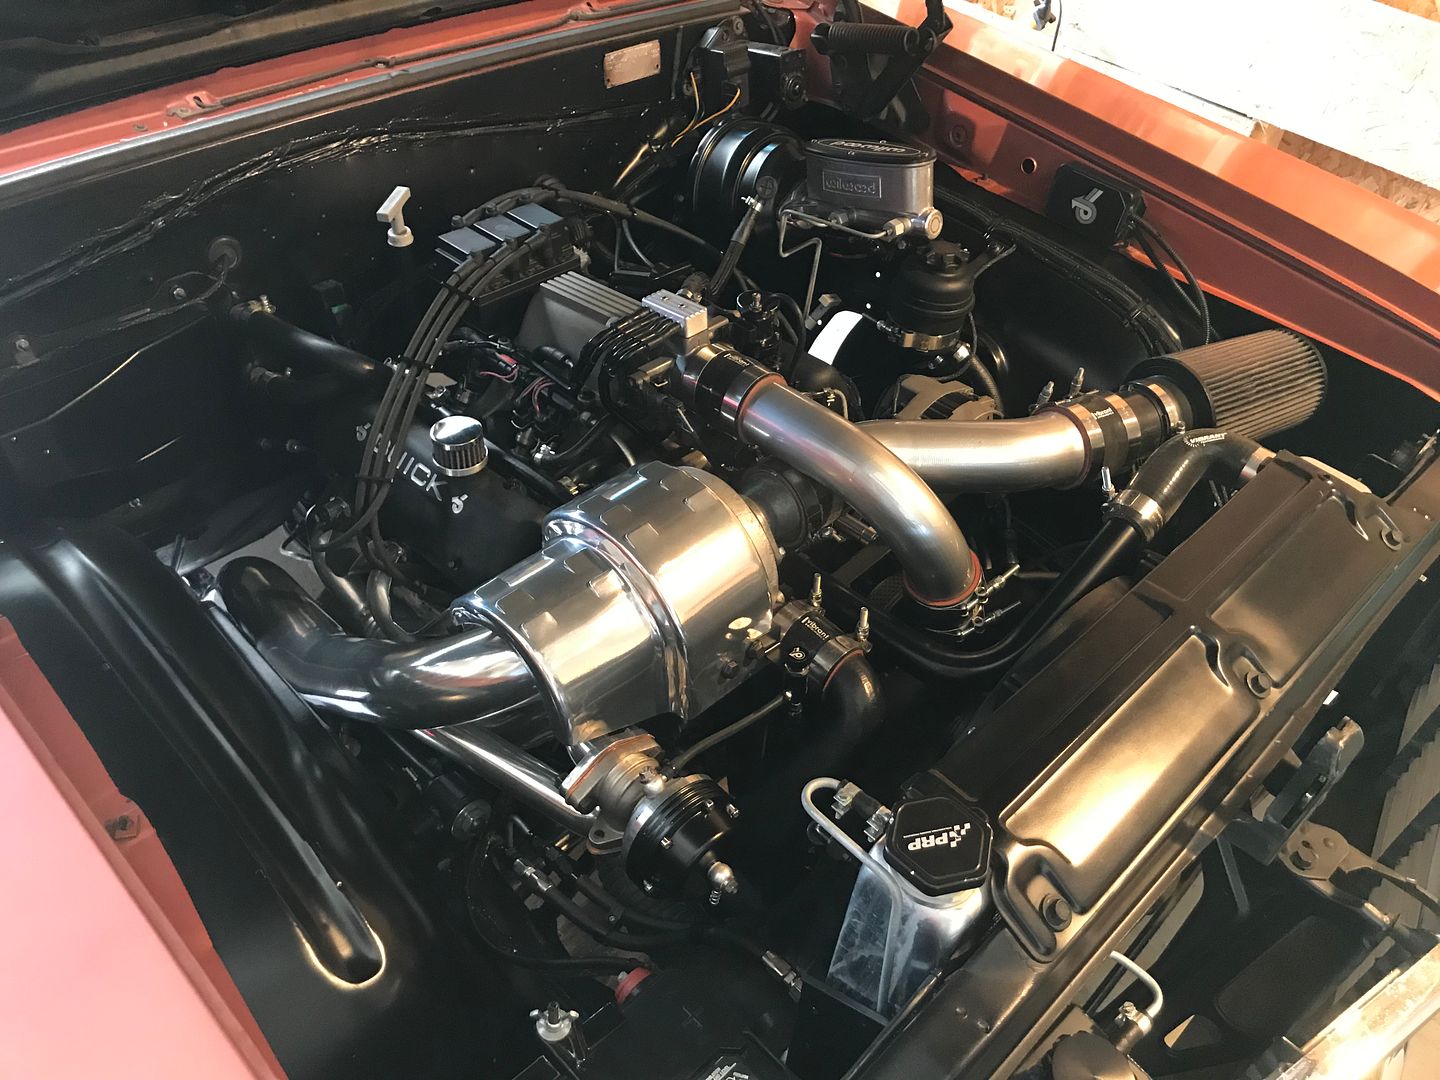
The finished installation looks pretty clean. See images below. The boost runs rock steady at 15psi currently, with the ability to increase boost via the valve, once the alky is installed.

68366918_8649_459F_B7B4_56FB4AC3B29C_IMG_6359.jpg


99E09E09_65C4_443E_B9A7_C4179D892F8B_IMG_6357.jpg
 
New walkaround published today! This adds the revised content since completing the powertrain swap in September 2018. Have if look, if you so choose.
Yes I so choose!!
Great video. Thank you for keeping us updated.
 
Wow! A beautiful 60's slant on "Going fast with class." That is the absolute best description that comes to mind. Beautiful and every touch 'right on' as we used to say. Hat's off to the creativity, pride & effort invested in your great project . Sometimes its like there is always one more thing a person could find to add or change, but its hard to see what you could do to improve it any more - anyway IMO it's heads above most any Malibu, Cutlass, or Lemans from those days.

Thanks again - nice video.
 
New walkaround published today! This adds the revised content since completing the powertrain swap in September 2018. Have if look, if you so choose.


This has got to be one of the nicest cars around, just superb in all respects. Great simple lines and super reasonable power train upgrades for longevity. Very well done. :cool:
 
Well, I'm going "all in" this winter...

In addition to the alky, I purchased a few more goodies:
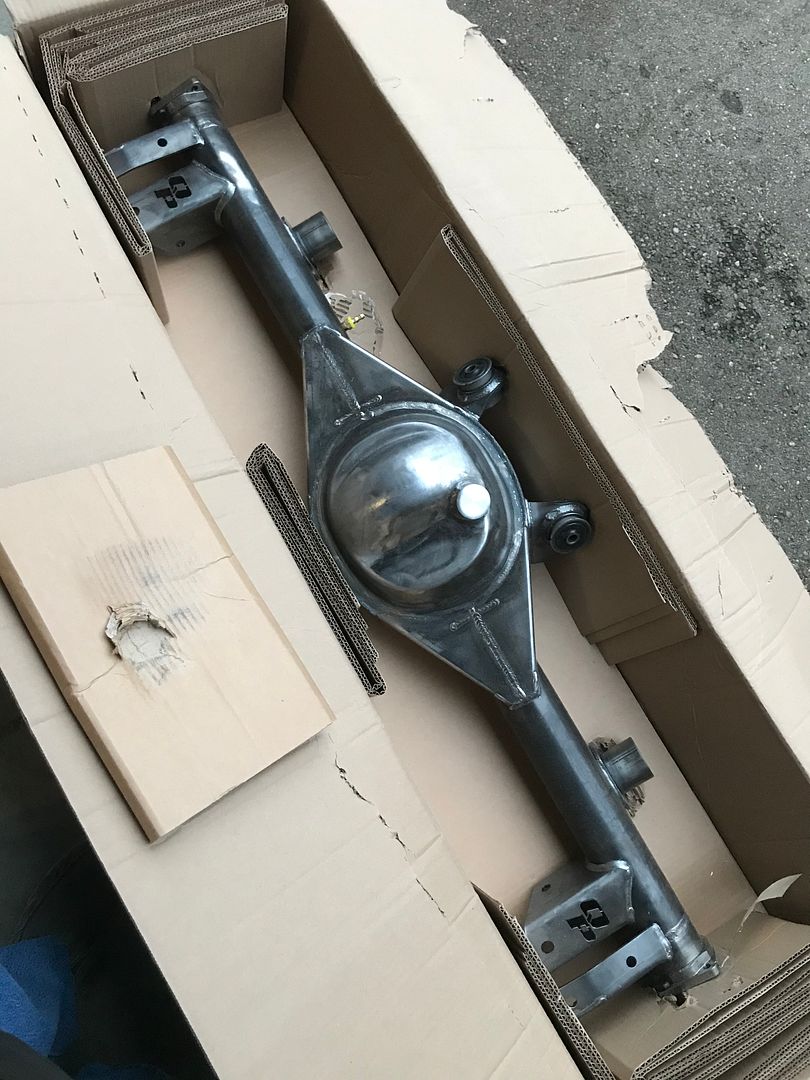
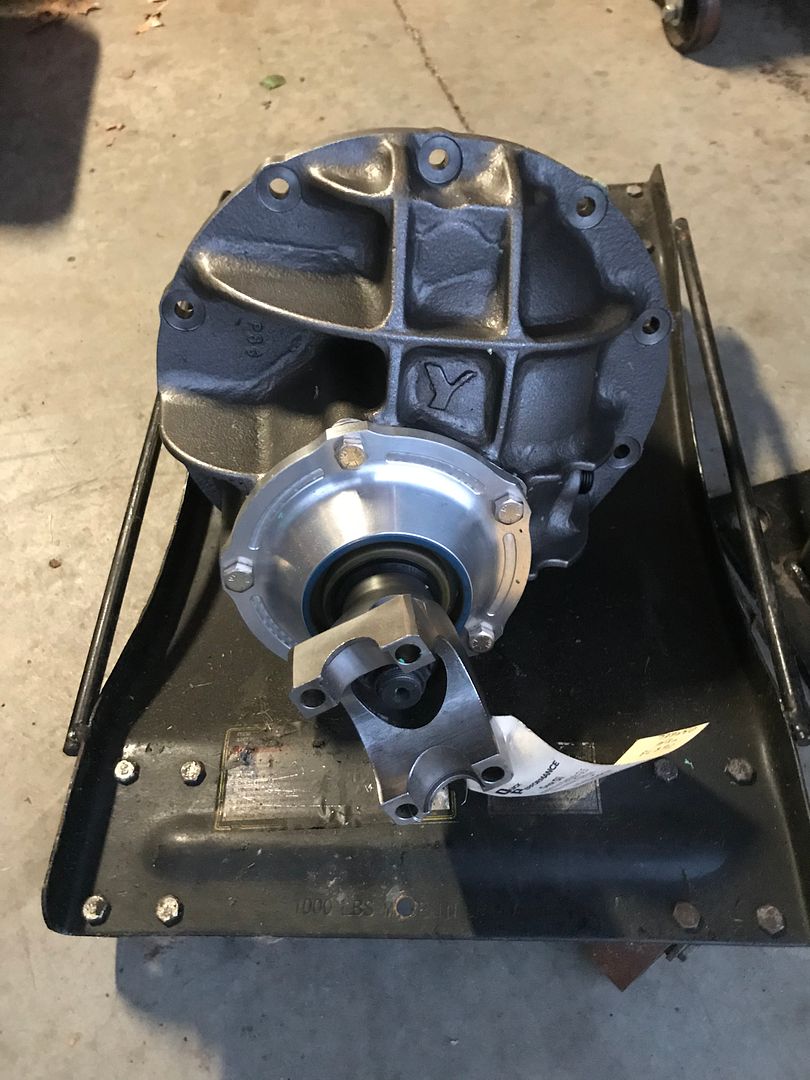
  1. Ford 9" axle assembly from Quick Performance with 3.50 gears and Trac-Lock posi
  2. TE44 turbo
  3. Front mount intercooler, and I will be making custom plumbing
As the parts arrive, and I get to installing them, I'll post some more photos.
 
Back
Top