You can type here any text you want

Building a 1964 Buick Special

Welcome!

By registering with us, you'll be able to discuss, share and private message with other members of our community.

SignUp Now!
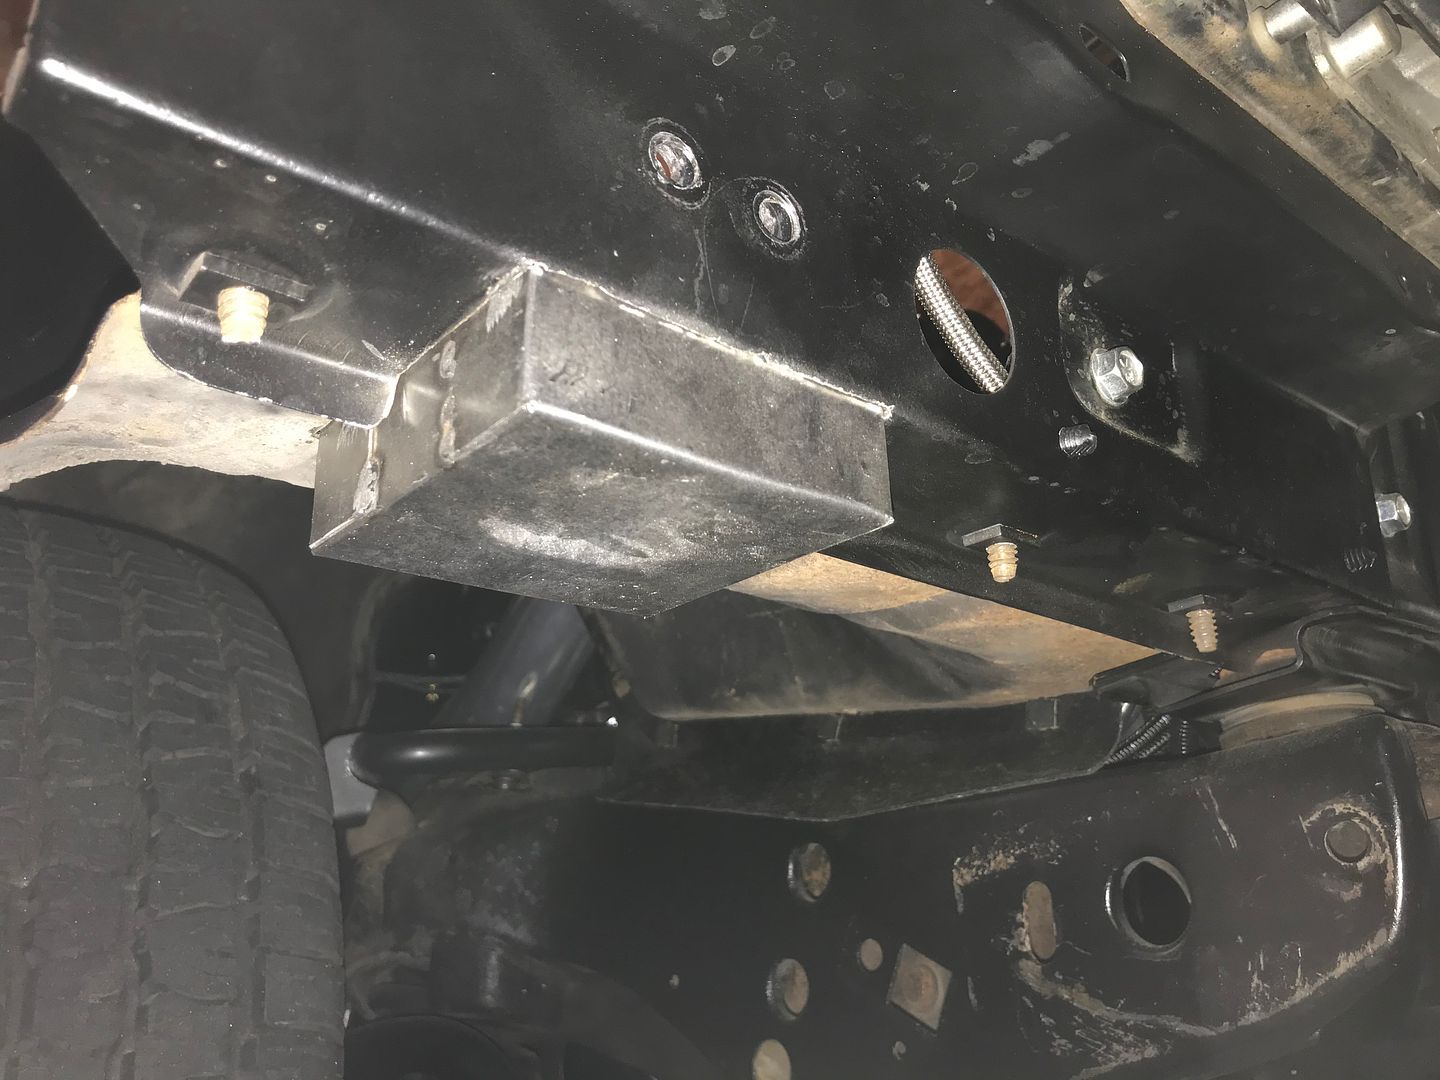
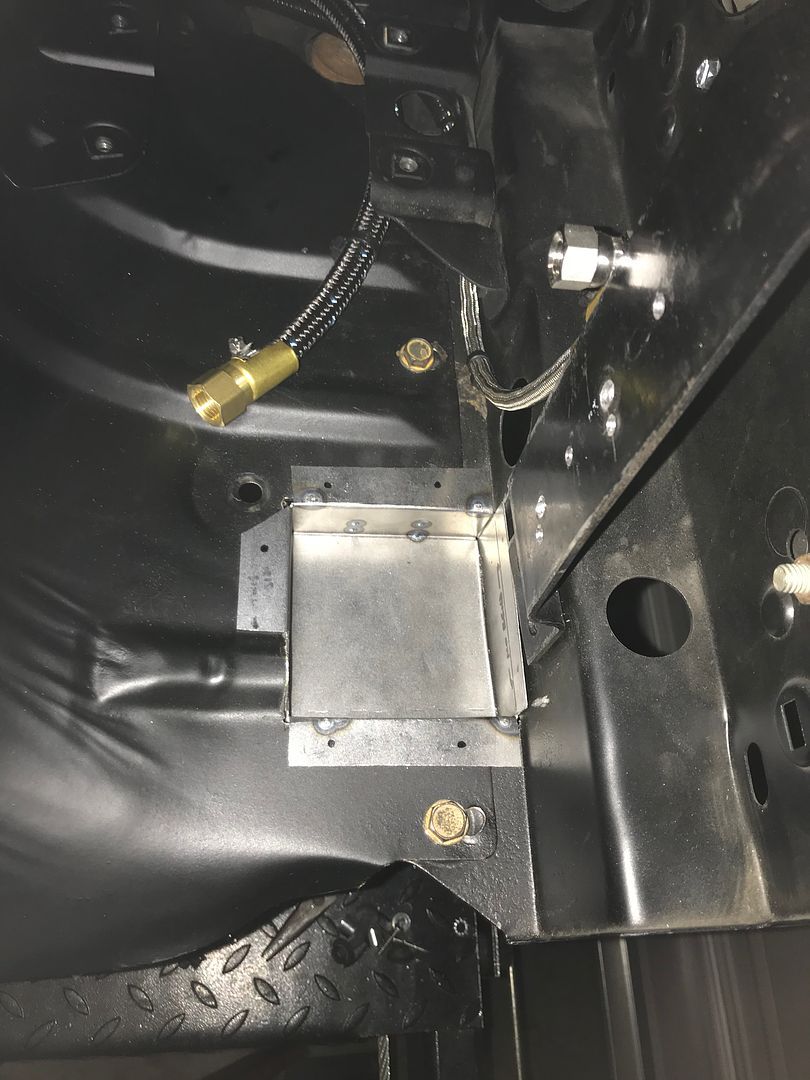
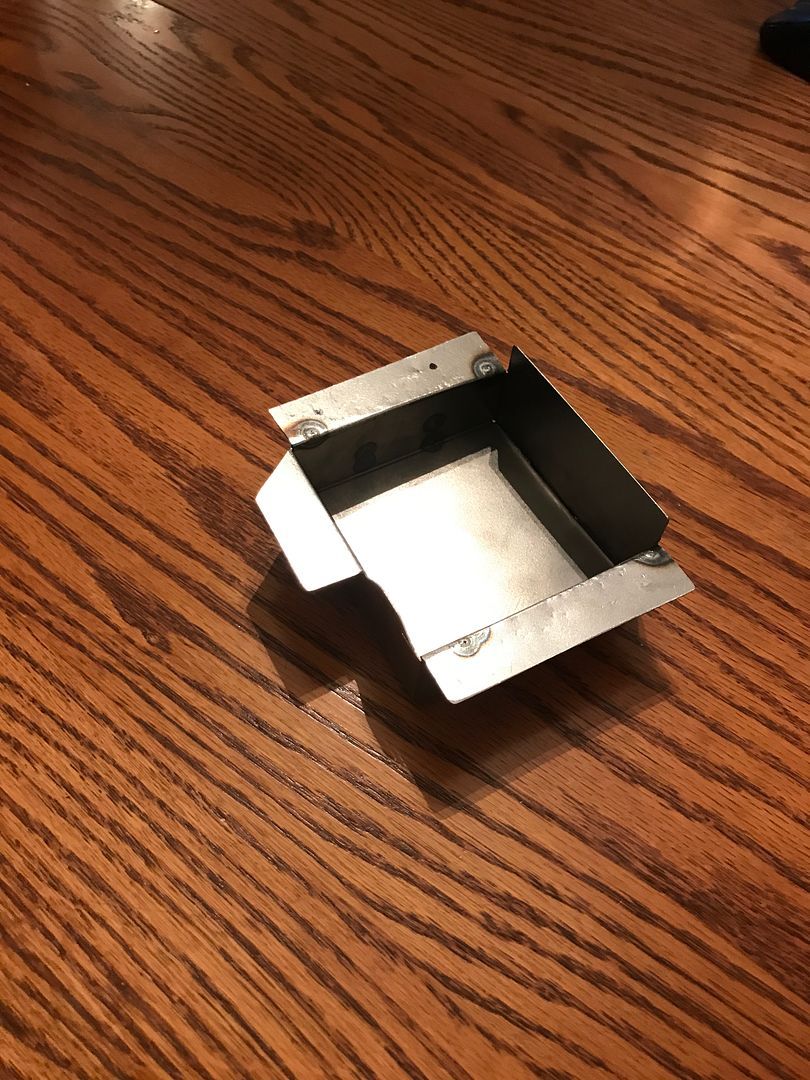
So the previous post showed the access hole in the inner fender skirt that I had to cut to mount the alky pump low. Tonight a fabbed up a cover plate that drops in the hole, and will be secured by a few perimeter bolts and j-nuts. Came out OK. And it will be hidden by the front bumper once everything is assembled.

001(43).HEIC


001(44).HEIC


001(45).HEIC

Dang. A visionary and master fabricator.
And I thought it couldn’t get any better.
 
Yesterday, the valve springs got changed out. I used the compressed-air method, along with the valve spring installation tool available from Cotton's. The springs used are the Comp Cams 980s.

The spring job went pretty quick once I learned to "tap" the top of each retainer with a socket (in my case, the spark plug socket) and a brass hammer. This loosens up the retainers/valves/valve locks and makes the removal part simple. I used one of those telescoping magnets to make sure I didn't lose the locks into the engine.

During reassembly, I found a little coolant in the passenger side head. I also saw some external coolant weepage throughout the winter, coming from (seemingly) the front of the engine.

At first I was concerned about a blown head gasket, but the car was running well prior to it being parked in the fall. Plus, all the spark plugs were PERFECT in color, and none showed any evidence of coolant.

I narrowed it down to the head stud located farthest forward on the head. After doing some reading, I see that sealing head studs can be an issue, so I drained the coolant, removed the stud, cleaned the stud/hole, and re-sealed with silicone. I then retorqued the stud, and we'll see how it holds.

Here's a couple images of the spring replacement -
(edited)_001(47).HEIC


(edited)_001(46).HEIC
 
All the engine compartment assembly is now finished. The alky pump has found its permanent home, along with the access panel and all fluid lines, electrical lines, brackets, etc. I'm particularly happy with the fabbed mounting of the alky tank (GM washer bottle). This looks pretty darned factory.

001(51).HEIC


001(50).HEIC


001(48).HEIC


001(49).HEIC

It looks GREAT!! No one will know you’re on the sauce.
 
Back
Top