Curt's White pearl project

Good info guys, very much appreciated. I'll see if I can get this POS better adjusted then. I only have a couple things to shoot. Fillers, bumpers and some trim parts.
 
Update. Without getting into to much detail. The front clip was removed completely and the front was realigned. Car has been hit in the front and pushed everything over to the driver side 2 inches. Non the less i was able to get the entire front back into alignment and the gaps are perfect! Check out how far the front bumper supports are bent over to the driver side. They were even cracked it was hit hard enough. If you have ever removed a front clip before you can probably understand just how much work this was to get correct. I also had the doors off three or four times to modify the door hinges in order to get the perfect gap that i was looking for....just a ton of fun!:D
 

Attachments

  • IMAG1211.jpg
    IMAG1211.jpg
    1 MB · Views: 183
  • IMAG1212.jpg
    IMAG1212.jpg
    936.1 KB · Views: 186
  • IMAG1213.jpg
    IMAG1213.jpg
    566.4 KB · Views: 189
  • IMAG1214.jpg
    IMAG1214.jpg
    1.1 MB · Views: 191
  • IMAG1215.jpg
    IMAG1215.jpg
    1,016.1 KB · Views: 189
  • IMAG1216.jpg
    IMAG1216.jpg
    830.2 KB · Views: 182
Update. Car is bloked out and completly remasked for base coat. I went ahead and applied the chip guard already ( it's clear so it won't show in the pictures very well ). Should base the car Thursday if i can get the shop all cleaned up before then. This car is going to look nice, i can tell already.:)
 

Attachments

  • IMAG1225.jpg
    IMAG1225.jpg
    724.5 KB · Views: 133
  • IMAG1227.jpg
    IMAG1227.jpg
    565.6 KB · Views: 134
  • IMAG1228.jpg
    IMAG1228.jpg
    579.8 KB · Views: 129
Update. Car is epoxy sealed and base coat is applied. Going to wait for 4-6 hours and then clear this bad boy. I will try to get better pictures of it tonight after it's done.
 

Attachments

  • IMAG1236.jpg
    IMAG1236.jpg
    620.1 KB · Views: 161
  • IMAG1241.jpg
    IMAG1241.jpg
    667.9 KB · Views: 167
  • IMAG1246.jpg
    IMAG1246.jpg
    896.3 KB · Views: 172
  • IMAG1243.jpg
    IMAG1243.jpg
    1 MB · Views: 183
  • IMAG1245.jpg
    IMAG1245.jpg
    613.2 KB · Views: 178
  • IMAG1247.jpg
    IMAG1247.jpg
    1 MB · Views: 160
I remember when my white Limited was painted. It's really going to look nice when you lay the clear on! Man I love white cars!
 
Update, Car is cleared. Man white is a pain in the butt! It shows every little thing that's not white. Turned up pretty nice though. I need to adjust my camera to take all the yellow out. Now onto a lot of wet sanding and buffing. I will open the garage up tomorrow and get some better pictures.
 

Attachments

  • DSCN3001.JPG
    DSCN3001.JPG
    889.2 KB · Views: 153
  • DSCN2992.JPG
    DSCN2992.JPG
    848.9 KB · Views: 147
Here is some more. That first one is just base coat...
 

Attachments

  • IMAG1243.jpg
    IMAG1243.jpg
    1 MB · Views: 149
  • DSC_2934.JPG
    DSC_2934.JPG
    878.3 KB · Views: 136
Update. I was able to open the door to the shop to get some natural light which helped some but it was getting dark. Better ones to come after i start to wet sand and buff this week.White is a hard color to get good pictures it seems.
 

Attachments

  • DSC_2958.JPG
    DSC_2958.JPG
    826.1 KB · Views: 159
  • DSC_2949.JPG
    DSC_2949.JPG
    776.4 KB · Views: 169
  • DSC_2954.JPG
    DSC_2954.JPG
    697.9 KB · Views: 168
  • DSC_2945.JPG
    DSC_2945.JPG
    889.6 KB · Views: 171
  • DSCN2995.JPG
    DSCN2995.JPG
    872 KB · Views: 151
Update. A couple shots with the door open. I started buffing the driver side only so far. I've just came to terms that white sucks to take pictures of.
 

Attachments

  • IMAG1275.jpg
    IMAG1275.jpg
    513.6 KB · Views: 141
  • IMAG1276.jpg
    IMAG1276.jpg
    417.1 KB · Views: 141
  • IMAG1274.jpg
    IMAG1274.jpg
    387.4 KB · Views: 143
  • IMAG1277.jpg
    IMAG1277.jpg
    450.2 KB · Views: 131
I've had best luck shooting white at night. Then use bright lights to create shadows and contrast.:)
Whitebumperfillers052.jpg


With black paint, I try to highlight something in the reflection.
P1010017-2.jpg


Keep the pictures coming. It looks great.:)

Mike B.
 
Update. Just been wet sanding and buffing. Install the back panel forward of the trunk to be able to install the trunk lid next week. Still have alot to do before i can install all the parts. Pictures don't do the car justice as to how nice the finish looks. I'm sure some outside pictures will help out.
DSC_2963.JPG
DSC_2967.JPG
DSC_2968.JPG
DSC_2966.JPG
 
Looks good,spraying white is always a pain but it seems to buff up faster.
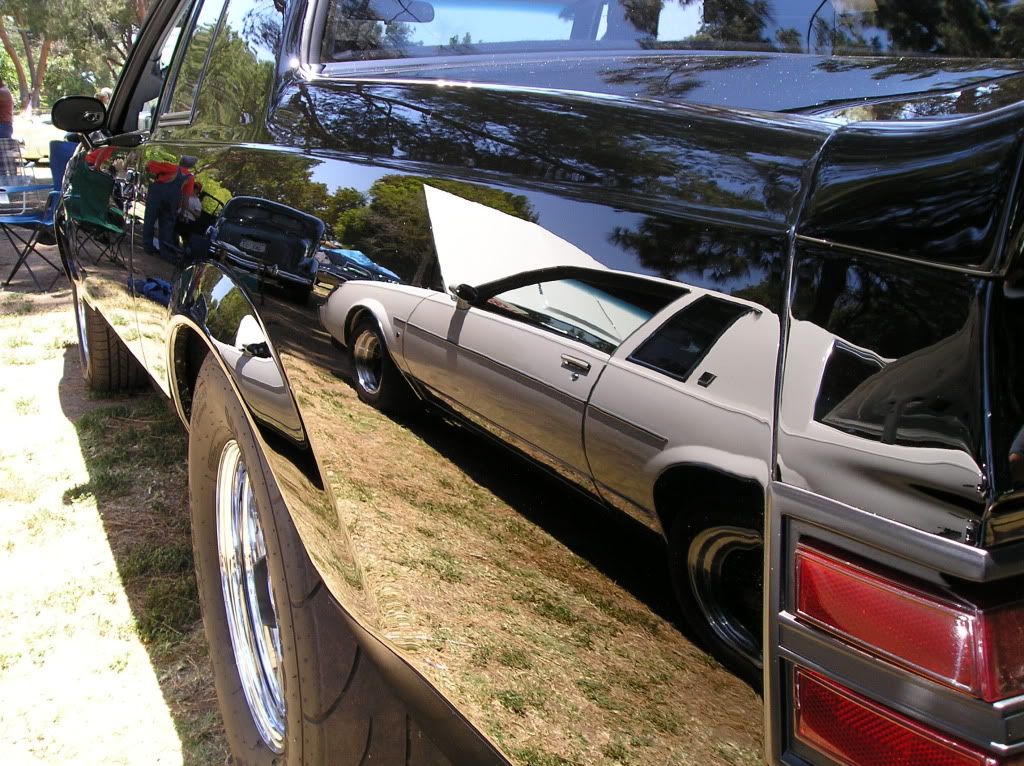
Thanks, yeah it buffs out great. I start with 1000 and go all the way to 3000 grit before buffing and polishing. Maybe a bit over kill, but it sure does look flat and nice. Painting the white was a pain because everything shows in white and you get blinded when shooting it... i swear i was seeing things when i was painting...lol. I'm real happy with the final results so far.
 
That's what I do start at 1g and work up to 3G all wet,I'm not a fan of using the da dry like some people do.I like my paint flat with no peel.You want to have fun shooting white do a 50's caddy or a duesenburg my eyes and neck hurt by the time I'm done.
 
Update. Just been installing parts. Do your self a favor...if you ever need new exterior door handles, do not ever get aftermarket ones. They do not fit very well and stick out a 1/4 inch more then OEM ones. I got a set by mistake and they are going back.
IMAG1341.jpg
IMAG1340.jpg
 
Top