You can type here any text you want

Look what I found in my engine

Welcome!

By registering with us, you'll be able to discuss, share and private message with other members of our community.

SignUp Now!
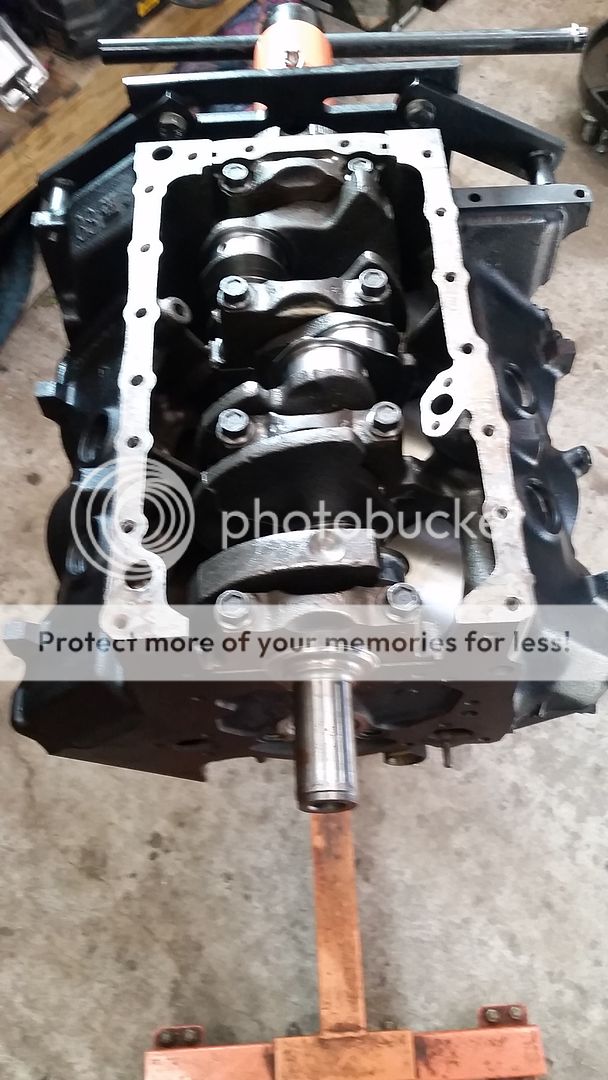
Rod and main bearings came in. I'm still trying to beg and borrow a line bore gauge.

Also got the cam bearings in to replace the front one.
 
You need to mike the crank journals both mains and rods in one spot and then 90 degrees from that spot, if they check good put NEW bearings in it and check the clearance,its crazy too not put new bearings in it too save 80 bucks.If you cant feel any grooves or raised spot with your fingernail, install your NEW bearings and call it good. By the way why are you changing only the front cam bearing, if its no good then change all of them if its good leave them alone.
 
By the way if your main bearing clearance checks out, you don't need to worry about align honing block, also thrust is a little on the loose side, should be .006 to .008 thousandths, the NEW bearings will probably fix this.
 
I've already measured the rod and main journals after I had the crank polished. I ordered a line bore gauge to measure my bearings and get oil clearances. It should be here next week. My new standard and 001 undersized bearings came in.

I'm changing the front cam bearing because I've read that's what takes the brunt of the wear and force from the timing chain. I figure it wouldn't hurt to just put in a new one.

It should start to go back together next weekend once I play with bearing clearances. I'm also thinking the new thrust bearing will tighten up the crank shaft end play.
 
Well I've got some updates and I'll turn this into the build thread. After pulling my hair out with a fowler line bore guage I contacted Richard Clark. He told me to bring it over and we will look it over and figure it out. So now with the help of Mr. Clark we measured out for bearings, polished the crank, hot tanked the block, installed new cam bearings and oil galley plugs, and reconditioned my rods. It was a great experience learning how to do all of that from a pro.

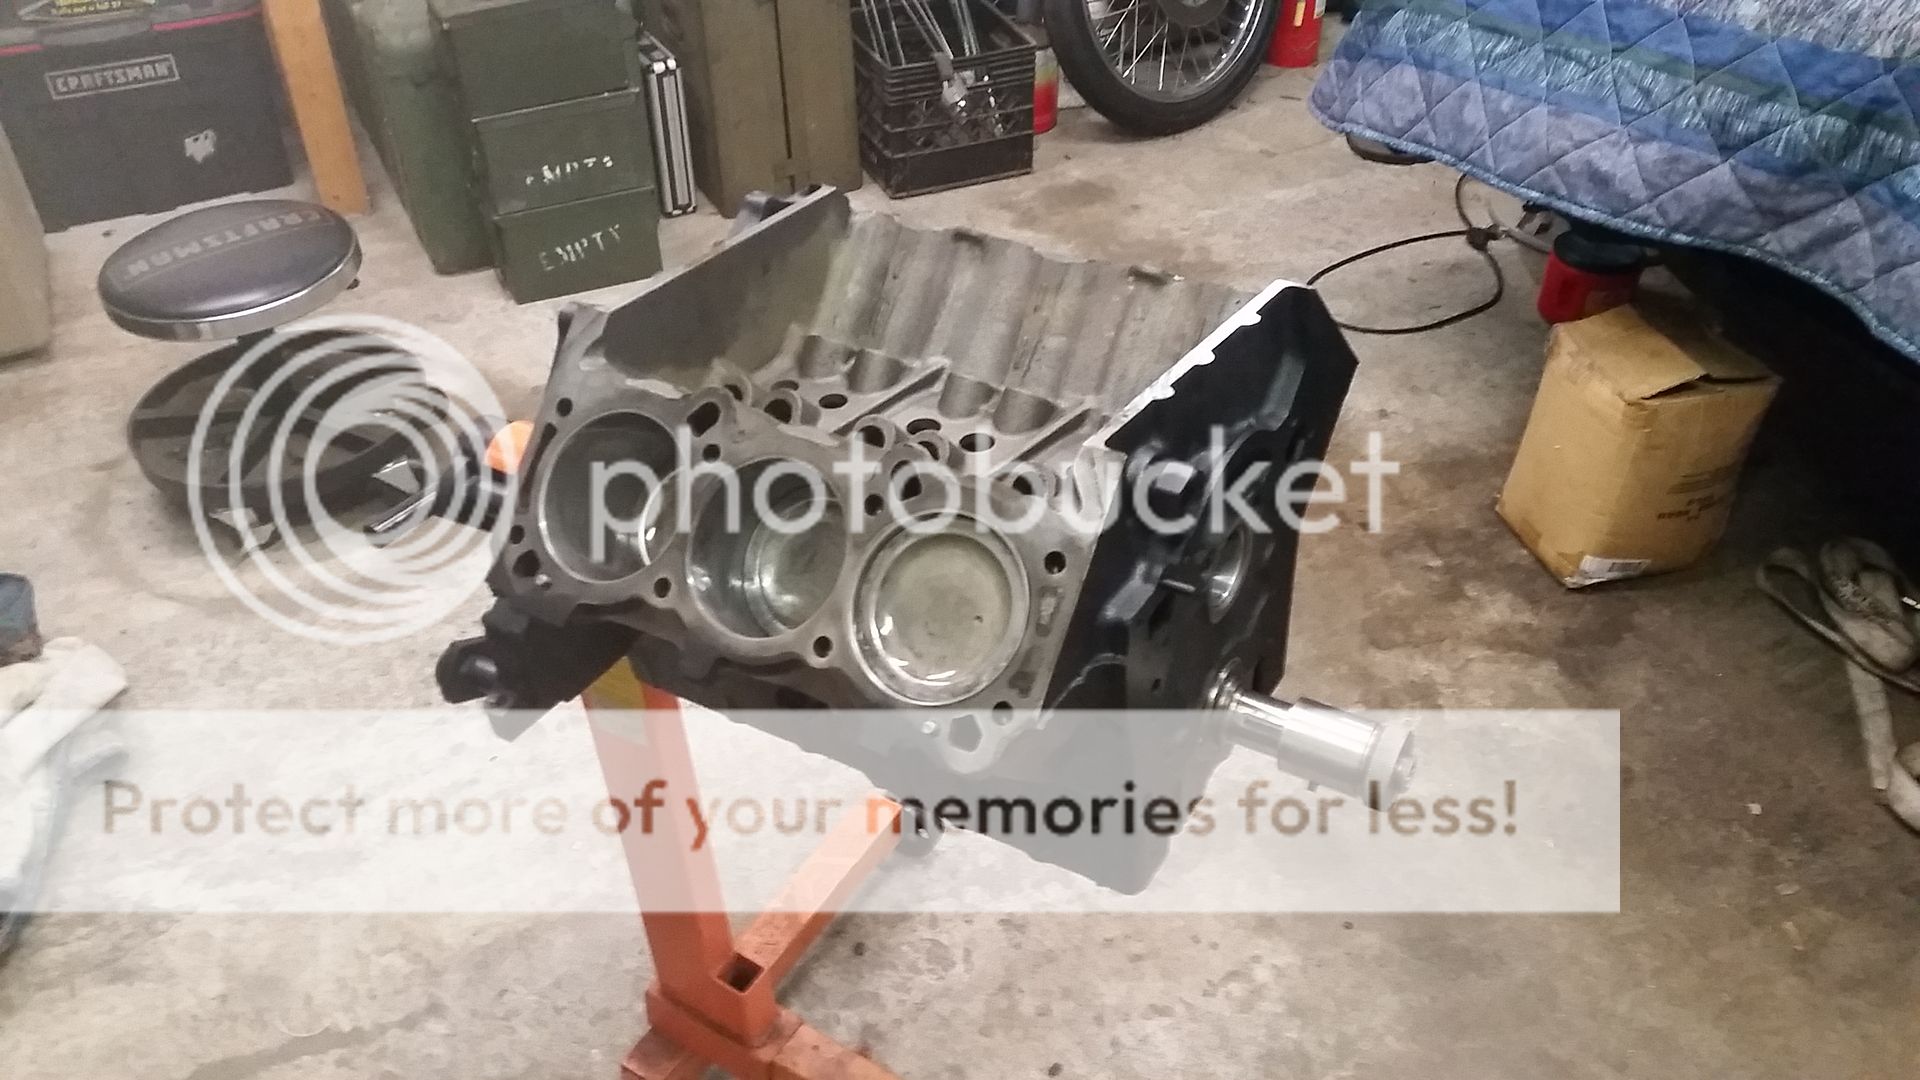
So I painted the block yesterday, double check my ring gap and started assembling the bottom end. All my mains are installed and torqed, crank thrust is good, and I just finished the rear main seal and will let it dry over night.

 
We also found my factory cam was well worn and one of the lobes was about half the size it should have been.

On my next trip we plan on installing the new cam and gm lifters and checking out my valve train and measure for pushrods.

So now the build is looking like a rering and re bearing, slightly bigger cam (it's about 10 bigger on everything and has a 114 LSA so it should pur at idle) comp 980 valve springs, heads cleaned up and resurfaced, either my stock turbo if it's in good shape still or a cpt 61 I have on the shelf, pats 3000 rpm stall converter, 42 lb injectors and meth. Top it off with a 3 inch downpipe and the rjc crossflow exhaust I have boxed up and it should run pretty darn good. Later on I will step up to some 60 lb injectors and get a new chip burned for it.

I'm excited to see the power it has now since all my lobes were worn and the combo should work real well.
 
Pistons are in. Next up is round 2 at Richard Clarks shop for a look over of my heads, install new cam and lifters and then measure for pushrods. Stay tuned.


I went up and did some more work. New cam and lifters.


Then I installed the head studs, had new exhaust valves and seats put in the heads, new valve seals on the intake and exhaust valves, and installed comp 980 springs.
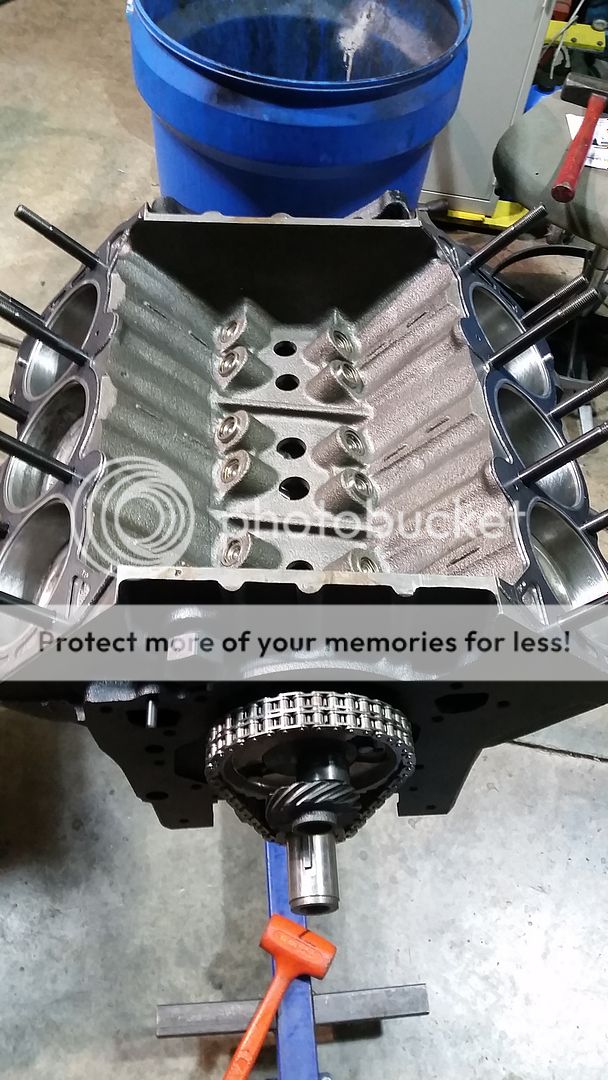


Ill get some more pics tonight when I finish painting the heads but the cam, lifters, timing chain, oil slinger, cam button and front cover are installed. We measured for push rods and I had to have smith brothers make me a set to a certain size because trick flow and comp both have 8.600 and 8.650 lengths and that puts me on the limits for pre load on either end.

Im using victor head gaskets, arp studs, and the cam is just a tiny bit larger then stock. Richard calls it a 10 bigger cam because it has 10 more duration and 10 more lift and a smoother LSA. The lifters are GM lifters out of his stock and its starting to go together pretty well.

Stay tuned for more pics and updates but all that's left is install push rods and rockers, slap on my intake, install oil pickup, pan, and dip stick. Then install the water pump, balancer, and my throttle body and fuel stuff. My next trip will be running the engine up and breaking it in and then its go time to slap the engine in the car.

Im also working on dropping the gas tank this week and cleaning it out, removing the fuel pump to get it tested along with my injectors, and inbetween all that the RJC crossflow exhaust, cat delete, and 3 inch down pipe is slowly getting installed.
 
What a difference in your final assembly. Richard knows his stuff and his willingness to help others is great. I'm sure you will be pleased with the final product. John
 
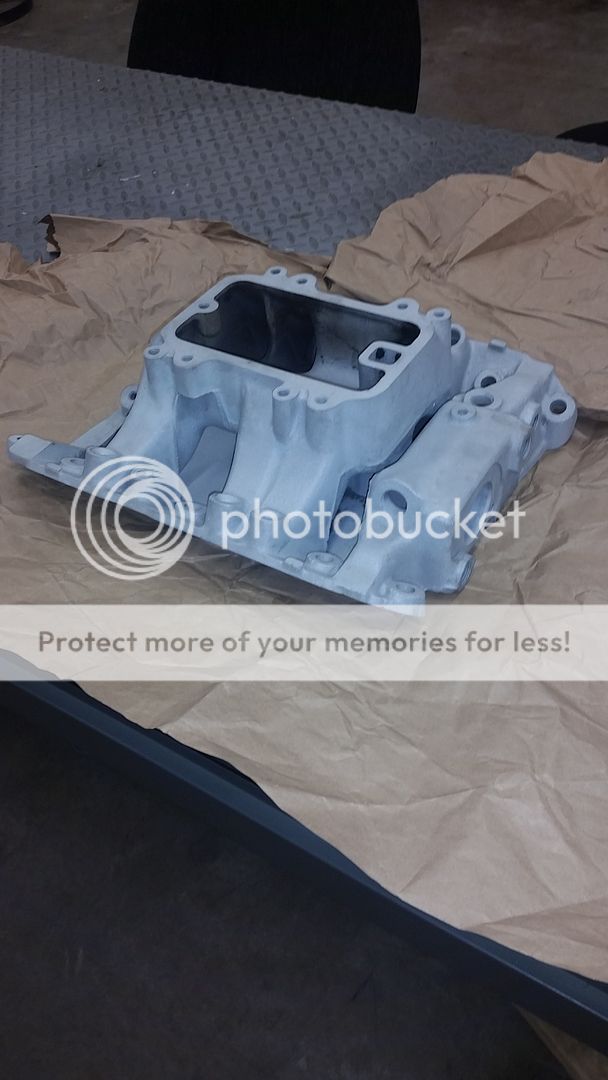
blasted my intake and cleaned the snot out of it.


This morning after the paint dried on the heads I had to set the intake and valve covers on. I painted the intake with dupli color cast aluminum engine enamel.
 
Blow out the EGR. When you think it's clean blow it out again.
 
Yep I've gone over it about 5 times between washing it and blowing it out.

I just installed my smith brothers pushrods and I'm soaking my intake bolts so I'm hoping to install the intake tomorrow.

Questions.
1. Do the intake bolts get sealed or just lightly oiled?
2. My egr block off plate can I right stuff that or do I need to order a gasket for it?
For #2 Right Stuff should be fine, make sure you put a bead all the way around, not just a dab here and there. Don't know about #1.
 
Back
Top