You can type here any text you want

Look what I found in my engine

Welcome!

By registering with us, you'll be able to discuss, share and private message with other members of our community.

SignUp Now!
Can't feel any of those spots with my finger nail. Measured 3.786 down low and 3.795 up top. Keep honing or clean it and try it?

 
I think for a daily cruiser you will be fine. Just make sure the new rings are properly gapped and it will be fine. I think compression will be ok and oil consumption minimal. I've. Seen worse and it ran fine.
 
I put together an old jd tractor engine that had rusted real bad and all I did was hone with the dingleberrys and new piston and rings and she is used hard regularly and is strong as it ever was. I even had to cut out a v in the lower piston sleeve due to a crack since 45 yr old jd blocks are made of unobtanium. I know its not an auto but with a one piston motor performance prob s are quite evident. That was over 10 years ago and the tractor is still kicking ass.
 
I would run it. I also have seen worse.

And yes to gsgnnut, single's and twins any issues are extremely noticeable vs 4, 6 and 8 cyl's.
 
I think for a daily cruiser you will be fine. Just make sure the new rings are properly gapped and it will be fine. I think compression will be ok and oil consumption minimal. I've. Seen worse and it ran fine.

X2 ... if money is tight and you cant do it right ... put it back together and run it as you have it ... it wont be 100% .. but I don't think you need it to be ... it will burn a bit of oil more but so what ...

RUN IT !
 
Thanks for your service! One other tip, break one of the old rings and use the edge to cleanout the crud from the bottom of the ring grooves. Like most here, I have done the same and much less to just get by back when I was young and times were tight (not tight I was BROKE!!!). I once replaced a crank on a 2.8L v6 Camaro on a dirt driveway without pulling the transmission!!! Good Luck and let us know if you have any questions or needs. Jon
 
Just an update. I've cleaned up the heads. I'm just going to lightly lap the valves and then clean the snot out of everything and re assemble with the comp 980 springs. I'm waiting on one more set of rings to come in, I found the cylinder next to the bad one to drag a little bit and when I took it apart there was some build up but not anything like the bad one in the picture.

So hopefully by next week ill be re assembling.
 
Not even .001 taper, good. You did measure in the direction of crank rotation right?
That is where most wear would occur as the piston gets pulled sideways with the crank.
Old engines would have .015 and still run somewhat ok.
I'd bet you never notice any increase in oil consumption or loss
of compression in that cylinder.
 
Love seeing stuff like this. Slapped a 5 liter together the other week after finding some broken rocker mounts had some fun tossing crumbled steel around the cylinders. One cyl had a single scratch deep enough to catch a nail on. Its a foxbody so I figured whatever, If it smokes ill find another block for nothing. No smoke, great compression and makes good power. Im sure its eating a bit of oil but between the valve cover and intake leaks its negligible lol! Roadkill approved I'd think.
 
a bunch of years ago a friend brought me a locked up 71 buick 350 that had sat a loooong time. he had no money for a proper rebuild so he asked if I had any ideas not involving opening the engine. I removed the plugs and filled the cylinders with liquid wrench and let it sit for a few days. still wouldn't budge. tried cheater bar on crank bolt, no way. could have snapped the bolt. set up a hydro jack under flywheel and used a piece of steel to catch a tooth of the ring gear and jacked it up until it lifted the engine a bit and walked away. Checked it throughout the day and after a few hours found the steel that had been pressing on the ring gear on the ground and I rechecked the engine and it was now loose but would only move a fraction in either direction. Suspecting there were rust lines in the cylinders preventing much movement simply reloaded the cylinders with liquid wrench and motor oil and proceeded to work the crankshaft back and forth and eventually it would move farther and farther until it did a full rotation. continued until there was minimal resistance and then fresh oil and filter and fired that mother up expecting the worst from broken rings but that 350 ran great. The friend, who didn't know the business end of a flat head screwdriver drove it for years without problem until the nimrod ran it out of oil and brought it to me hoping I had more magic. I did in the form a 455 transplant.
 
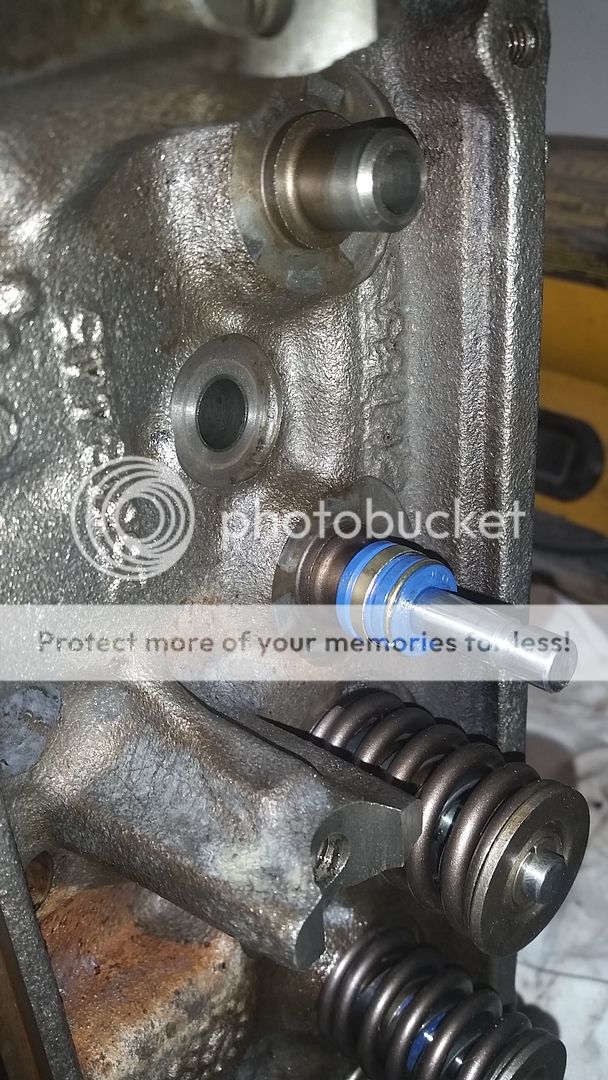
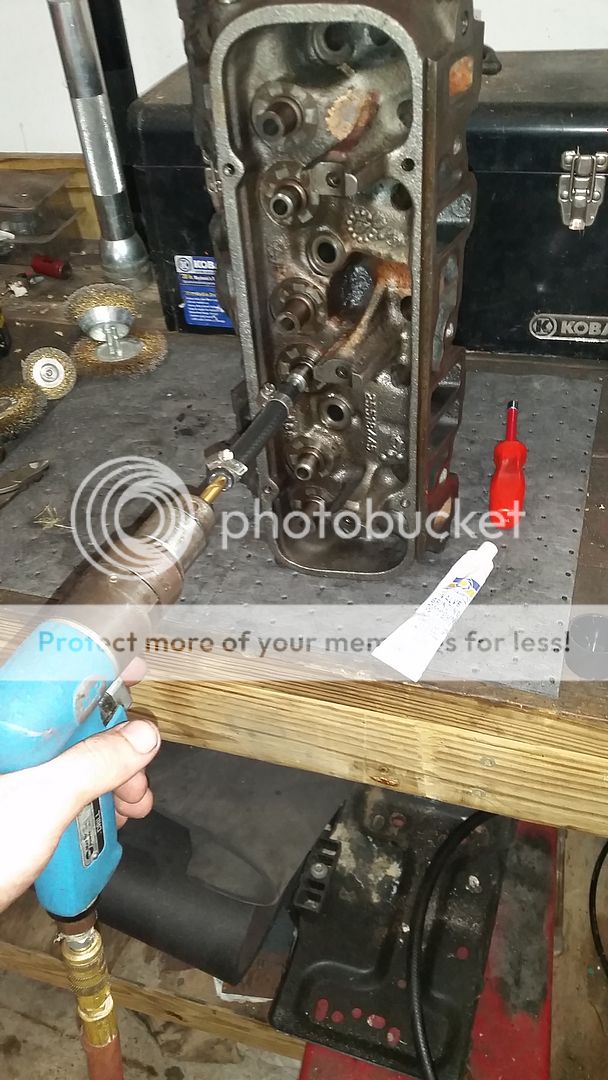
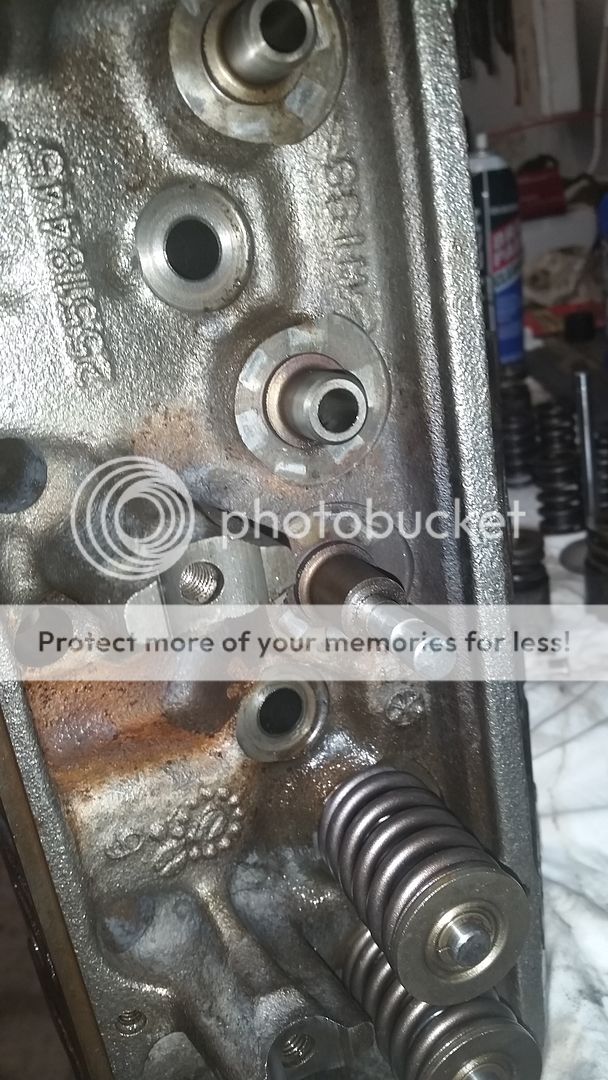
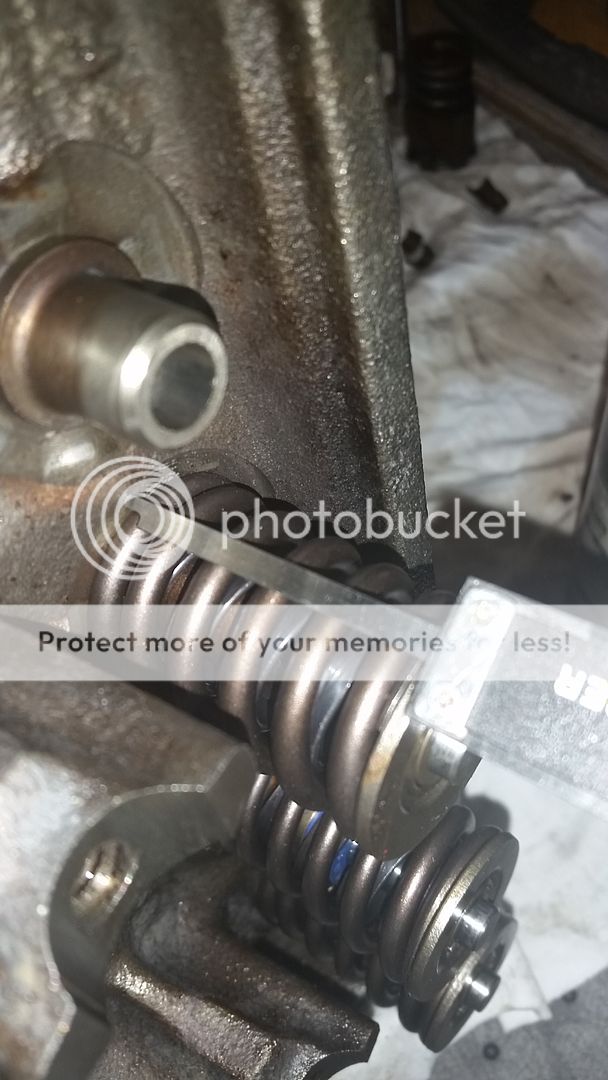
Well heres some updates. I finished cleaning the heads. I soaked them in a parts washer, pulled the valves and glass bead blasted them. Cleaned everything about 8 more times. I then did a quick lap of the valves and then cleaned everything about 8 more times again. Installed the comp 980 springs and checked the installed height. Everything but one checked out right around 1.71 but I had one that was 1.65 so I put a small shim under the spring and got it up to 1.73. I guess either the valve seat or the valve itself had a little wear in it. Heres some pics.


Heres an almost done pic and then ill put up some of the complete pics. I plan on waiting to get the heads on the engine and just painting them all at once.

 
So here's some tech questions. Next task up is the gap my rings on the two cylinders. Since there is a tiny bit of taper should I gap the top ring down lower where the measurement is a tiny bit smaller?
Any words of wisdom for setting the rings up? I've got the directions that come with the rings but I need to verify the gaps again.

Second tech question. Because I've had this apart so many times now I cant remember which way is correct. When I pulled the rod bearing caps on the two pistons there is a small tang on the bearing on each side. Rod side and cap side, should those tangs be on the same side or should they be opposite. I found each one was different but I could have screwed that up 5 years ago when I tore it apart to begin with.
 
Installed the comp 980 springs and checked the installed height. Everything but one checked out right around 1.71 but I had one that was 1.65 so I put a small shim under the spring and got it up to 1.73. .

to quote a commercial "thats not how it works"
you state you added a shim to get it up o 1.73 so im pretty sure you have it wrong
you cant shim and get more installed height
you want the valves tips at the same height and if they arent you need to adjust the valve seat depth
if tips are even and installed heights vary (distance from spring seat to bottom of retainer less any shims ) . you can shim to even those up resulting in a lower installed height but the goal is an even pressure on all springs so they are matched
if you tested the springs (with a valve spring pressure tester ) at the installed height of your head you can shim and increase pressure of the low # ones so that all spring will be equal but you have to be careful when running higher lifts as the shims change the coil bind height and you could bottom out a spring
 
Last edited:
Alright Ill remove the shim. I placed it under the valve spring and re measure. I may have screwed up on that and jumped the gun.

All the others measured 1.70-1.73 from where the coil seats in the head to the very beginning of the spring retainer where the coil spring ends. I will verify tonight and post back up.

Ill verify with a straight edge along the tips of the valves to see if they are all equal.
 
Back
Top