Stroker-ace
Boosted-brick
- Joined
- Oct 6, 2008
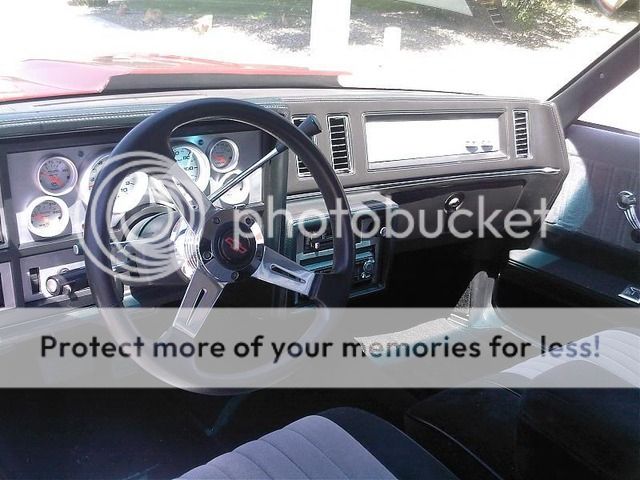
So I finally acquired all the gauges I need to build my panel, and started on it tonight. I will be going from the stock panel in the GN to a 4 gauge one filled with Autometer Cobalt series gauges. I have had a donor gauge panel and bezel kicking around the garage for months so I didnt have to hack up the original one.
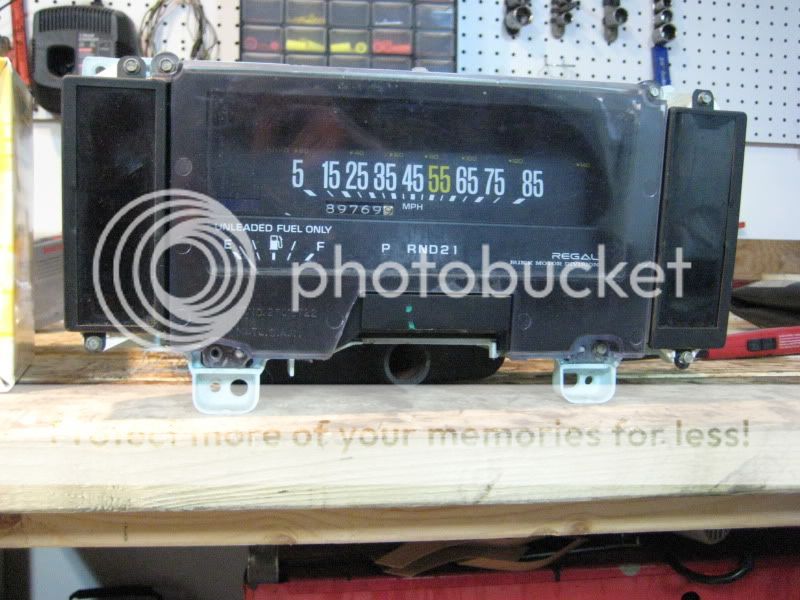
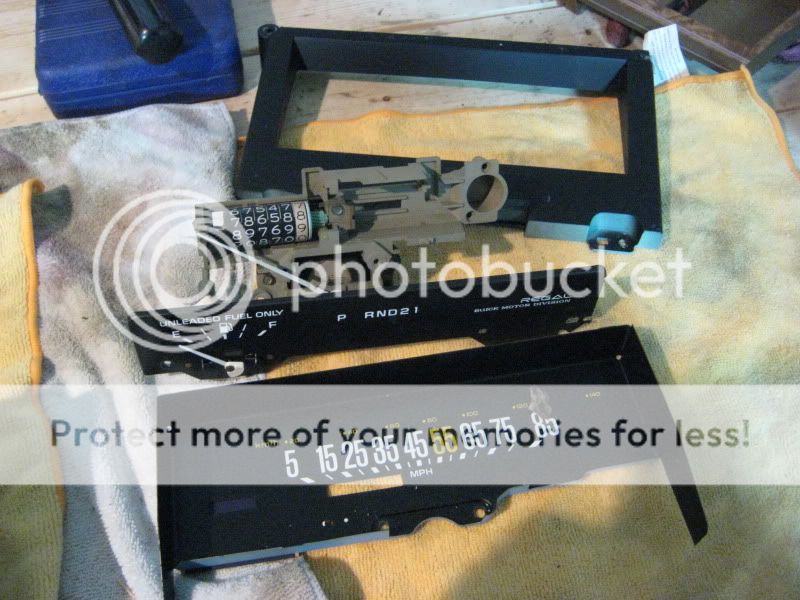
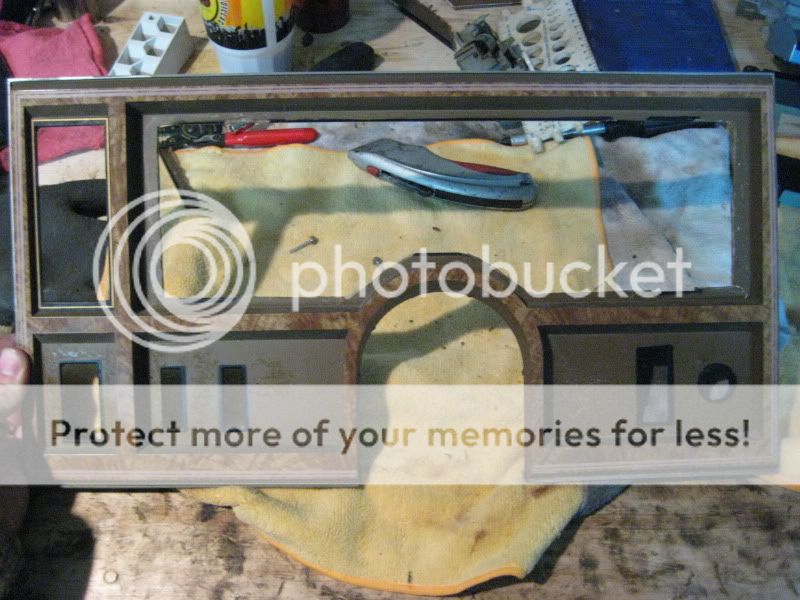
First up, the donor regal stock gauge panel:
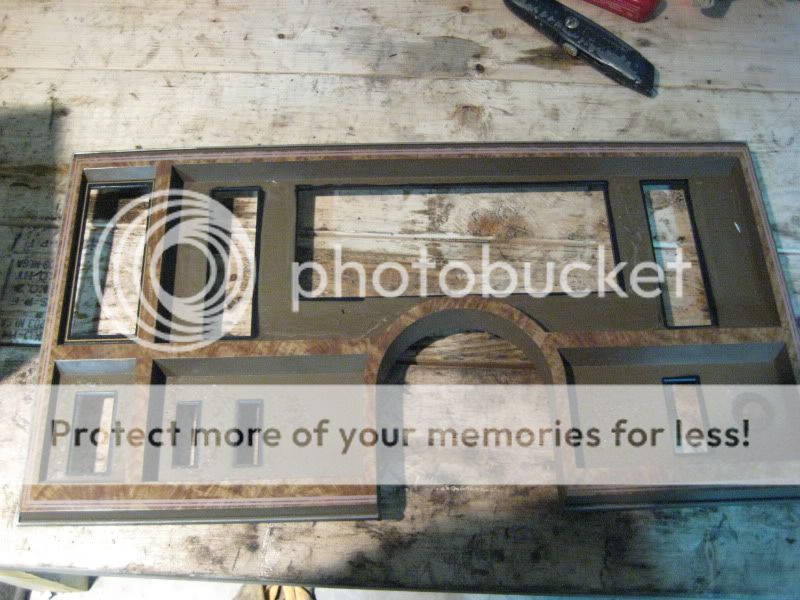
The donor bezel, notice the baller status wood-grain:
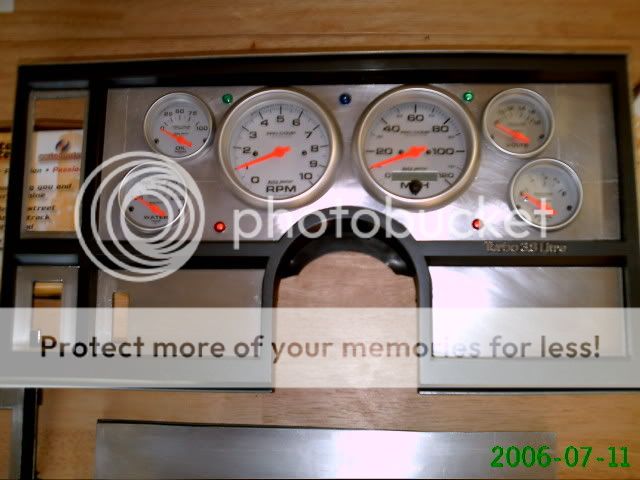
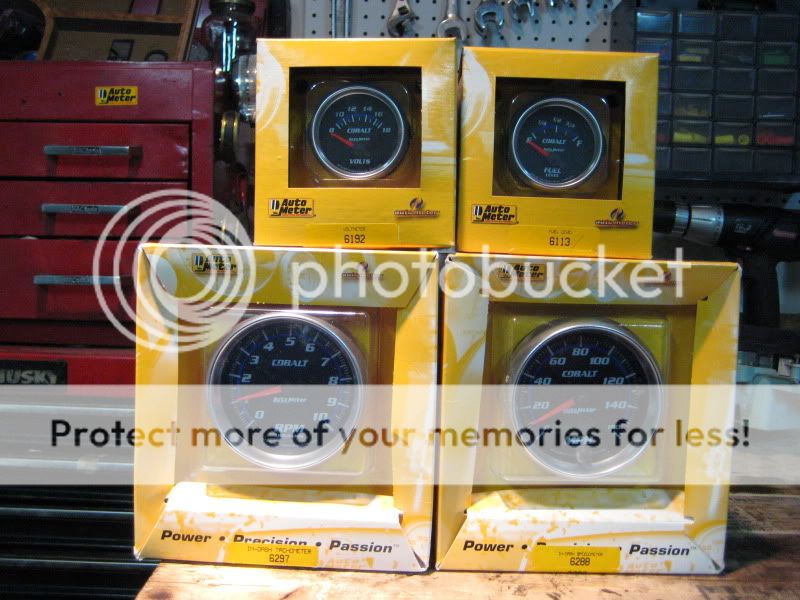
And finally the gauges that will be replacing that boring ass old panel: Fuel level, volts, 160MPH speedo with trip ODO and tachometer. I am using 2 1/16" for the aux gauges and 3 3/8" for the speedo/tach.
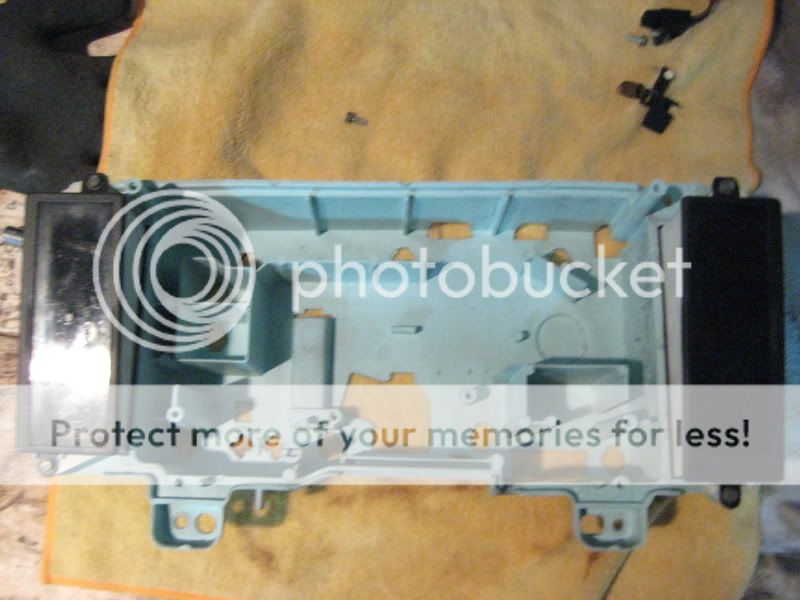
I started by stripping the stock panel of all internals, so i had room for the wiring assembly on the new gauges.
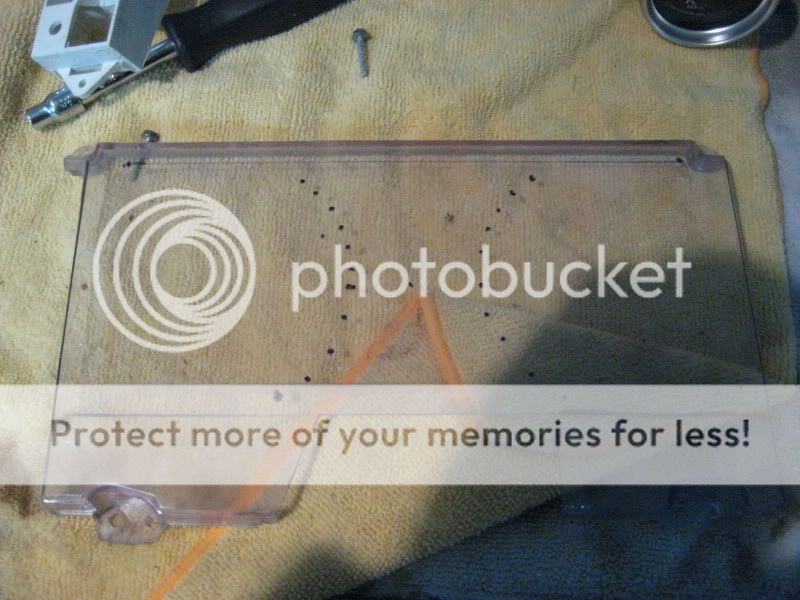
Then I measured out the speedo and tach on the plastic cover to see if i had enough room to mount all 4 gauges. My intial intention was to cram everything into this bucket so i could remove it with ease down the road and so i could still have functioning turn signal lights in the stock location. WELL, that was wishful thinking cause there is only enough room to mount the speedo and tach.
So a NEW idea popped into my head. I pushed the stock panel to the side for another project I have in mind for a later date and got my dremel out. My new plan is to trim out the bezel as shown and put a cover over it with the holes cut out for the gauges. I'm going to find some green LED bulbs and mount them in the corner for turn signals, and have them feed of whatever wire controls them from the stock harness. Same thing with the High-beam bulb, only blue
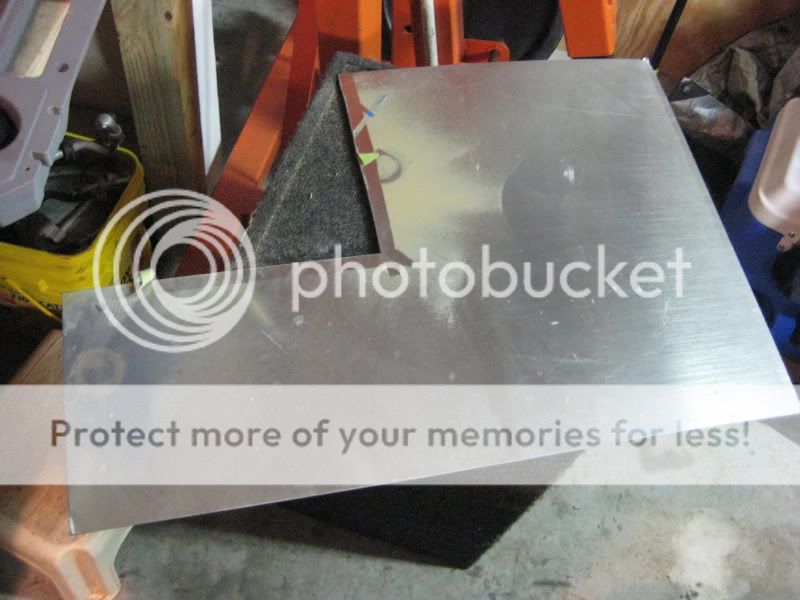
So I am going to be cutting the new panel out of this stuff that a buddy gave me to play with...I don't remember what he called it but its some sort of resin-lookin stuff covered with stainless steel lookin stuff. if I scratch it up too much, I'll just paint it black, lol.
That was my stopping point for the night, I should have it almost completely finished by tomorrow minus installing it, which will be at a later date. Plans for tomorrow include cutting out the new bezel panel, cutting out the holes for the gauges, sanding and painting the wood-grain bezel black, attaching the new bezel panel to the stock one, acquiring and installing turn signal bulbs and making a wiring harness. I'll update with more pics tomorrow
First up, the donor regal stock gauge panel:
The donor bezel, notice the baller status wood-grain:
And finally the gauges that will be replacing that boring ass old panel: Fuel level, volts, 160MPH speedo with trip ODO and tachometer. I am using 2 1/16" for the aux gauges and 3 3/8" for the speedo/tach.
I started by stripping the stock panel of all internals, so i had room for the wiring assembly on the new gauges.
Then I measured out the speedo and tach on the plastic cover to see if i had enough room to mount all 4 gauges. My intial intention was to cram everything into this bucket so i could remove it with ease down the road and so i could still have functioning turn signal lights in the stock location. WELL, that was wishful thinking cause there is only enough room to mount the speedo and tach.
So a NEW idea popped into my head. I pushed the stock panel to the side for another project I have in mind for a later date and got my dremel out. My new plan is to trim out the bezel as shown and put a cover over it with the holes cut out for the gauges. I'm going to find some green LED bulbs and mount them in the corner for turn signals, and have them feed of whatever wire controls them from the stock harness. Same thing with the High-beam bulb, only blue
So I am going to be cutting the new panel out of this stuff that a buddy gave me to play with...I don't remember what he called it but its some sort of resin-lookin stuff covered with stainless steel lookin stuff. if I scratch it up too much, I'll just paint it black, lol.
That was my stopping point for the night, I should have it almost completely finished by tomorrow minus installing it, which will be at a later date. Plans for tomorrow include cutting out the new bezel panel, cutting out the holes for the gauges, sanding and painting the wood-grain bezel black, attaching the new bezel panel to the stock one, acquiring and installing turn signal bulbs and making a wiring harness. I'll update with more pics tomorrow