Ridetech G-Body "Tru-Turn" & Coil Over Install
- Thread starter scot w.
- Start date
Welcome!
By registering with us, you'll be able to discuss, share and private message with other members of our community.
SignUp Now!You are using an out of date browser. It may not display this or other websites correctly.
You should upgrade or use an alternative browser.
You should upgrade or use an alternative browser.
laws69cars
Active Member
- Joined
- Apr 8, 2011
- Messages
- 255
I have a question here on the rear coilover set up?? Is it normal to have to adjust 1 side more then the other to get the stance aligned? I have to give the car about a additional 20 full turns on passenger more then the driver side to get the car to sit even on the rear??
1KWIKSIX
Well-Known Member
- Joined
- Sep 29, 2007
- Messages
- 3,267
I have a question here on the rear coilover set up?? Is it normal to have to adjust 1 side more then the other to get the stance aligned? I have to give the car about a additional 20 full turns on passenger more then the driver side to get the car to sit even on the rear??
I had to do the same on mine. Guess after 30 years of abuse, who knows what you're gonna find with these flimsy frames
turbojay
Active Member
- Joined
- Feb 14, 2009
- Messages
- 954
On my GN, it's the front that's like that. The passenger front still rubs on dips in the road even though I've turned the coil on it way more than the driver's side.I have a question here on the rear coilover set up?? Is it normal to have to adjust 1 side more then the other to get the stance aligned? I have to give the car about a additional 20 full turns on passenger more then the driver side to get the car to sit even on the rear??
Rafs-T-Type
Not so Senior Member
- Joined
- Mar 8, 2009
- Messages
- 2,766
On my GN, it's the front that's like that. The passenger front still rubs on dips in the road even though I've turned the coil on it way more than the driver's side.
Same here...went with a short tire and they're cranked half way out but the passenger side loves to rub. If I could find that freakin spanner wrench I'd crank her more.
87national55
Active Member
- Joined
- Feb 16, 2007
- Messages
- 252
Question on the spring tabs, I’m installing the try-turn along with the coils. The upper housing pushes up against the tabs, is that an issue I need to a address by cutting them off??
Sent from my iPhone using Tapatalk
Sent from my iPhone using Tapatalk
Yes. Cut them off as neededQuestion on the spring tabs, I’m installing the try-turn along with the coils. The upper housing pushes up against the tabs, is that an issue I need to a address by cutting them off??
Sent from my iPhone using Tapatalk
Sent from my SM-G950U using Tapatalk
87national55
Active Member
- Joined
- Feb 16, 2007
- Messages
- 252
Thanks boost, I was trying to avoid that since I have it assembled.
Dremel is probably they way to go about it?
Sent from my iPhone using Tapatalk
Dremel is probably they way to go about it?
Sent from my iPhone using Tapatalk
That will work
Sent from my SM-G950U using Tapatalk
Thanks boost, I was trying to avoid that since I have it assembled.
Dremel is probably they way to go about it?
Sent from my iPhone using Tapatalk
Sent from my SM-G950U using Tapatalk
87national55
Active Member
- Joined
- Feb 16, 2007
- Messages
- 252

scot w.
GNSperformance.com
- Joined
- Feb 19, 2005
- Messages
- 8,810
Yep they will work just fine....Did you guys reinstall factory shims to upper arms?
87national55
Active Member
- Joined
- Feb 16, 2007
- Messages
- 252
Yep they will work just fine....Did you guys reinstall factory shims to upper arms?
Thanks Scot!
Sent from my iPhone using Tapatalk
Another question I hope any of you can help with - for the front upper ball joints what part number is on it? I had to replace one of mine and I used the same part number as the opposite side . But I don’t believe these are the tall ball joints as discussed in this thread. I have a set of . 5 inch taller ball joints and there is a noticeable difference between them.
So if anyone with this setup that can check the part number I would appreciate it.
So if anyone with this setup that can check the part number I would appreciate it.
1KWIKSIX
Well-Known Member
- Joined
- Sep 29, 2007
- Messages
- 3,267
proforged 100-10020 is the part number for 1/2” taller upper ball joint. You can get em from places like Summit Racing for around $49 each
I got a set of those but the ones that came with my arms were proforged 100-10019’s - looking over this thread is what made me question it . I think I’ll have to wait for tomorrow to get a hold of Scot or ridetech to make sure what I should have in there .proforged 100-10020 is the part number for 1/2” taller upper ball joint. You can get em from places like Summit Racing for around $49 each
Thanks for the help
1KWIKSIX
Well-Known Member
- Joined
- Sep 29, 2007
- Messages
- 3,267
I got a set of those but the ones that came with my arms were proforged 100-10019’s - looking over this thread is what made me question it . I think I’ll have to wait for tomorrow to get a hold of Scot or ridetech to make sure what I should have in there .
Thanks for the help
I’m sure if that’s what came installed from Ridetech, they will be correct
if i may ask how much for that set ran you forWe received Ride-Tech’s NEW G-Body Tru-Turn & Single adjustable coil over conversion kit today.
We are installing this on our 1986 Buick T-Type which will give us a great A / B test. The GNS test car already has aftermarket rear upper and lower arms, sways bars, but this car only had regular gas replacement shocks which under heavy breaking caused our car to “Nose dive/rear end hike” thus the reason for going adjustable coil over. So with all this done, we should get some driving impression testing right away and then we will bring it to 2013 RTTH Pro-touring event in September for some real world performance testing.
With Ride-tech’s G-body “Tru-Turn” The upper & lower A-arms have Delrin bushings and moved the lower shock mount outward (towards the wheel) to lower the front spring rate, dropped the lower shock mount for more shock travel. They also corrected the ball joint locations @ +5 caster, went with tall ball joints to improve camber gains, added caster slugs to the upper cross shafts. The outcome?
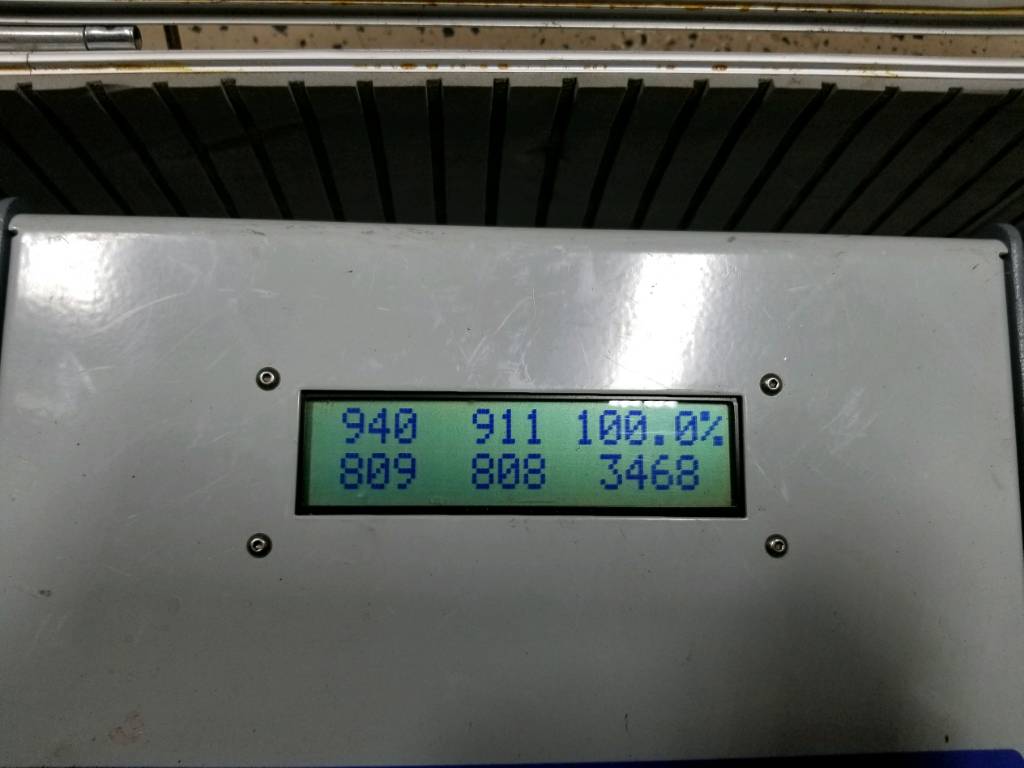
Bump steer numbers that are just incredible! For the G-Body, the total variance through 5" of suspension travel is right at .064"...(less than the thickness of a house key!) The proof is in the numbers!
We will also weigh the front A-arms so people have an accurate weight difference between the stock vs. Ridetech.
Let’s start this by showing you what the Ridetech “Tru-Turn” looks like when they are un-boxed. Nice heavy construction, nice powder coating! (I got antsy and installed the front ball joints and tie-rod ends into the adjusters before taking these pictures) They will come un-assembled.
View attachment 351688
Note: The Ridetech G-body “Tru-Turn” was designed for the use of a stock style spindle.
Here is the passenger lower “Tru-Turn” A-arm. Notice the dropped shock mount for more shock travel, the Delrin bushings and the stock style sway bar mount.
View attachment 351689
Lower control arm weight.
View attachment 351690
Here is the passenger upper A-arm. Notice the caster slugs, they are in the correct place for (Center) with the holes offset to the outside, also notice the arrow on the cross shaft which helps eliminate installation on the wrong side. Note: The offset of each bushing is towards each outside edge of the cross shaft, this Must be like this in order for your cross shaft bolts to fit properly in there stock mounting location. Also the holes in the caster bushings may sometimes require slight modifications due to manufactures bolts varying slightly. One easy way around this is to replace those 4 cross shaft bolts with 7/16” Grade 8 bolts, nylock nuts & washers.
View attachment 351691
Upper control arm weight. Note the Tall ball joint.
View attachment 351692
Here is a close up of the Ridetech "Tru-Turn" Tie-rod adjusters & Tie-rods.
View attachment 351693
Tie-Rod adjuster & tie-rod. = 1 lb. 4 oz.
View attachment 351694
Here is the Drivers side installed. It may be tight between the cross shaft bolts and the steering shaft but mine was able to slide between the bolts and the shaft by making sure the flat spot on the shaft was facing towards the wheel. Torque the cross shaft nuts to 45 ft lbs. (or stock specs.) The upper ball joint to spindle nut torque to 65 ft lbs. (or stock specs.)
View attachment 351695
Here the Drivers side lower is installed with the new Ridetech S/A coil over. The lowers are going to be a tight fit but that is how they’re supposed to be. I found the best way for these to go in, was to go in with the a-arm level and push it in to where you can get an alignment awl in the holes for easier fitment of the bolts. Wasn’t too bad after the first one. Torque the lower a-arm to frame mounting bolts/nuts to 65 ft lbs. (or stock specs.) Note: Make sure you do not over tighten these bolts! Torque the lower Ball joint to spindle nut to 90 ft lbs (or stock specs.)
View attachment 351696
Here the spindle is bolted on and the sway bar end links are bolted onto the Ridetech lowers.
View attachment 351697
.
Similar threads
16
3K
Online statistics
- Members online
- 18
- Guests online
- 10,986
- Total visitors
- 11,004
Totals may include hidden visitors.