Thread to document the buildup of a low miles 1964 Buick Special with an engine/transmission from a 1987 Grand National.
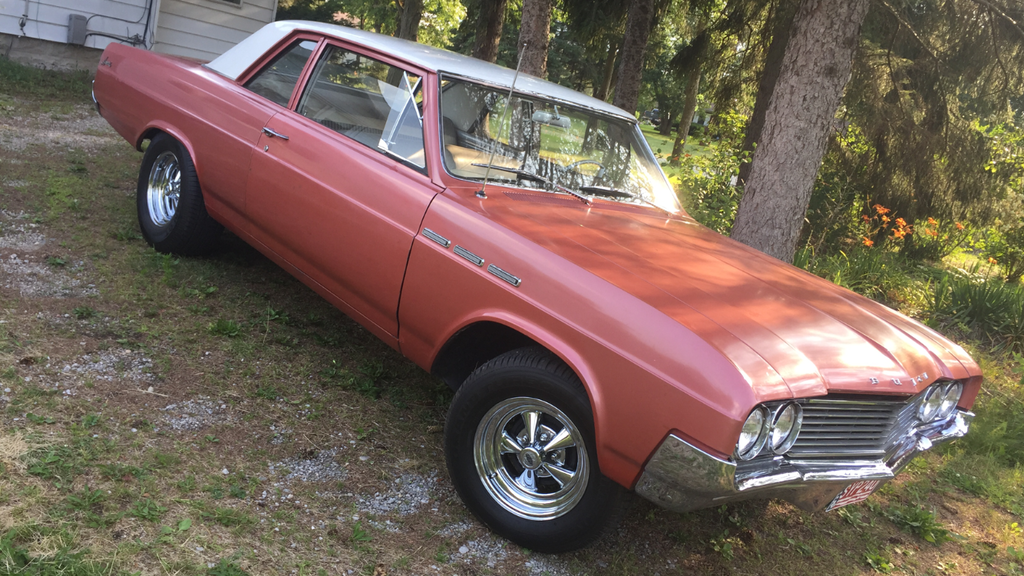
The car was purchased in the summer of 2017 from the second owner (I'm the third). It had about 55,000 documented miles. It's a post car with a 225 V6/ST300 2-speed auto. The car is sporting original paint/interior.
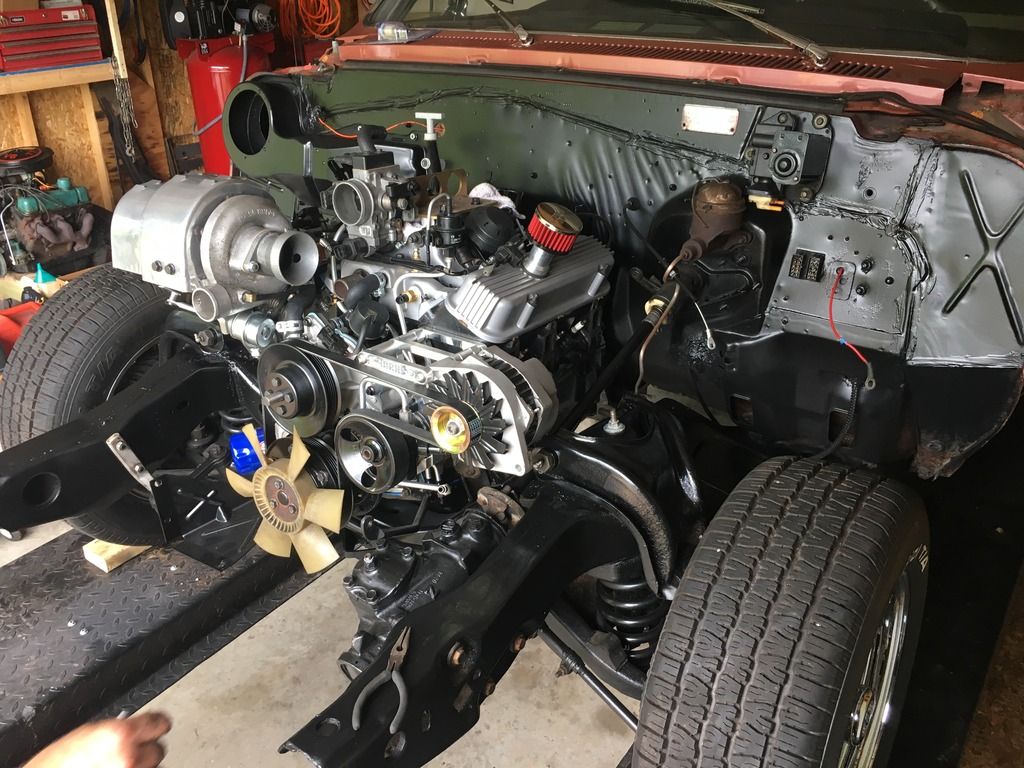
Here is what I started with:
I'll post follow up reports as I move along. These should come relatively fast, as I hope to have this thing transplanted and running by August 1 this year.
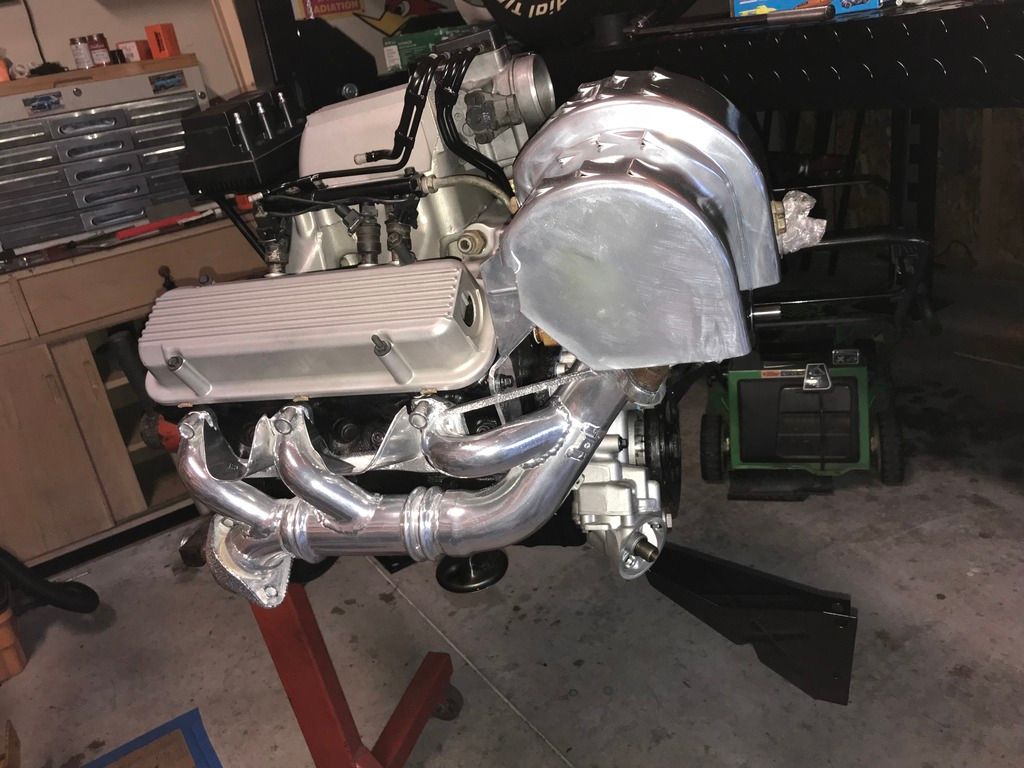
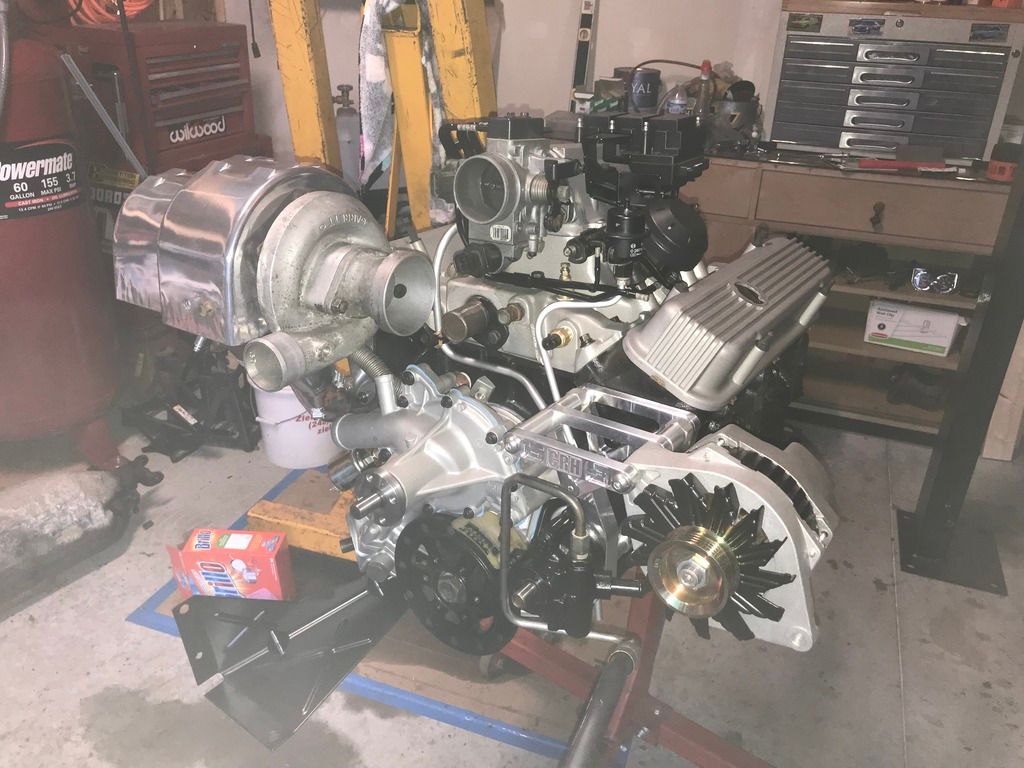
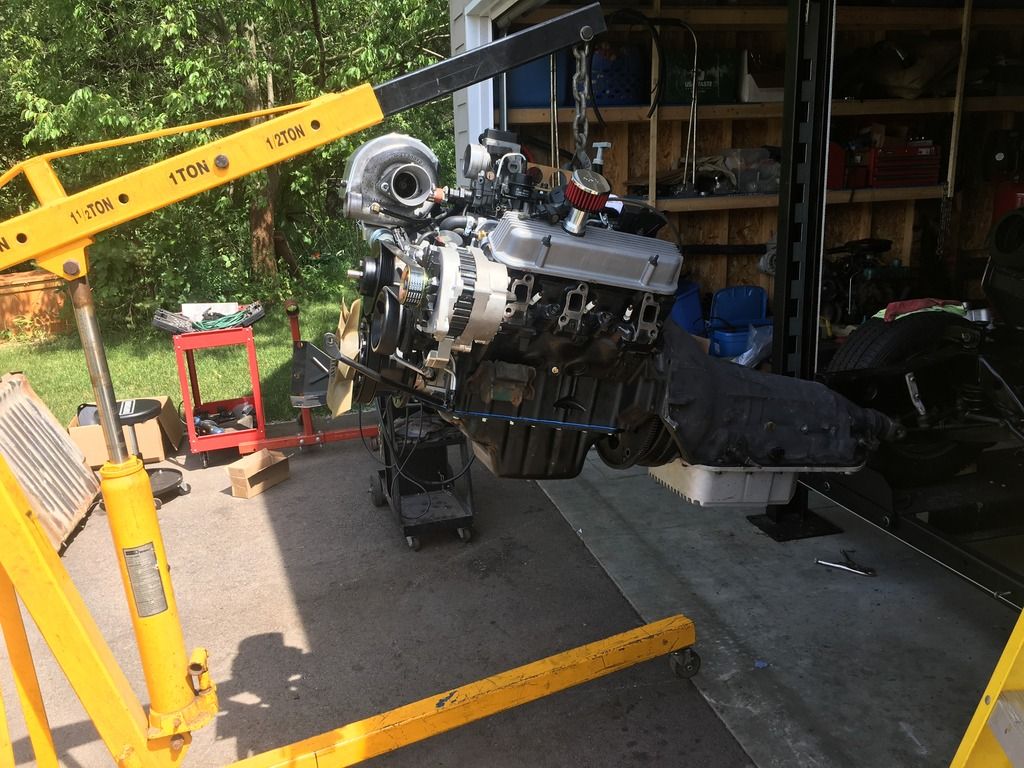
Engine is almost reassembled to stock specs (for now). It's been cleaned, but the short block was left intact - bores looked great, and individual cylinder pressures were very consistent without perceptible leakdown.
It received a new timing chain, gaskets, timing cover w/high volume blueprinted pump, alt/PS pump bracket, and several sensors. Plus some ceramic coating on the high temp stuff.
I had originally planned to use a Casper's. But I ended up selling the stock harness and the Casper's, and purchased an engine management system from Ron Francis. This system allows you to string individual sensors back to a junction panel, then the panel distributes the signals back to the stock ECM.
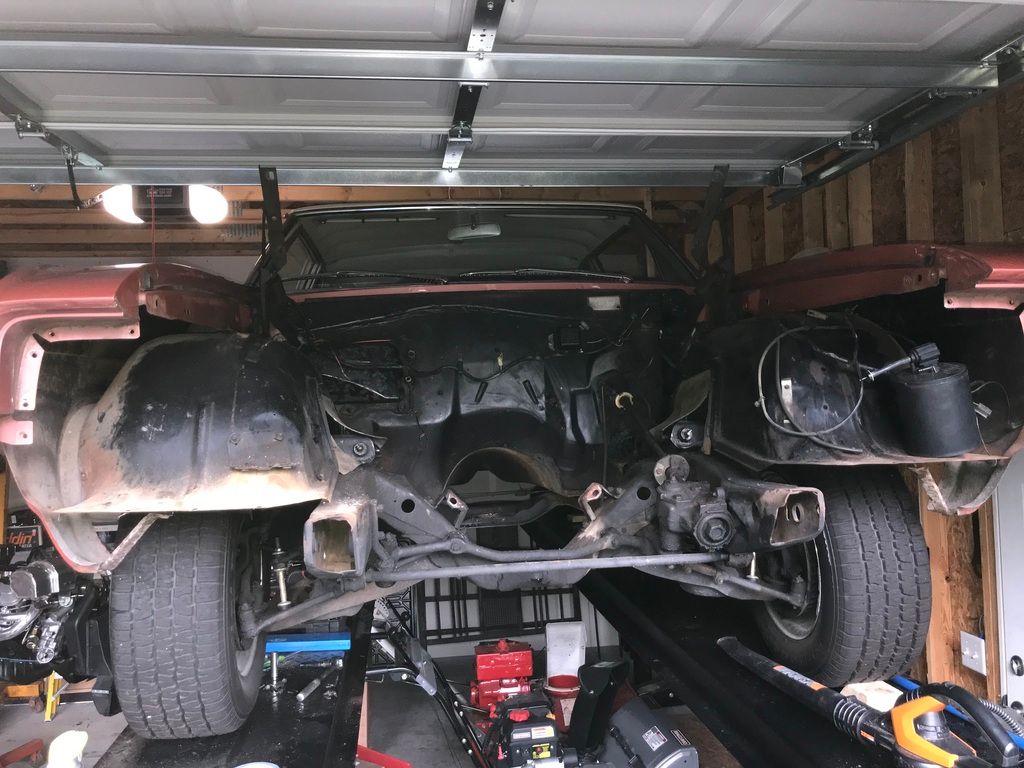
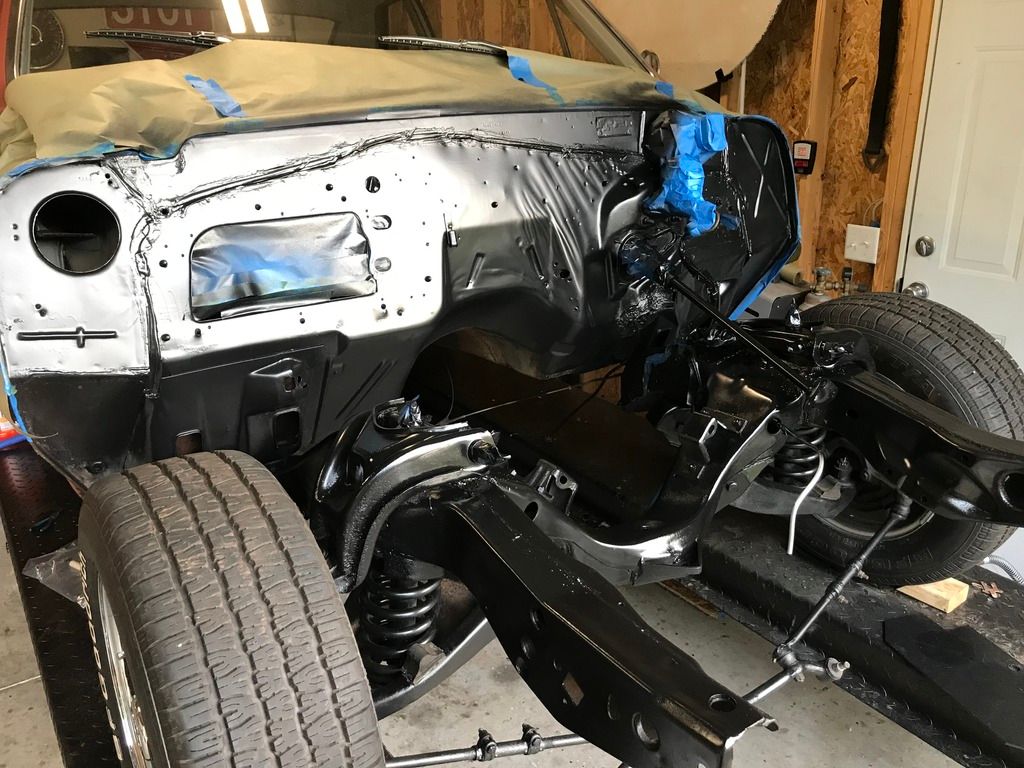
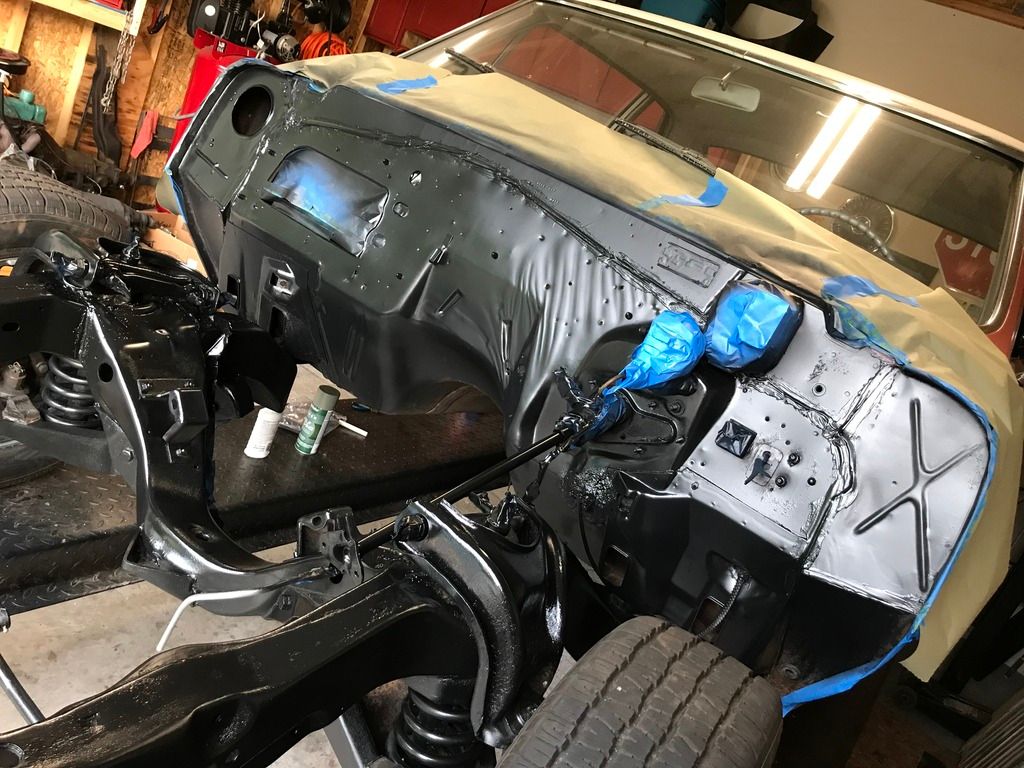
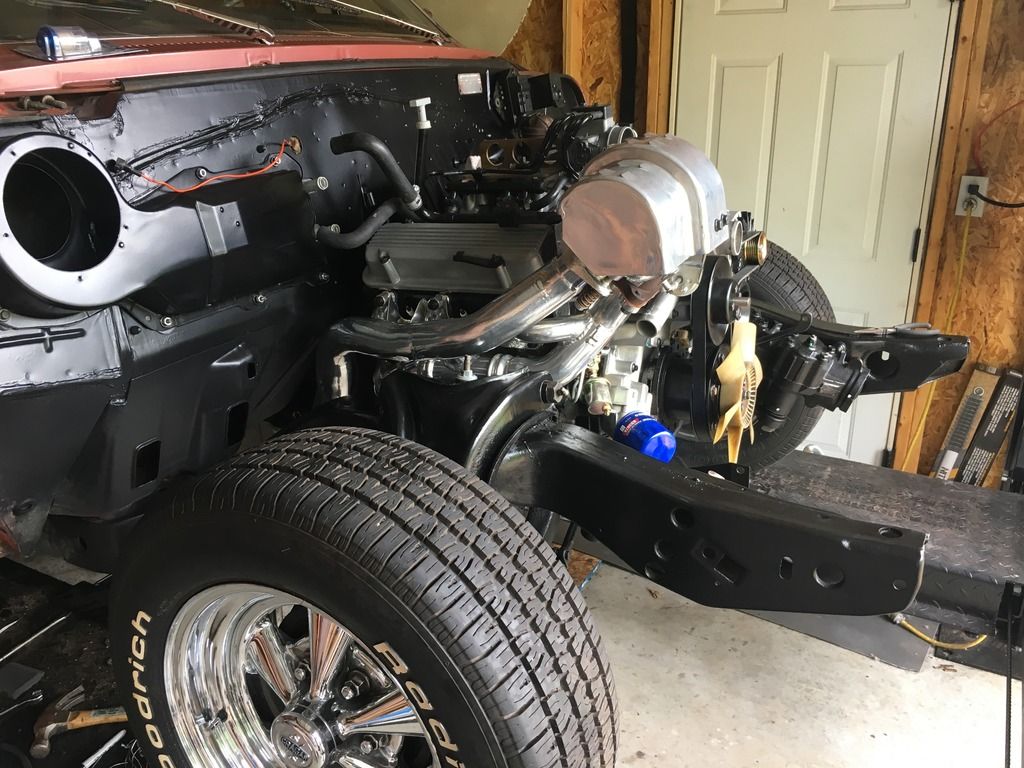
After a lot of degreasing, cleaning, sanding, and prep, the car is now ready to accept the new engine. I did a simple clean and shoot, knowing that a frame-off restoration will be happening at a later date.
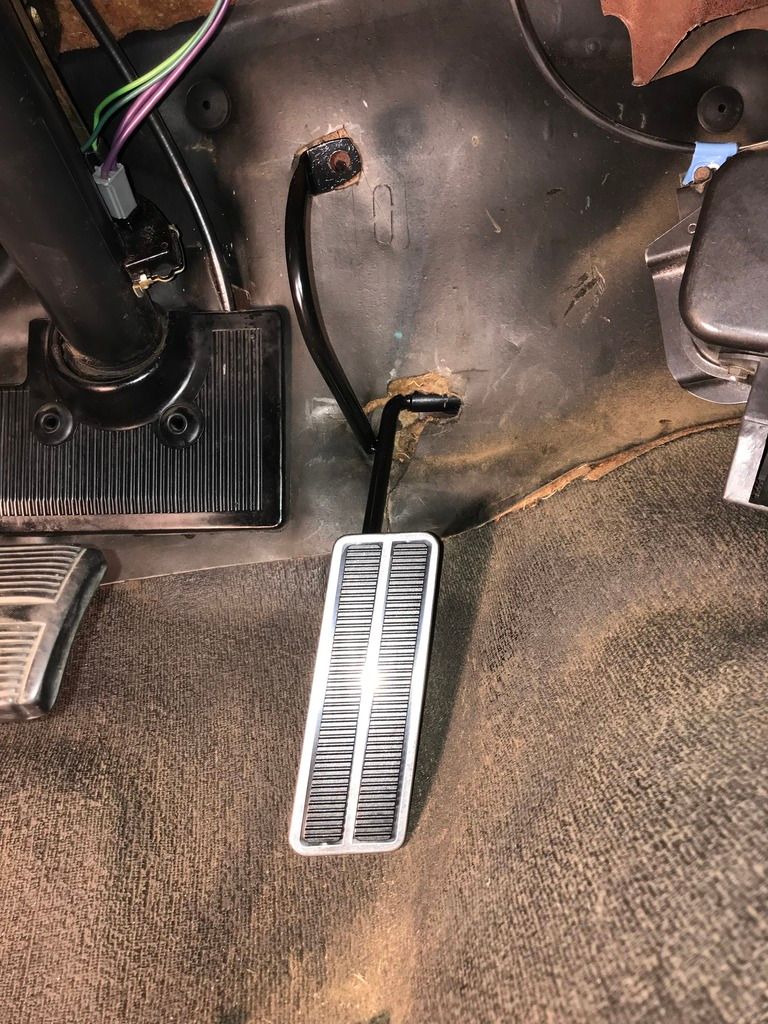
Here’s something not well known... A ‘67-‘69 Camaro 6 cyl cable throttle pedal is a bolt-in to GM A-Bodies that used mechanical throttle linkage. You simply have to bolt it into the stock pivot point location for the mechanical linkage, and locate / create the hole for the cable in the firewall!
Well, installing the engine hasn't been as simple as I hoped. I've seen (2) '65s done like this, and neither reported any significant issues with clearances, but I've had some troubles for sure with my '64.
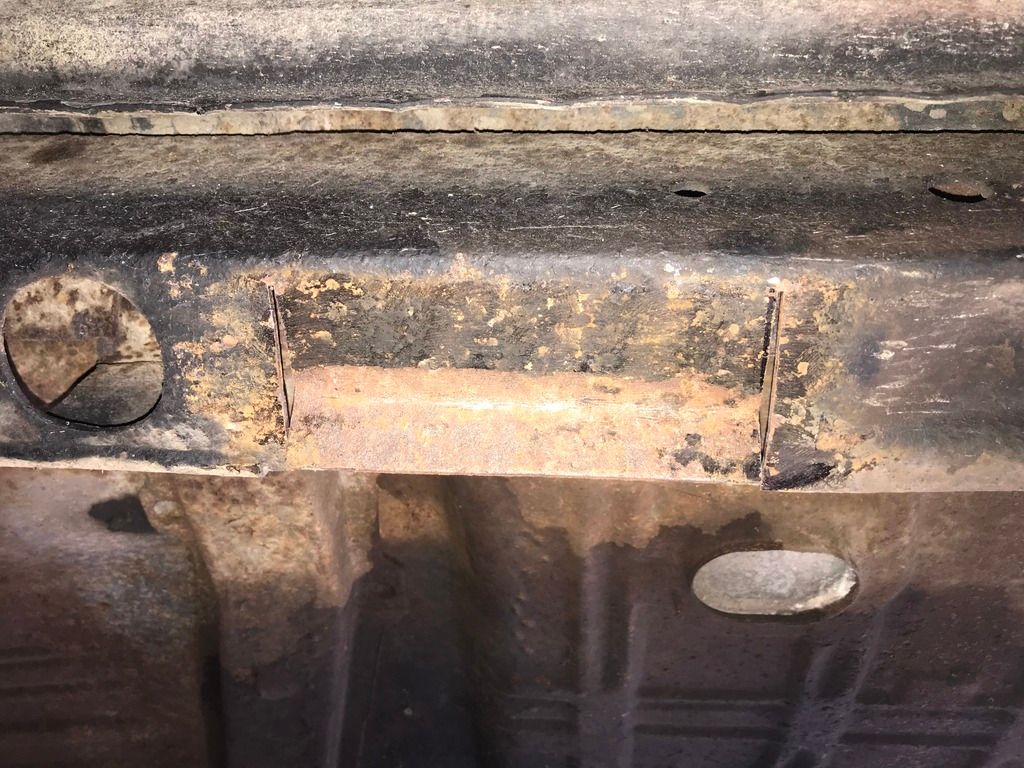
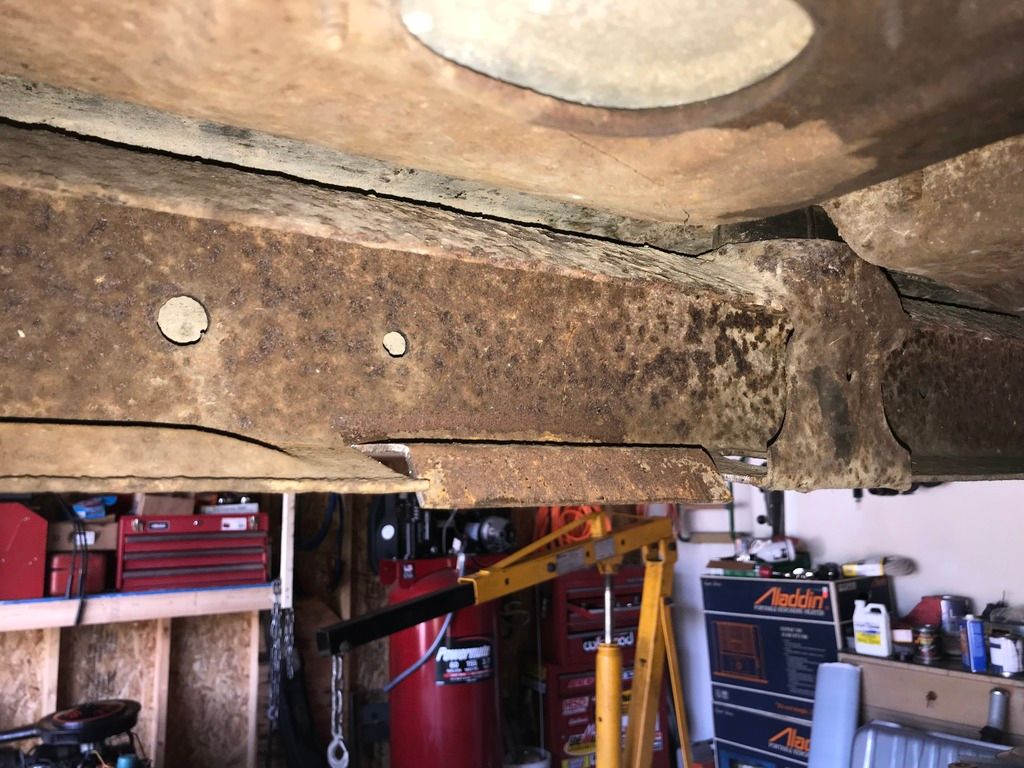
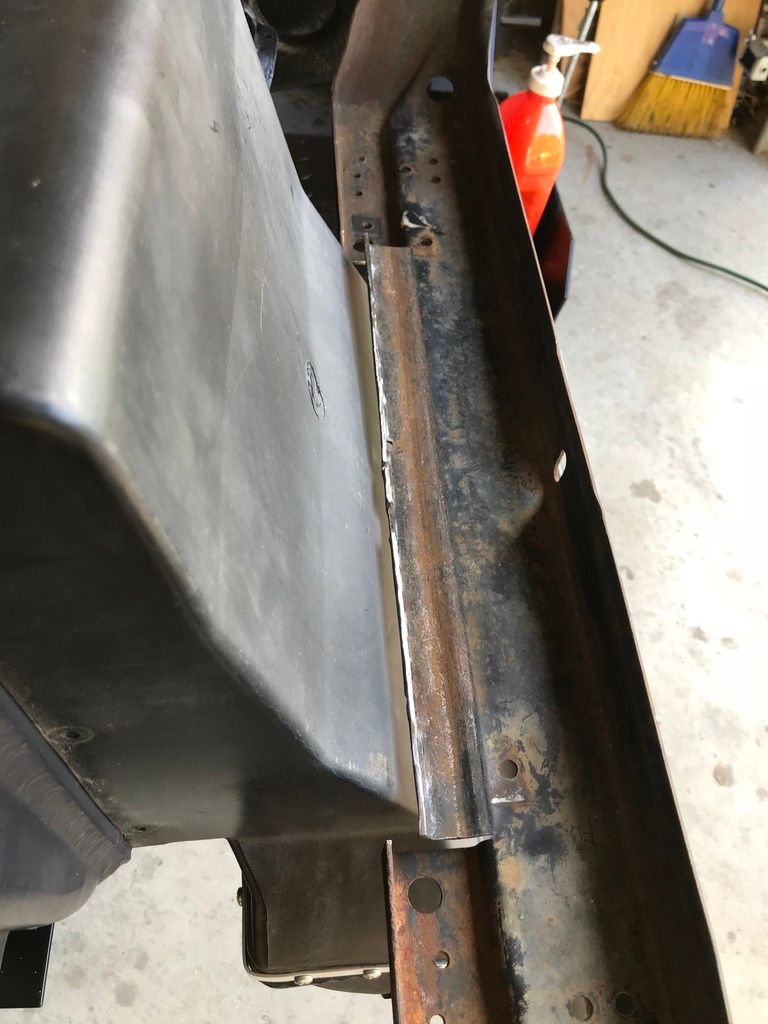
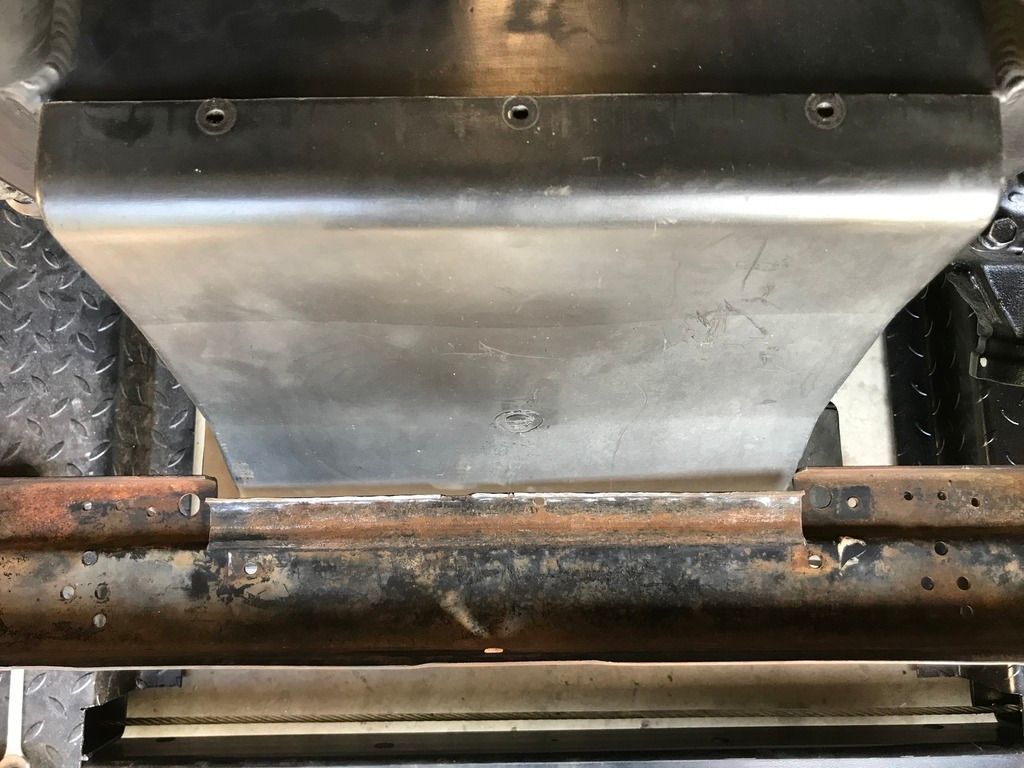
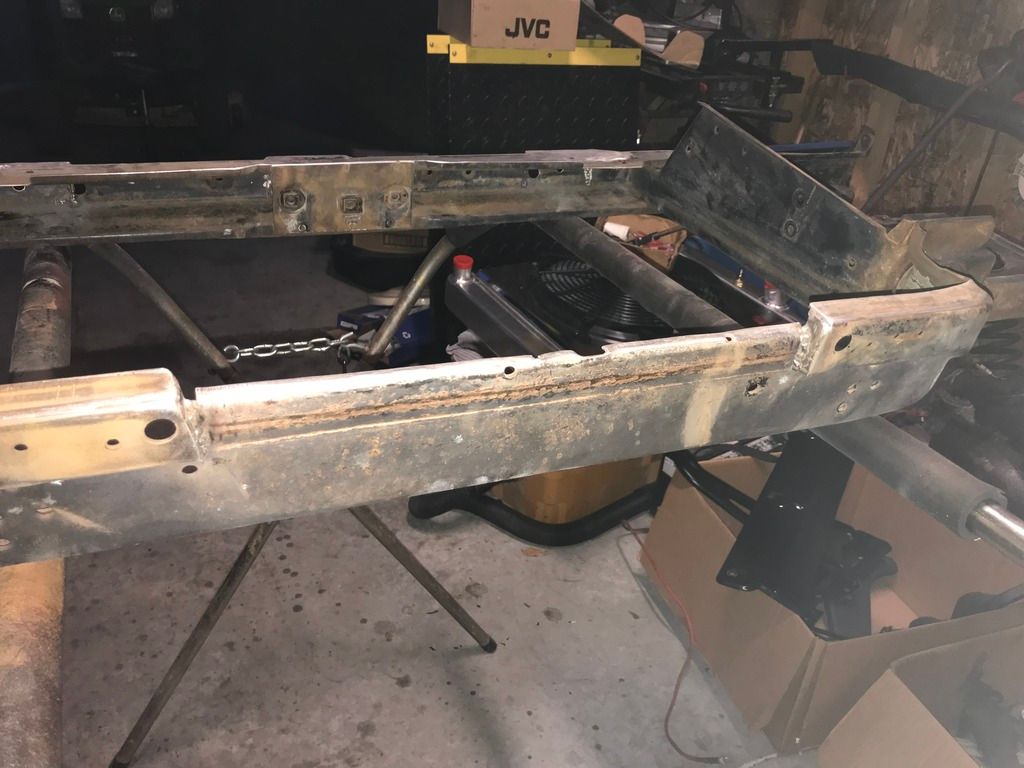
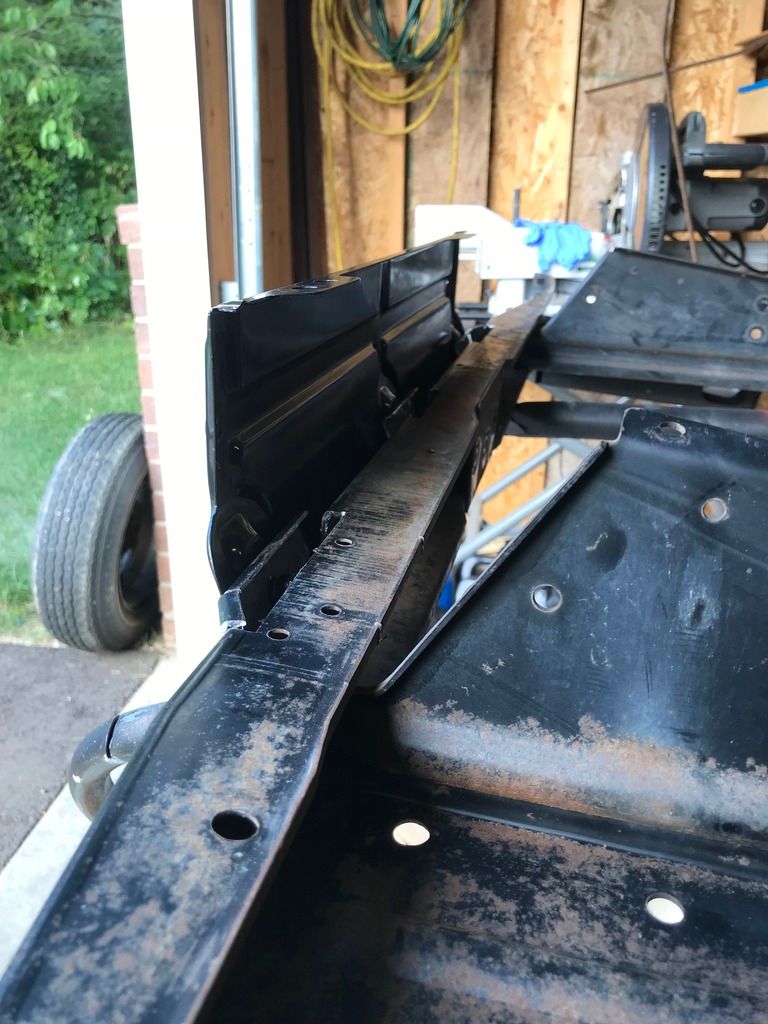
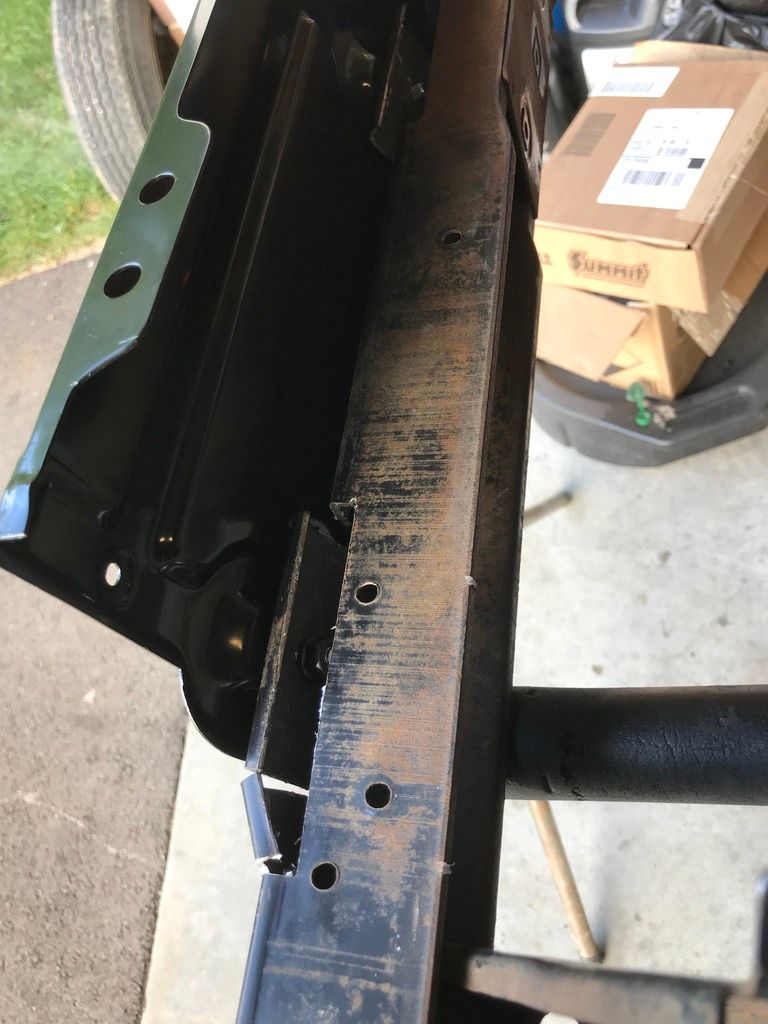
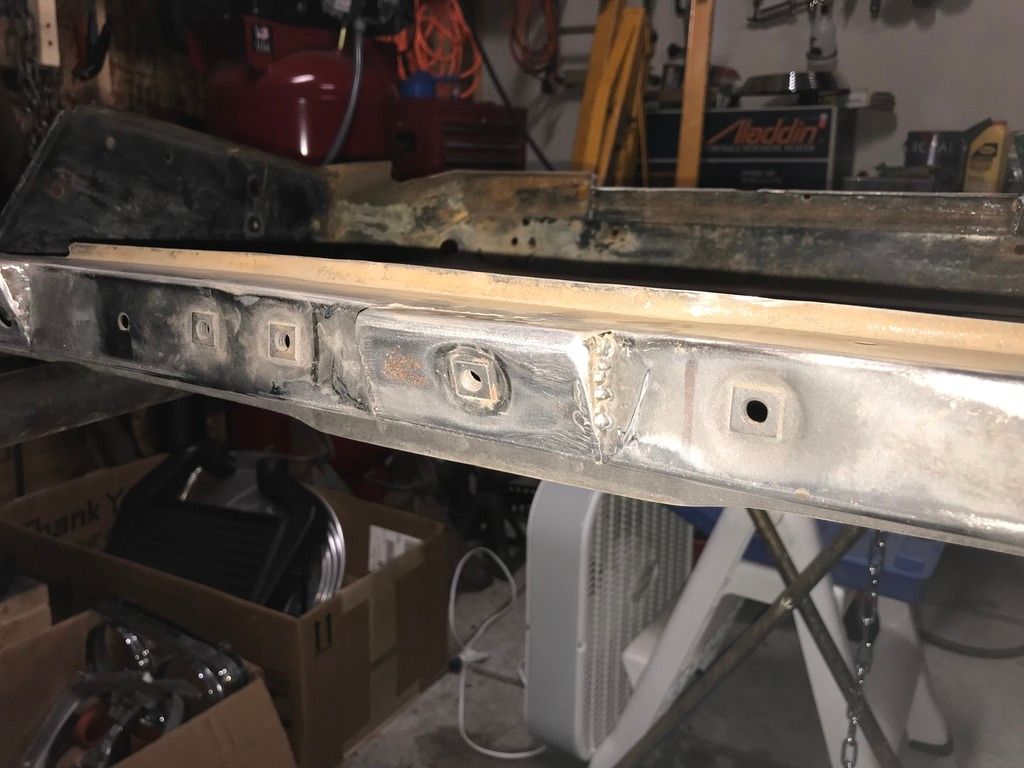
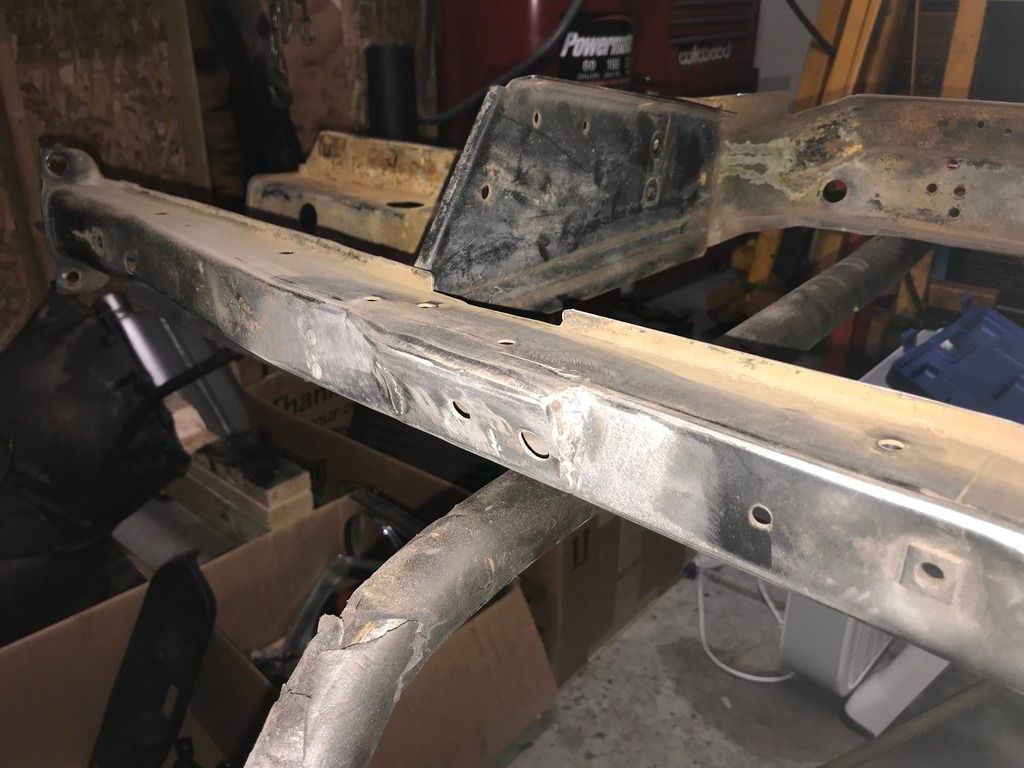
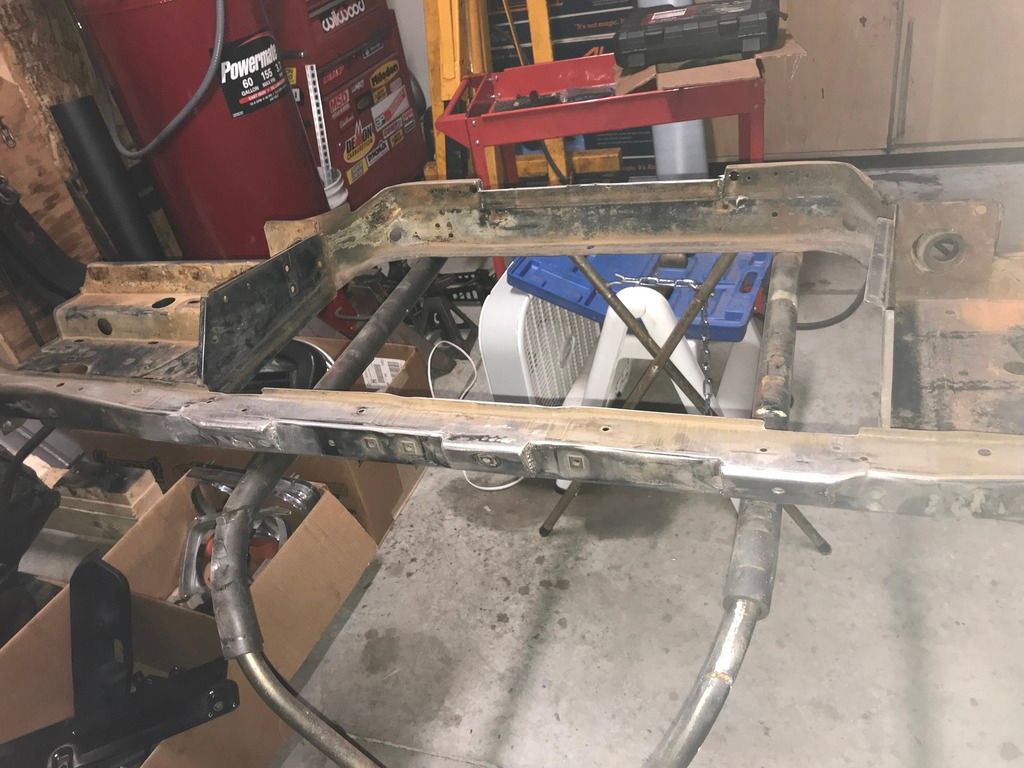
Firstly (and I kinda knew this), the trans mount was going to need some work, as the stock frame rails don't have enough fore-aft adjustment for the TH2004R. So I sourced a Chevelle crossmember and made some frame mods rearward of the current mount points. After some metal reshaping with a jigsaw and some clamps, I was able to get a nice flat, level spot on each side for the crossmember to mount.
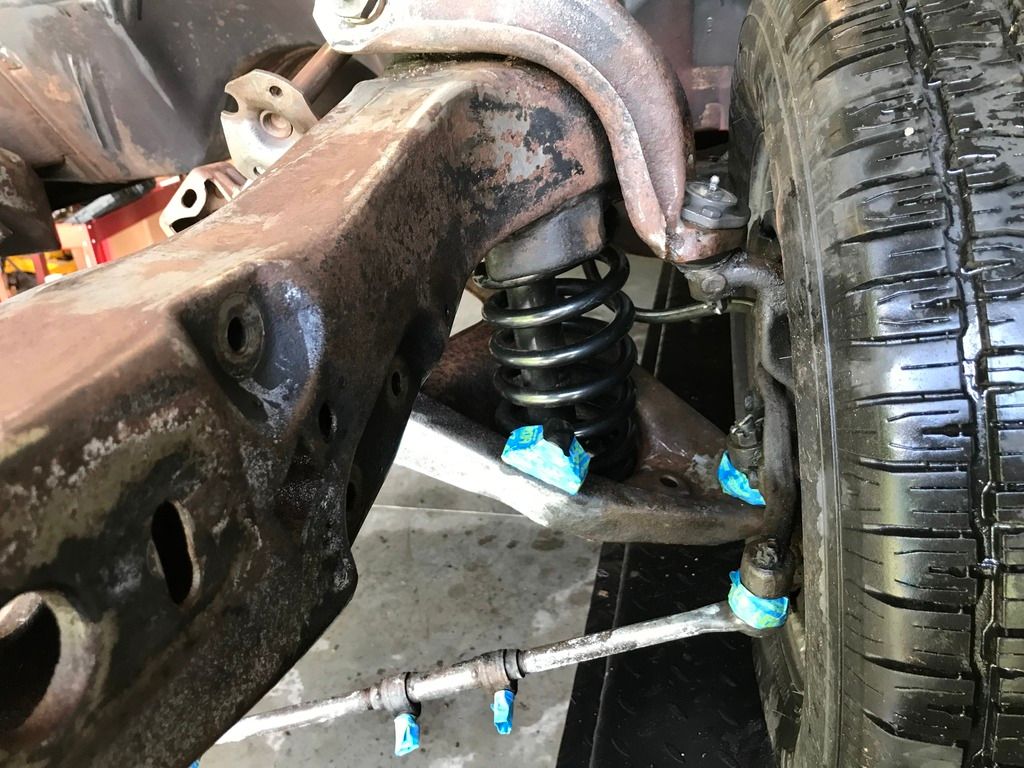
The engine crossmember also hit the oil pan in the front corners. I've done some clearancing, but more is still required. Here's a couple of samples of the installation, but the engine has to come out one more time for a few more crossmember mods.
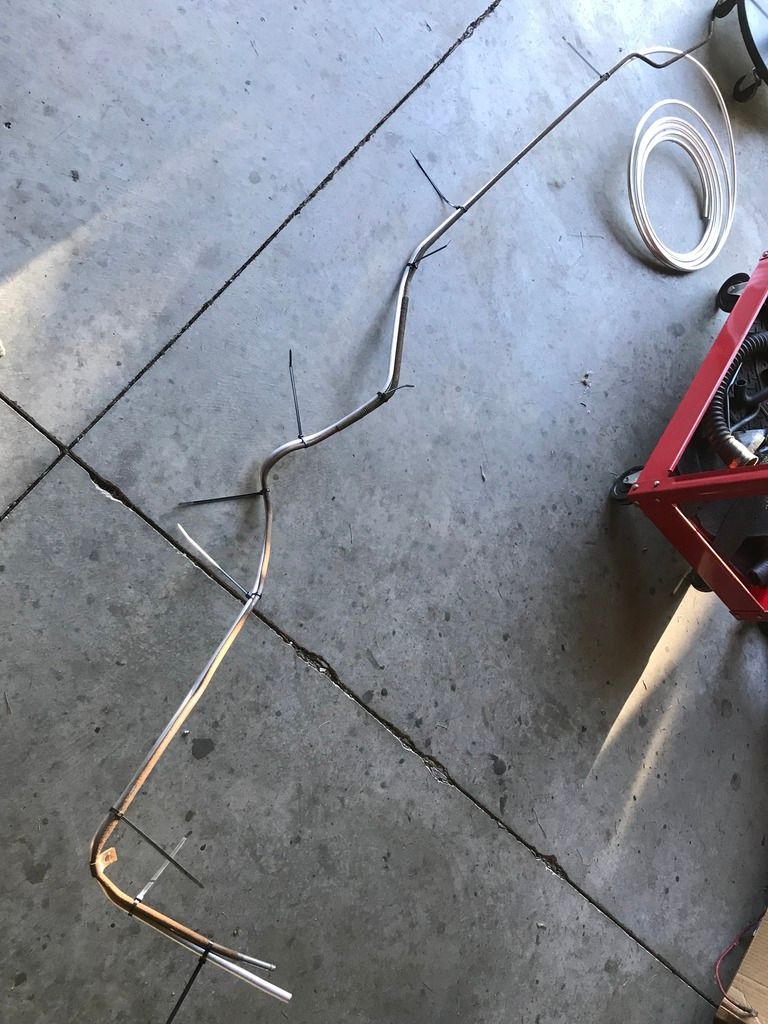
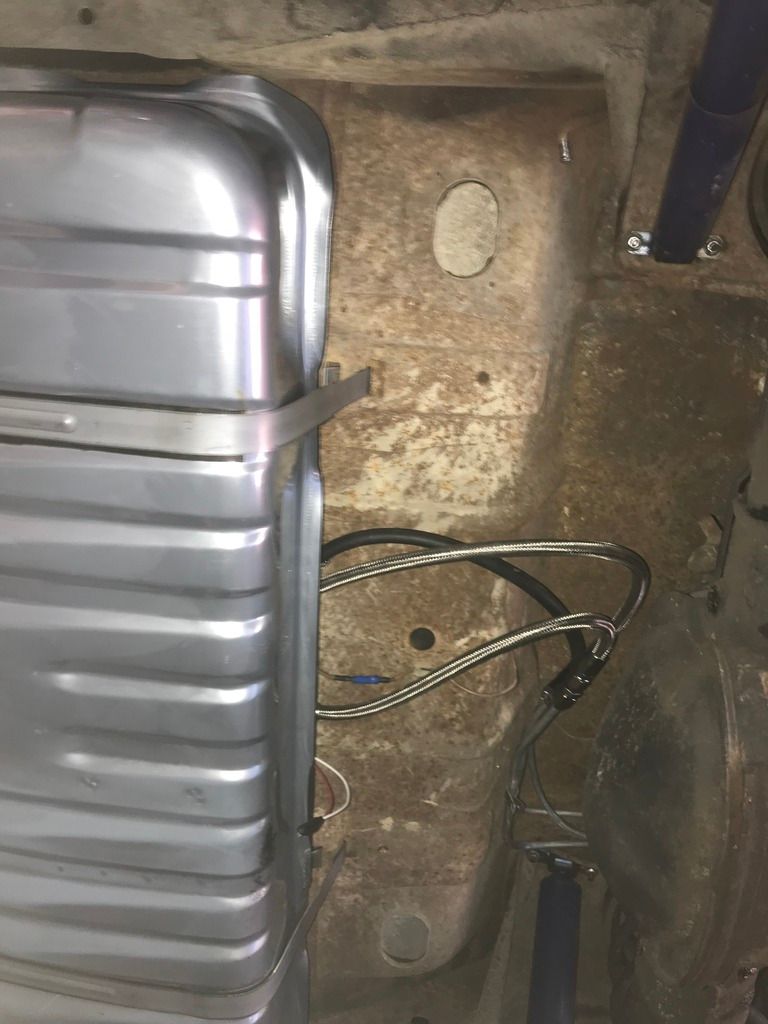
Installed the fuel system this weekend. It was pretty involved, as three lines (feed, return, vapor) had to replace the single line that was in the car.
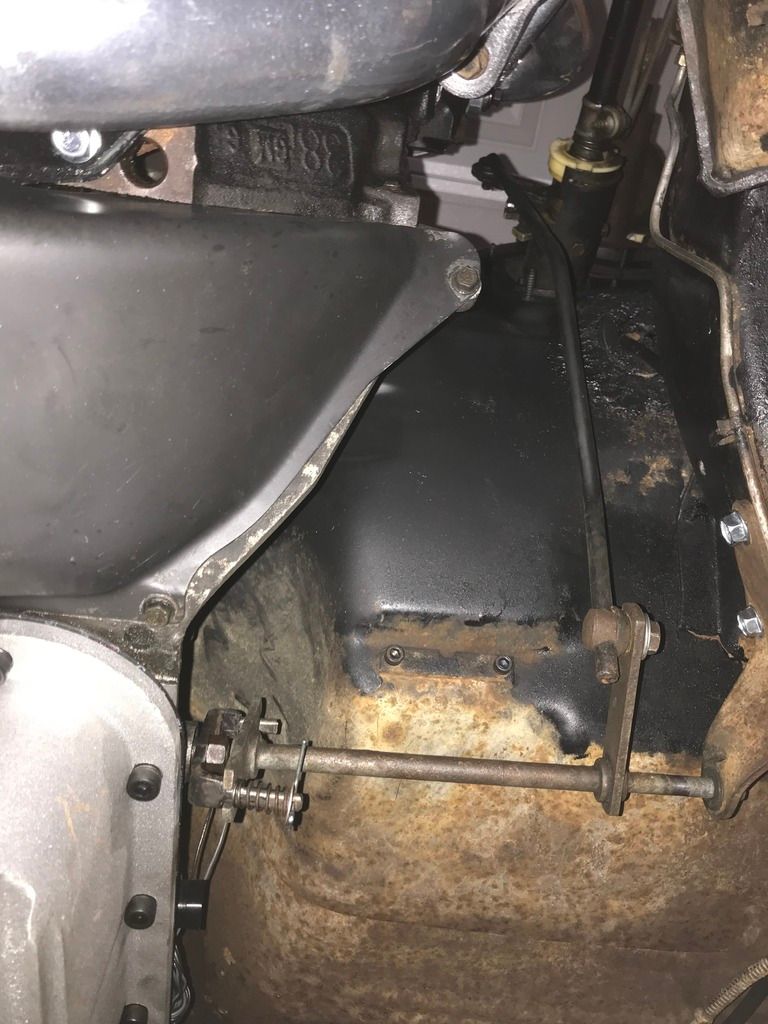
The stock line was removed so it could be used as a template for the new aluminum lines. The aluminum material can be bent by hand, and I simply followed the contours of the original line and used zip ties as I made each bend. It's an old trick I learned from working in the prototype shop of a former job designing clutch hydraulics (although those tubes were made in nylon and bent with a heat gun).
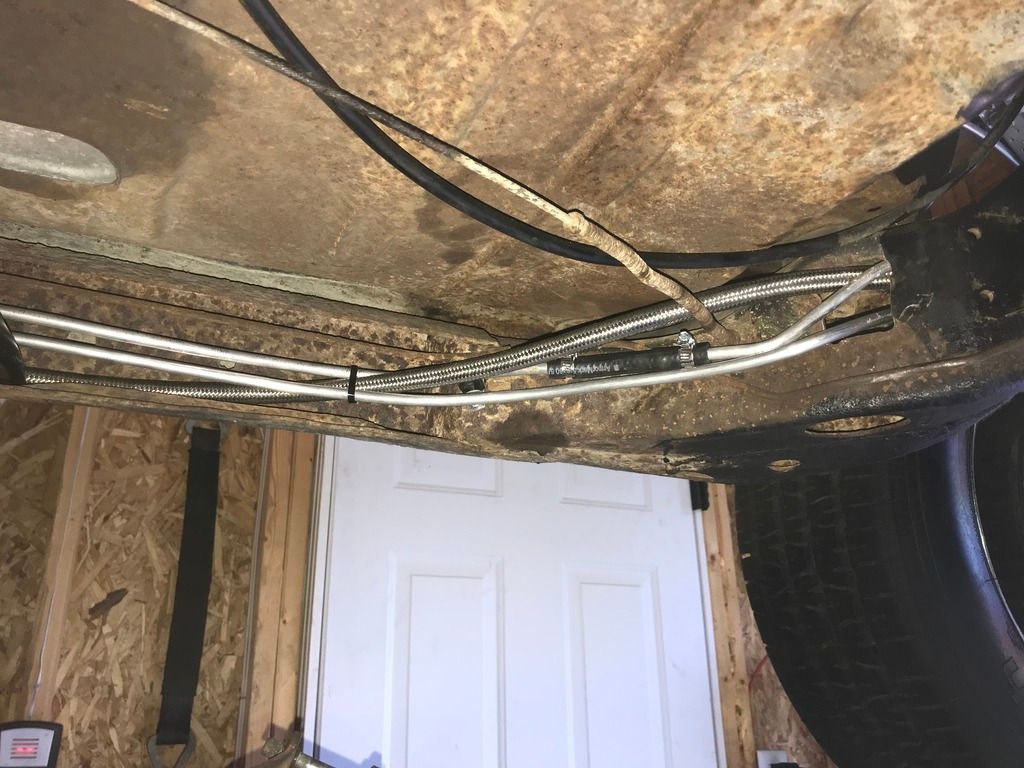
Then it was running the lines along the frame rail in the stock location.
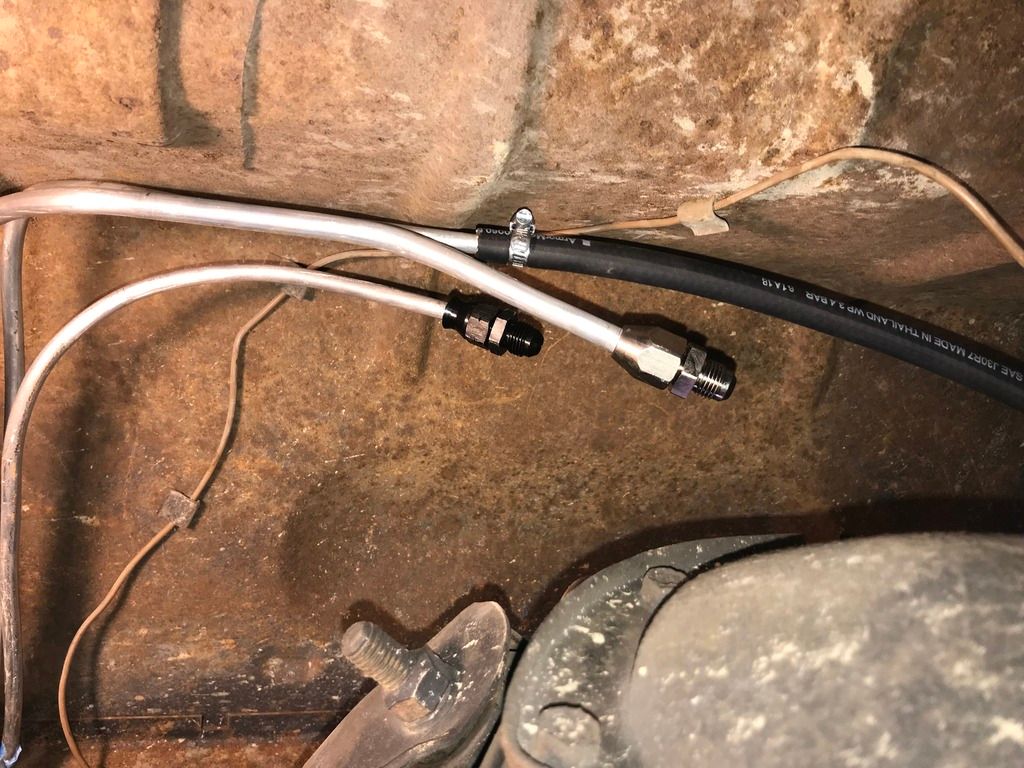
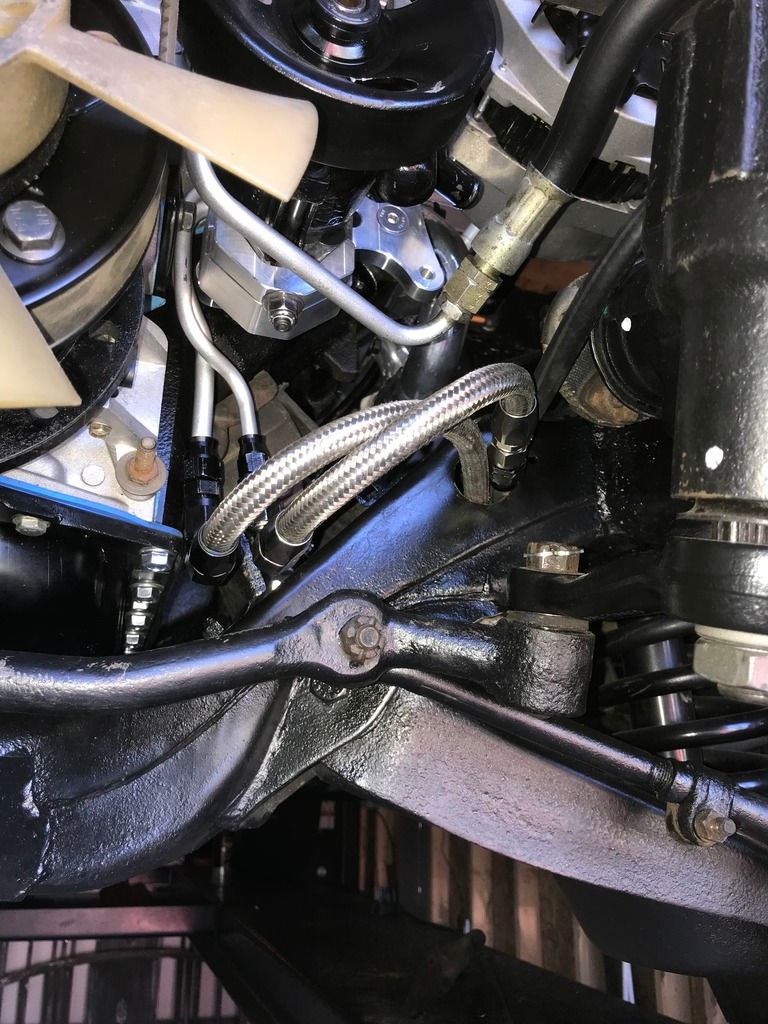
The stock feed and return lines from the fuel rails were modified with AN compression fittings, and braided flex lines were assembled to connect to the frame lines.
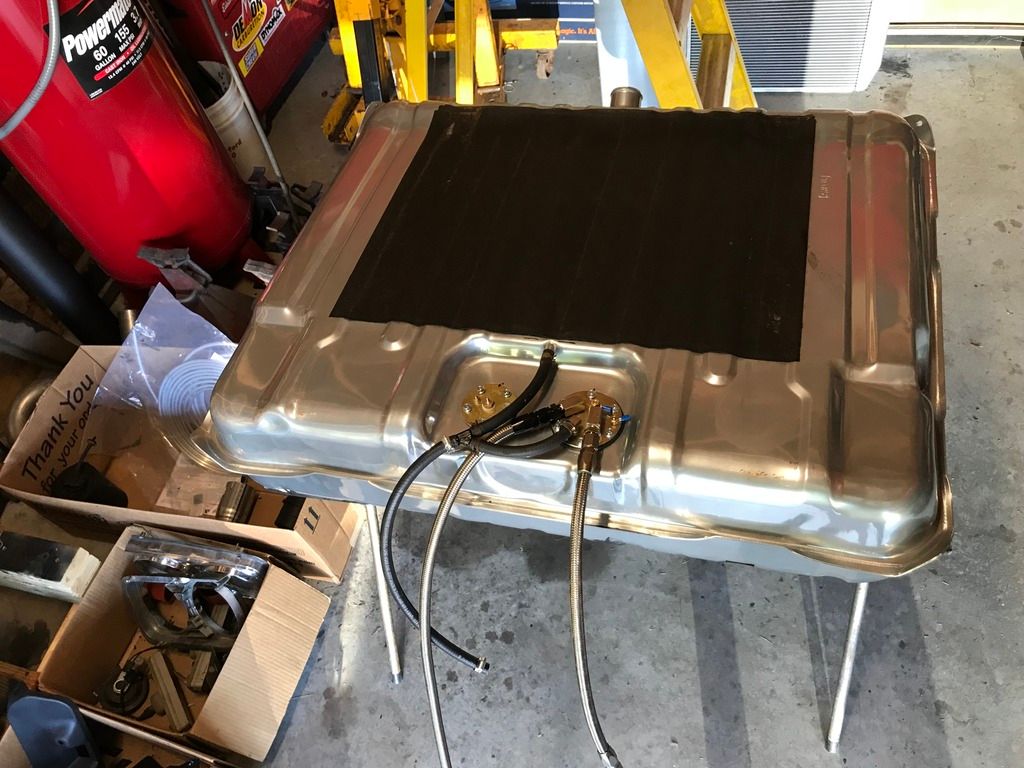
Finally, the Holley Sniper tank was prepped and installed. More braided flex lines connect the feed and returns, and plain rubber fuel hose was used for the vapor flex lines.
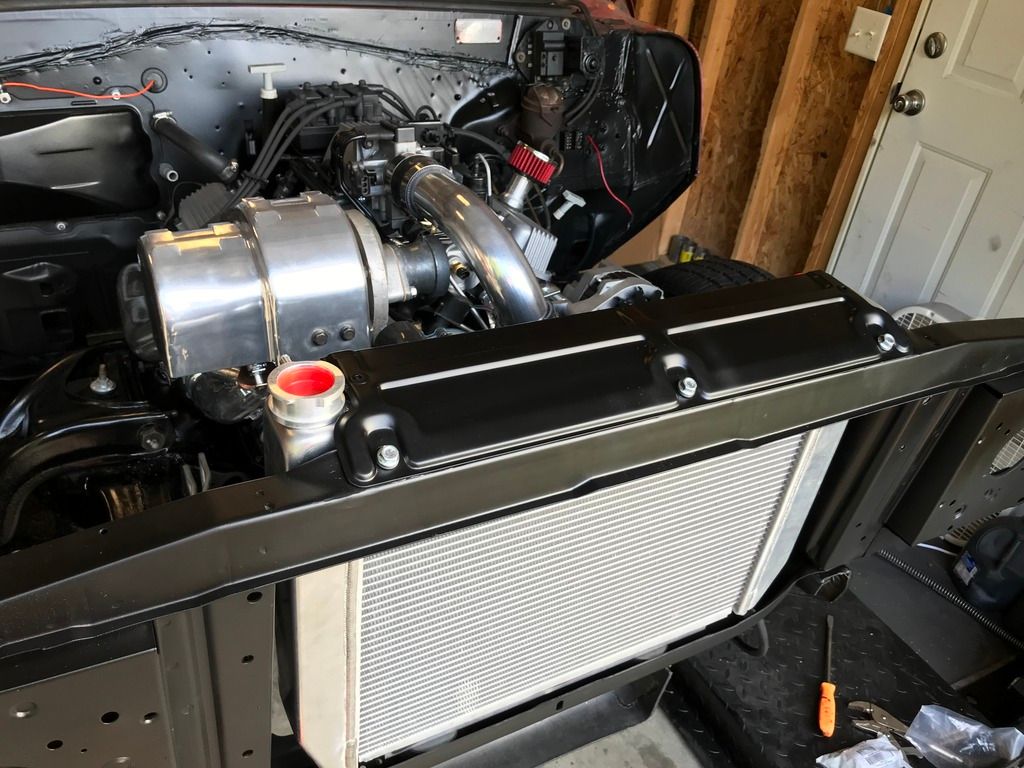
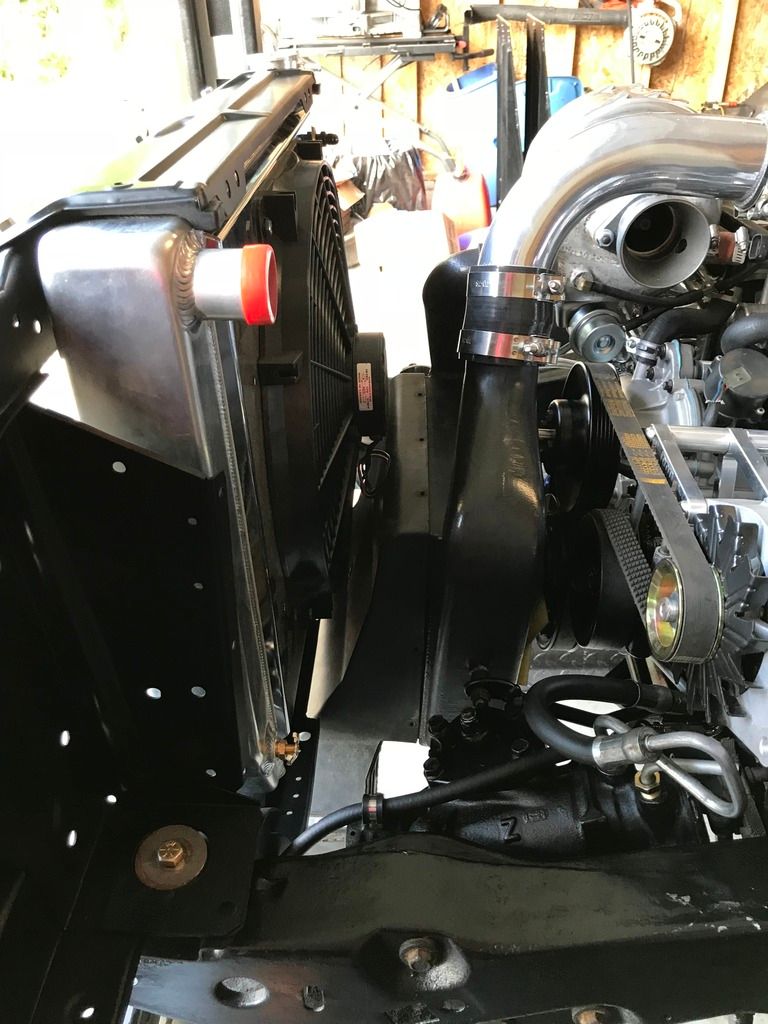
Quite a few mods had to be done to the core support, both for clearance to the intercooler scoop as well as preparations to mount the universal fit radiator.
Firstly, the lower lip of the support had to be re-formed and notched to clear the scoop. I did this by reworking the the "step" at the bottom of the support, as well as notching the area. This provided a good 1/2" or so of clearance everywhere.
Next, I had to rework the top of the core support to accept the '70 - '72 Chevelle radiator cover. The Chevelle cover is angled in the area that bolts to the core support, so I re-worked the support in the (3) bolted areas to match the angle. The result is that the cover now provides a flat mounting surface for the top of the radiator.
After cutting a few "fit" sections from 1/8" stock and welding/grinding, the (3) angled mount points have been created.
Got a few more things ready over the course of the past several days.
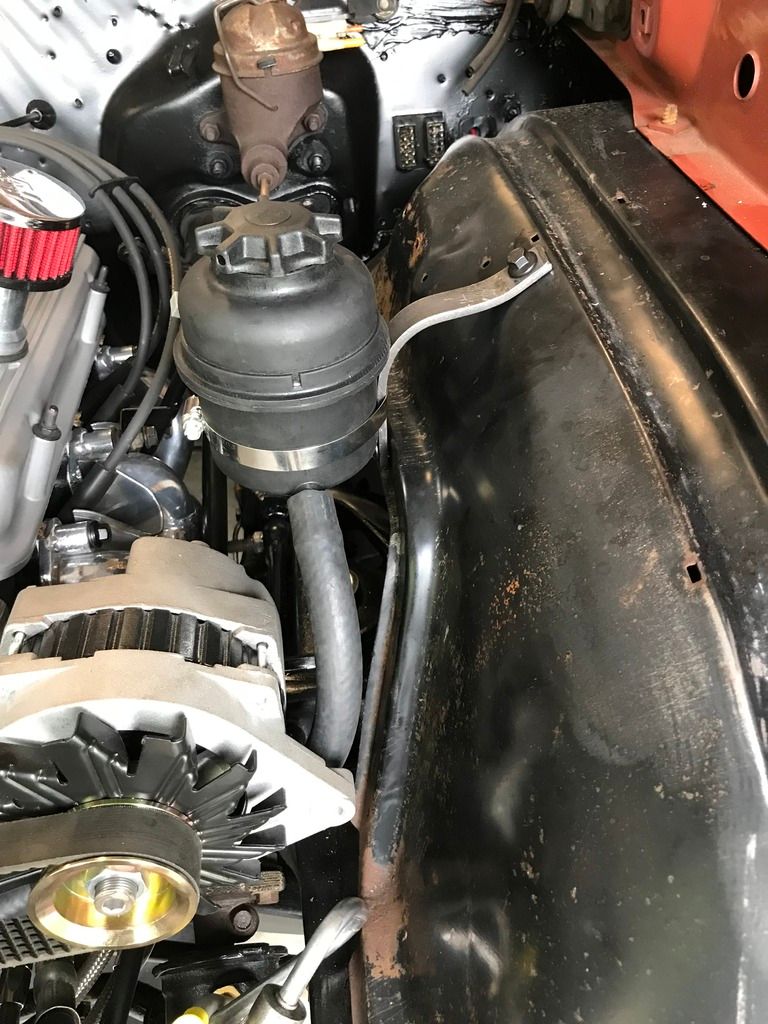
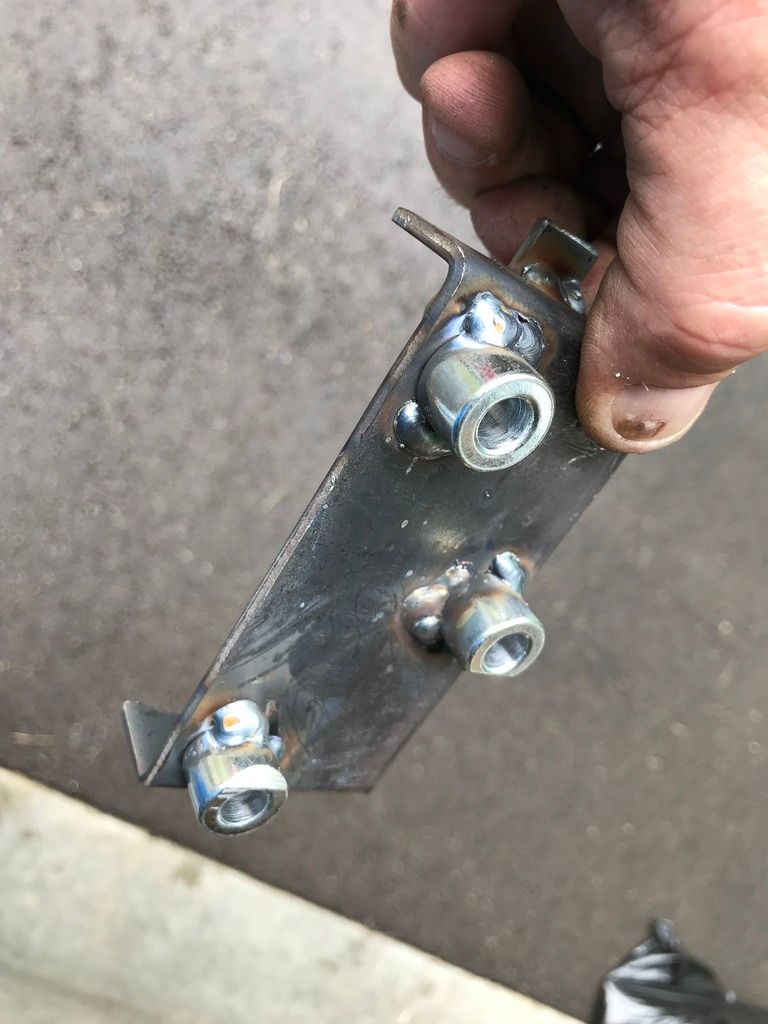
I was able to make a bracket and mock up the power steering reservoir. It's a simple bracket made from 3/4" flat stock.
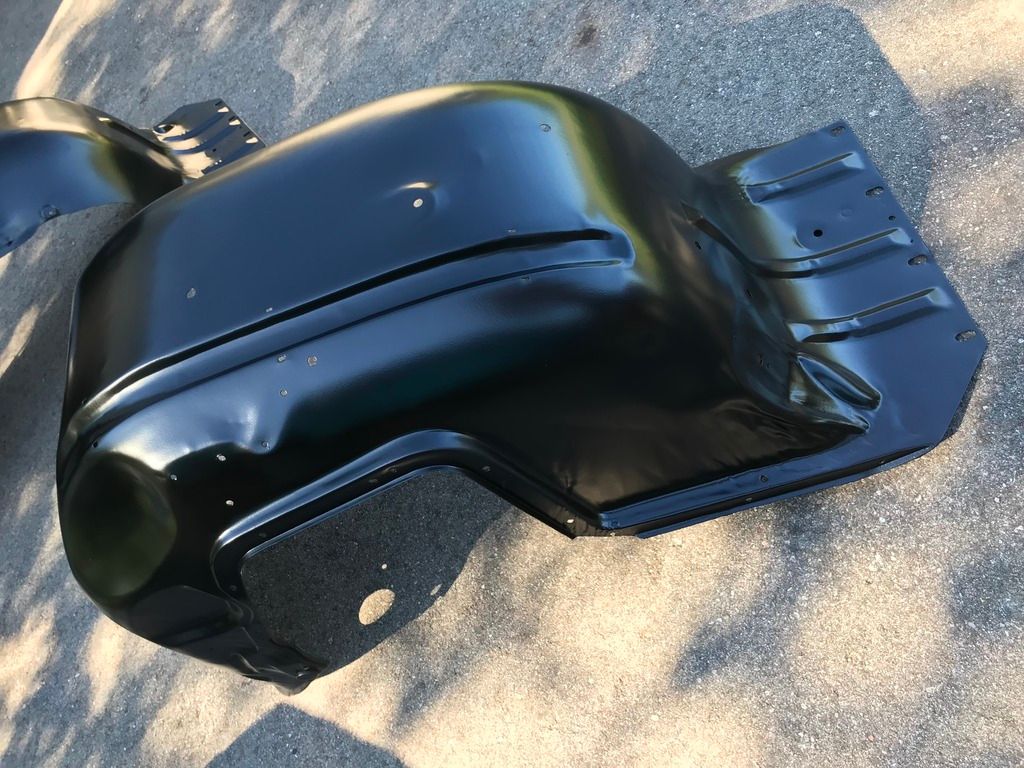
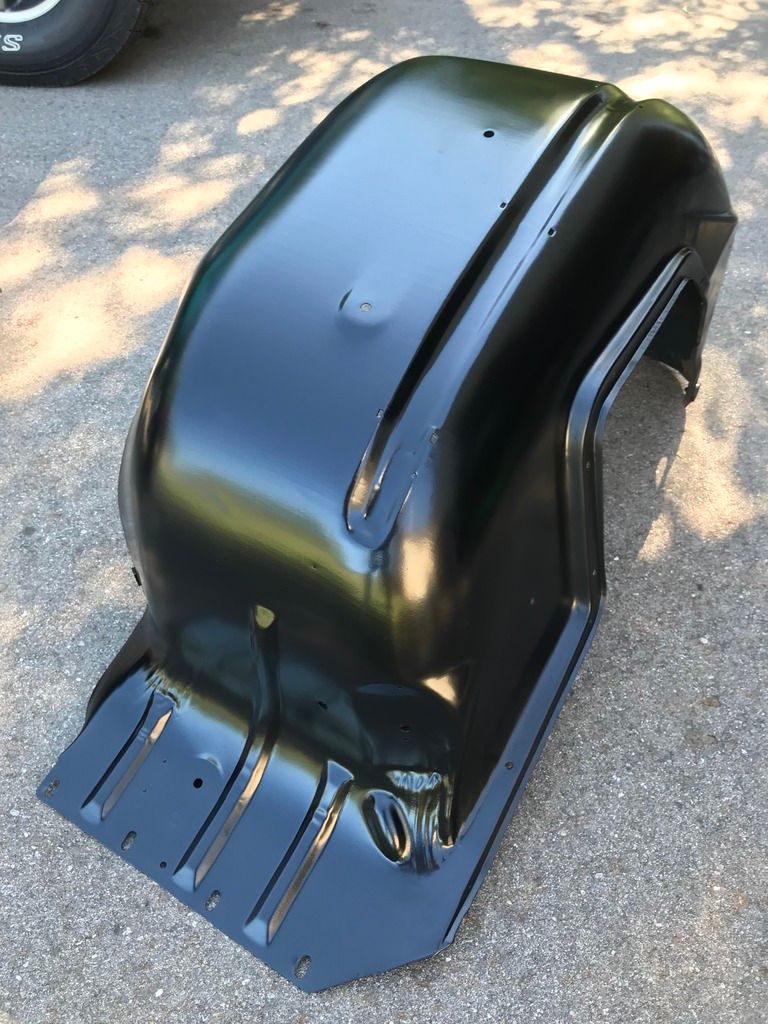
Also, I was able to clean the inner fender panels from the surface rust and prime/paint them. They are finished in Eastwood Underhood Black (like the rest of the engine compartment sheet metal).
Some rubber mounts were added to the Chevelle radiator top plate, and some aluminum U-channel was cut at the bottom. The U-channel was mounted on top of some hockey pucks for vibration damping, then it was bolted together. Came out pretty good, and looks like it could have been "factory". Plus, everything has at least 1/2" clearance.
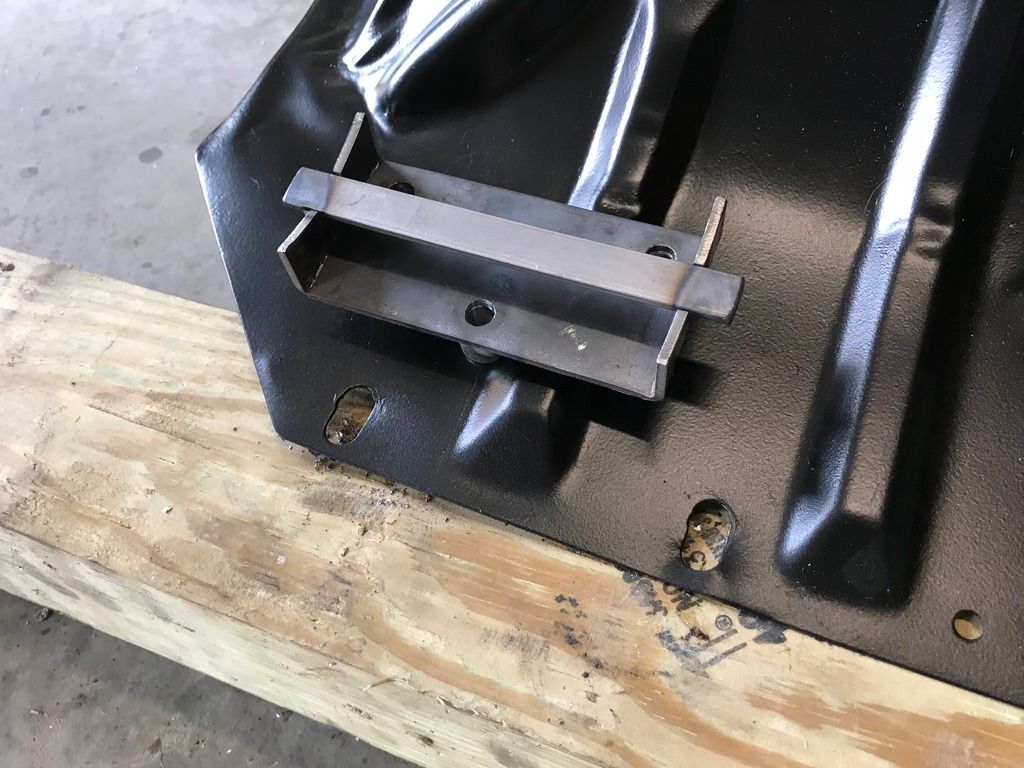
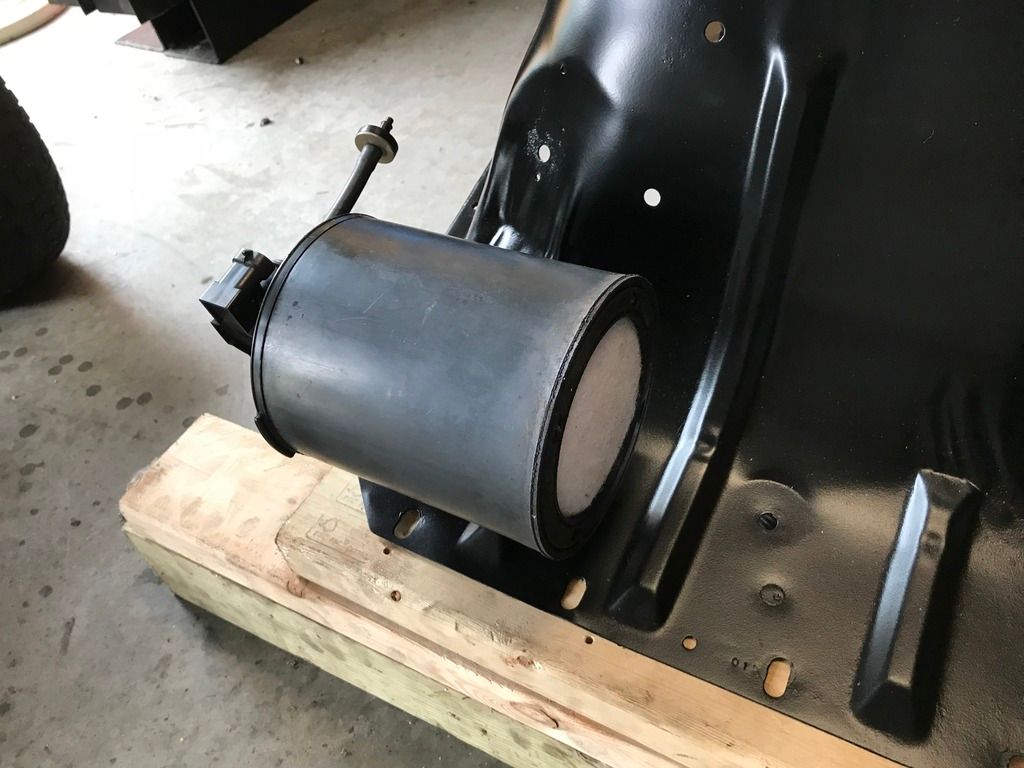
Next, a mount was made for the vapor canister. It started life as a combination of 2 x1/8 stock, 1/2 x 1/8 stock, and 1/2" spacers. After welding, it was marked for location in the driver's front inner fender. I'll source some 5 1/4" T-bolts to clamp it to the mount.
For my '64, I bolted the '64 V6 mounts to the GN engine, and it all rests on the '64 frame stands.
There may be differences for V8 cars and/or '65 models, but I'm not certain on that. I've seen (2) '65's done in the past, and neither reported crossmember clearance issues to the oil pan. I had to modify my crossmember for pan clearance.