Follow my port and polish project

No dyno numbers, just dozens and dozens of 1/4 mile passes.

I could probably spend some time on a dyno to help dial the car in, but I think it's more accurate and fun dialing it in on the track. Plus I have a wideband, so no need for a probe on the dyno :)
 
I think I understand. Cut it right in the middle of the bead?

Any suggestions on how to remove the EGR tower from the lower intake?
Cutting at the middle of the bead is too far back. You could cut a hose. Just now reading the thread. Sorry if someone else already covered this.

After bellmouthing your openings, make sure you lightly radius any edges that are left in the ID. No sharp edges in the airstream.

Where did the idea to knife edge the throttle blade come from? I think I would of just lightly rounded the sharp edges. Don't know really which is best. I would think the knife edge might be best in a supersonic airstream.
 
So it sounds like cut off about the first 1/4 of the bead. What are the chances of the pipe blowing off without the bead?
 
So it sounds like cut off about the first 1/4 of the bead. What are the chances of the pipe blowing off without the bead?
 
Nothing to exciting tonight. I cut out and smoothed the EGR tower in the lower intake, and cut the rolled lips on the uppipe. After some researching, I'm going to take the chance and run the uppipe with out the beads. I'll use the hair spray trick to keep the hoses in place, and I already run nice T bolt clamps. If it starts blowing off often, I'll buy another and leave the beads.

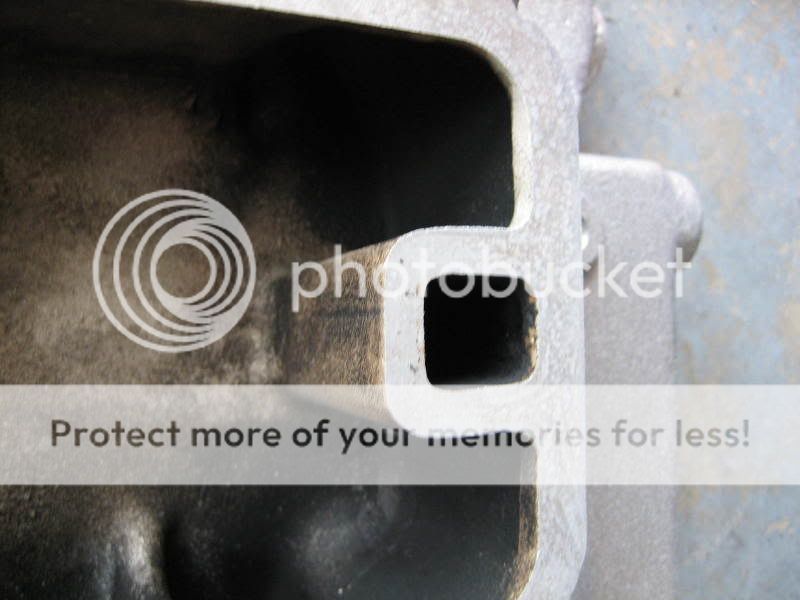
Here is a shot of the lower intake with the EGR tower.

IMG_4003.jpg


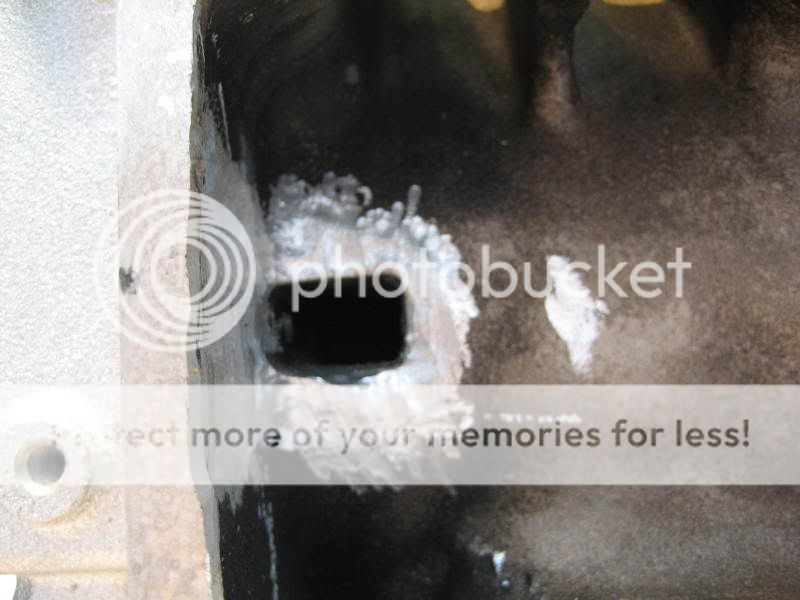
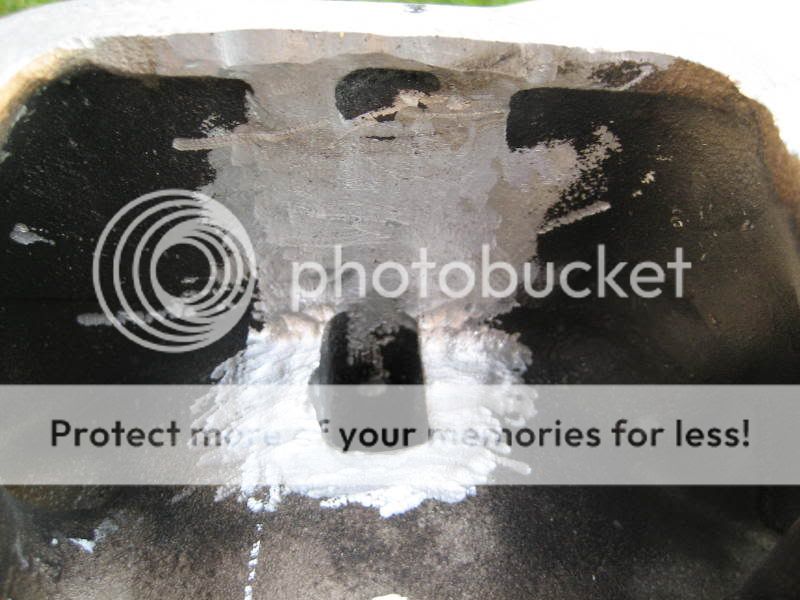
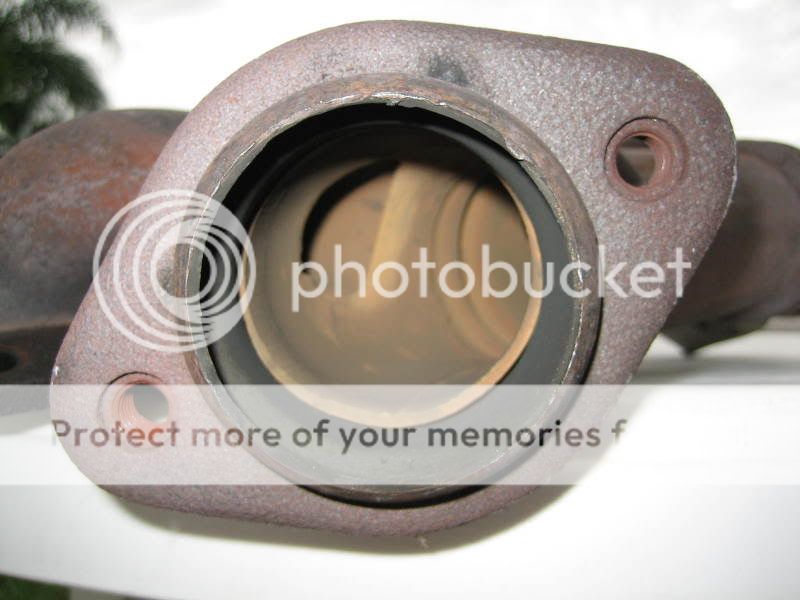
And here is how it looks with it cut out. I used my cut off wheel on my air grinder and on the dremel to get most of the tower off. Then I used the carbide bits to get it smoothed down. It took alot more work then I thought, but I think it came out okay. I'm going to take it to my welding guy tomorrow to have the EGR opening welded shut.

IMG_4004.jpg


IMG_4005.jpg


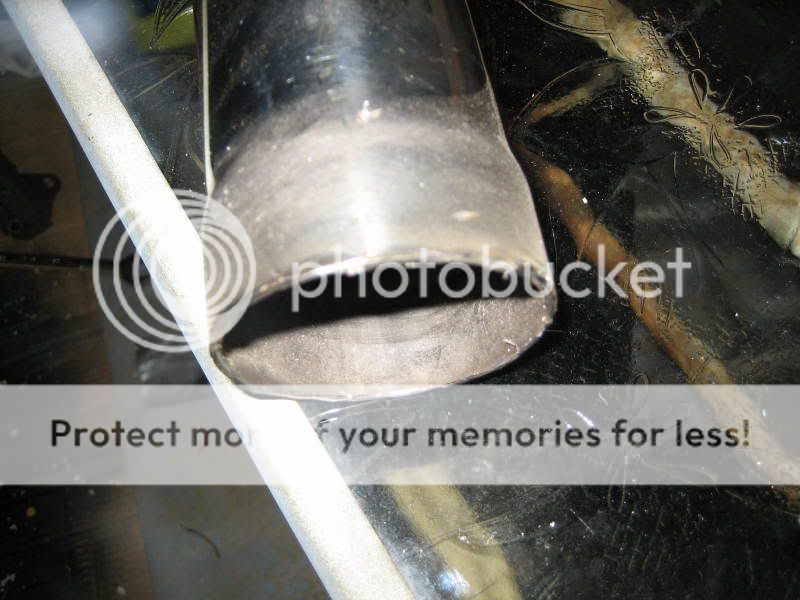
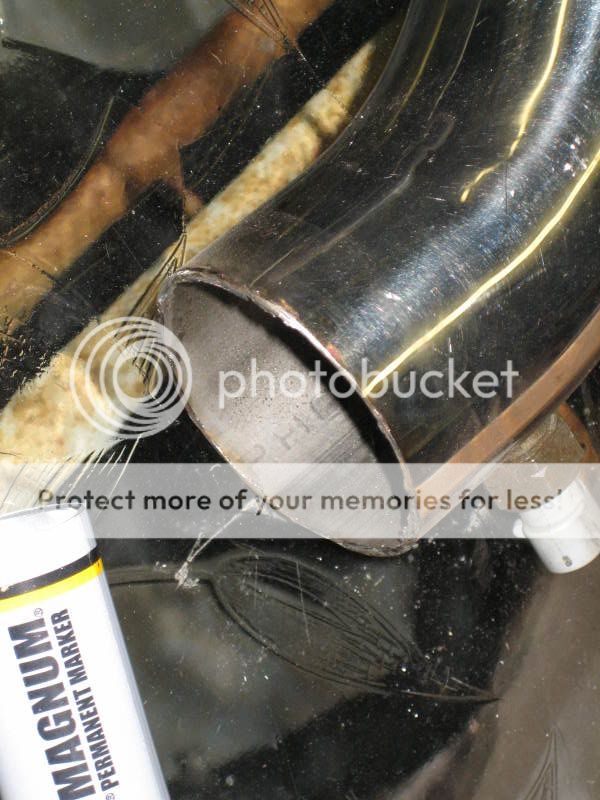
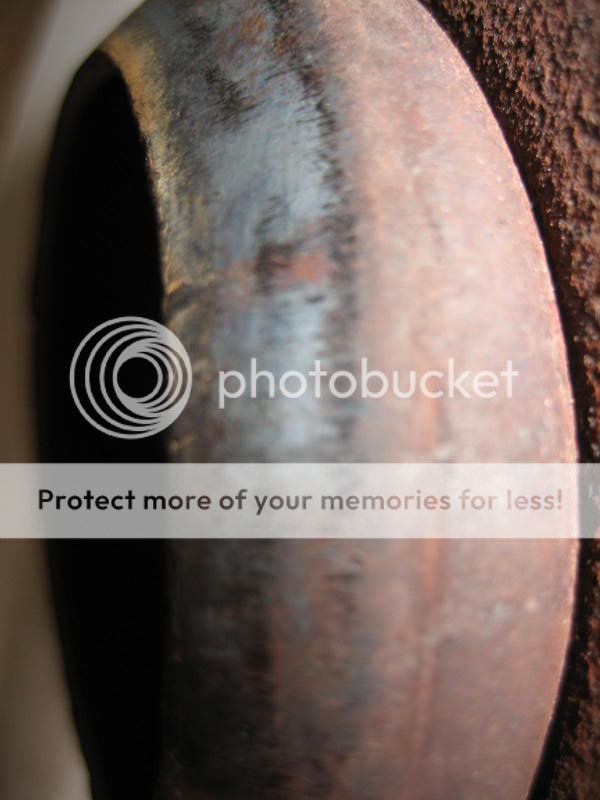
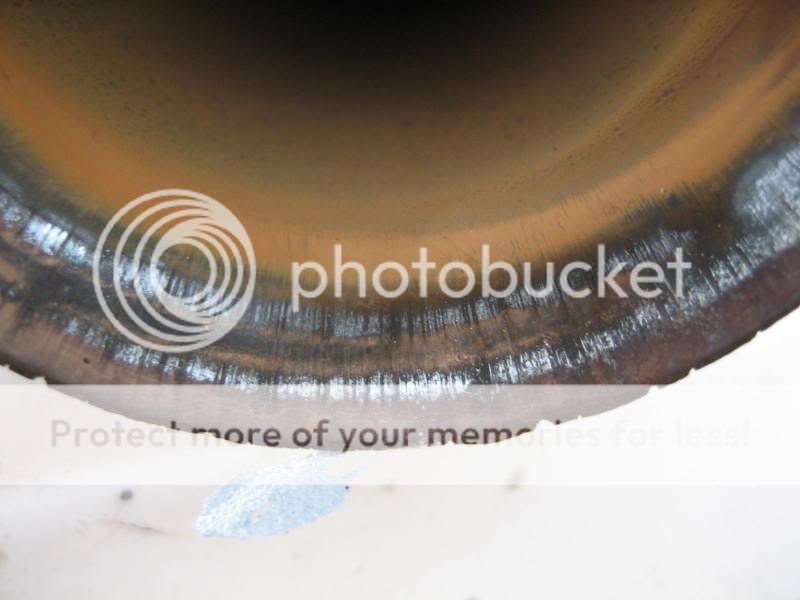
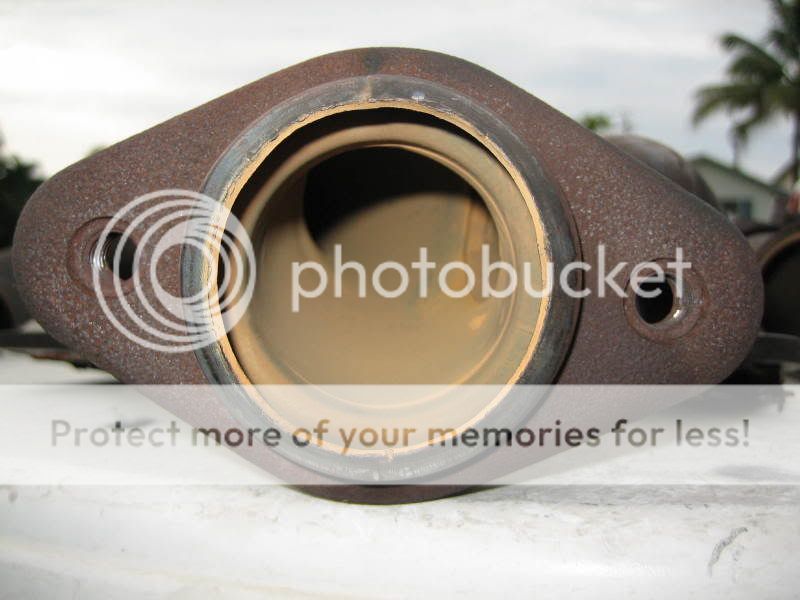
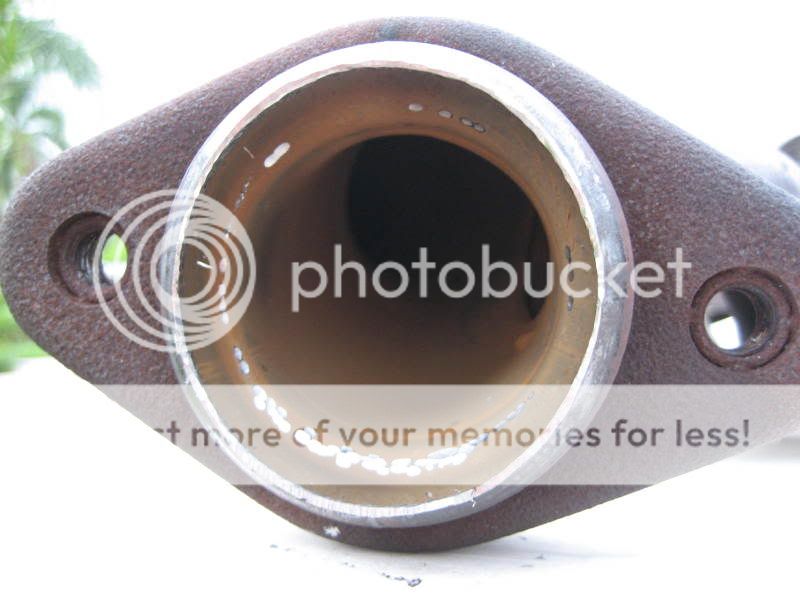
Here are two shots of the up pipe with the beads removed. I'll sand it down real good and bellmouth both sides.

IMG_4006.jpg


IMG_4008.jpg


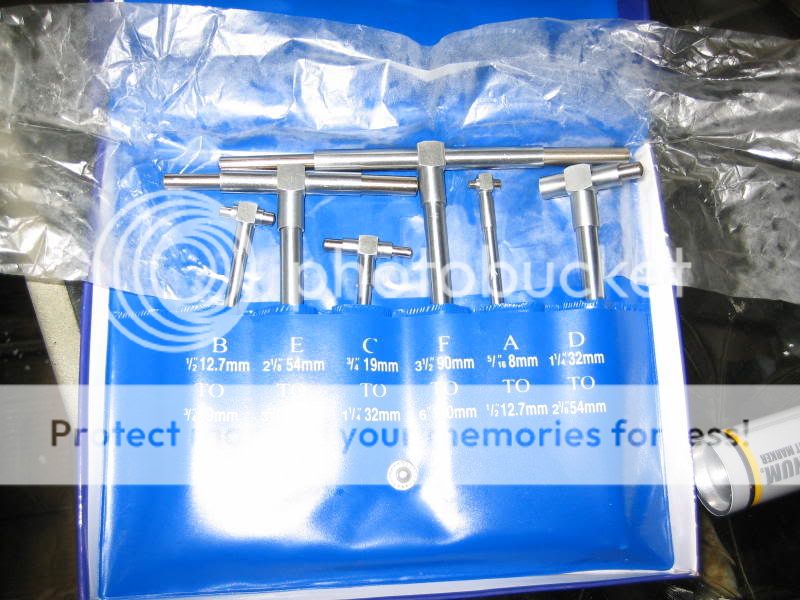
I picked up a set of telescoping gauges. This will help me understand the pinch points in the lower intake.

IMG_4009.jpg


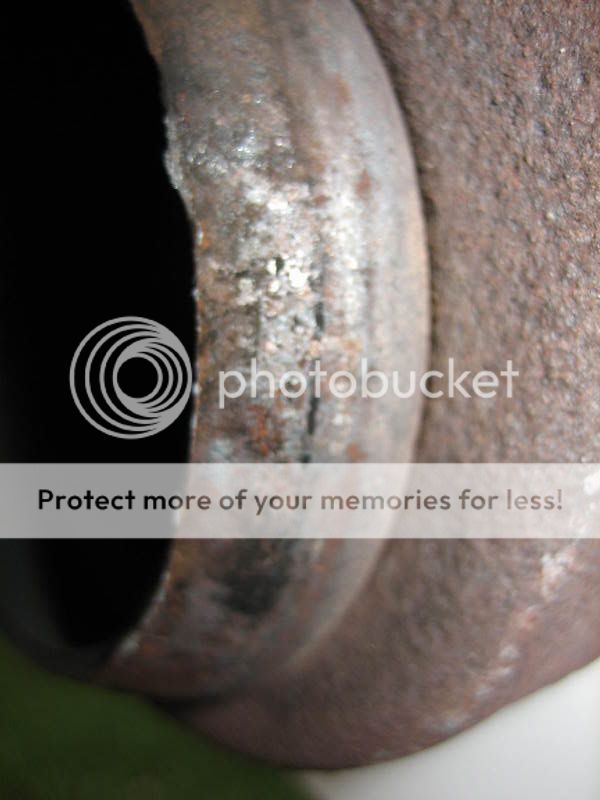
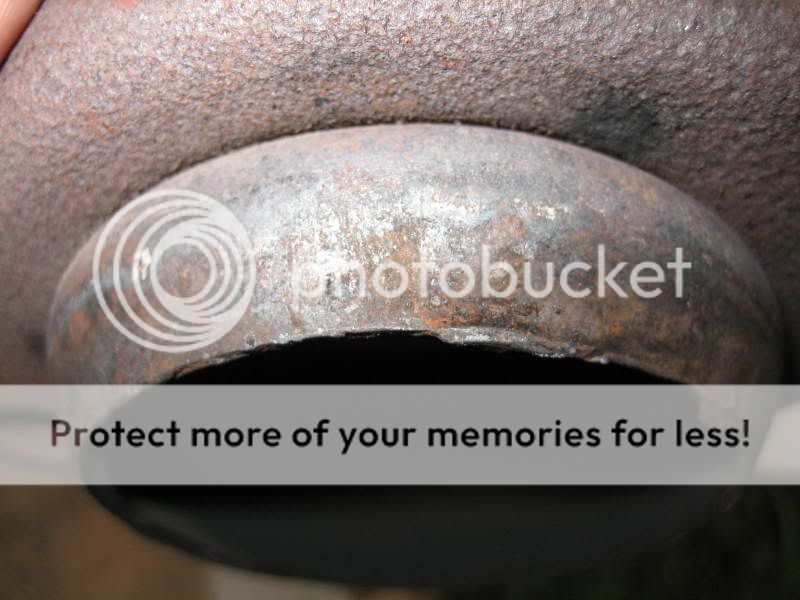
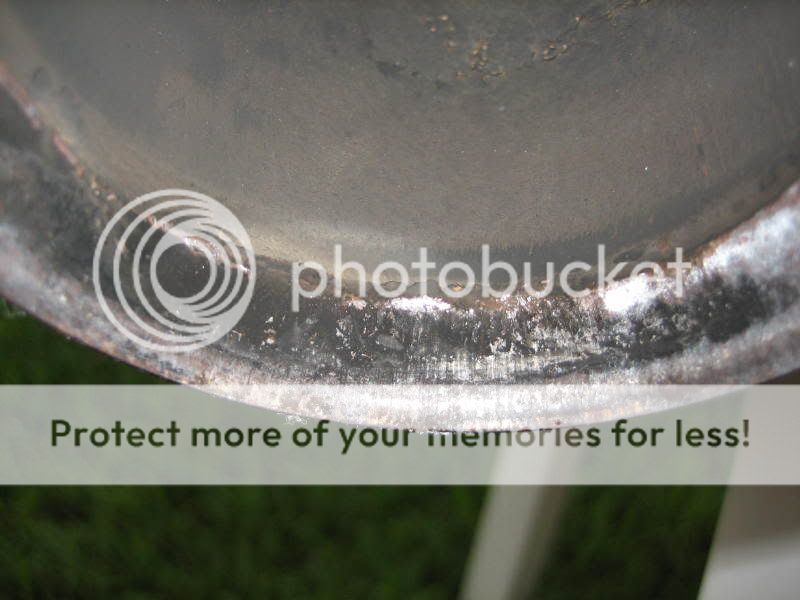
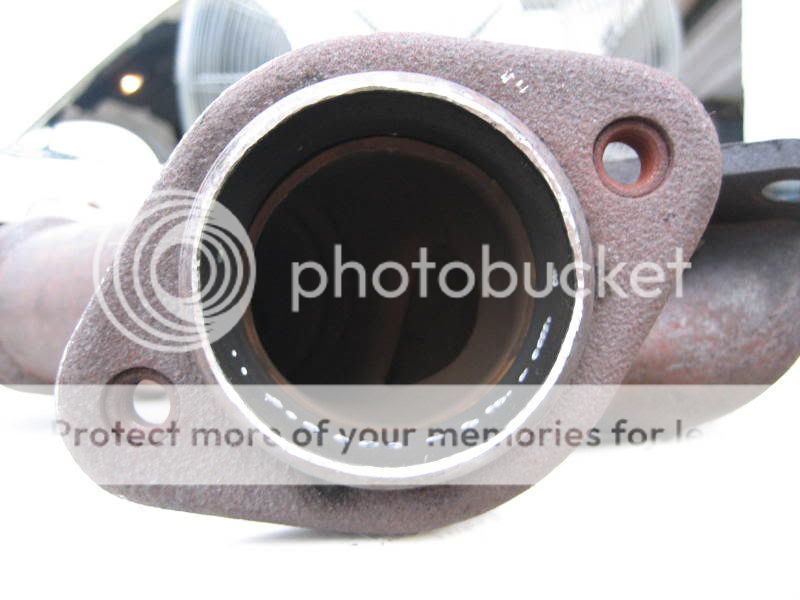
I do have one question. I noticed on the exhaust manifolds, they use a ball/socked type of seal, instead of a gasket. The ball part is on the the manifolds, and about 3/8" of it is used to seal against the crossover sockets. Does anyone know if I can port those about half way down and still keep a seal? They currently seal real nice, but they do look like they would hinder flow, yet I don't want them to leak.
 
Hey as far as your bead is concerned. Just take it to your welder and have him weld a bead on the outside of the pipe exactly at the end. Otherwise you will loose a hose.

Also use bolt type fastners to secure your hoses.

This way there is no disruption in the airstreem and there is no way for the hose to pop off.

A friend of mine ran 11.4 in a all stock turbo and stock motor in a mistu Evo. On the factory tires it came with.

Keep up the good work.

Excellent suggestion.
 
Hey as far as your bead is concerned. Just take it to your welder and have him weld a bead on the outside of the pipe exactly at the end. Otherwise you will loose a hose.

Also use bolt type fastners to secure your hoses.

This way there is no disruption in the airstreem and there is no way for the hose to pop off.

A friend of mine ran 11.4 in a all stock turbo and stock motor in a mistu Evo. On the factory tires it came with.

Keep up the good work.

Great idea.

When I installed the meth, I swapped out all the worm style clamps with nice T bolt clamps, never had a hose issue.

Yeah, those EVO's are fast for sure. I'm just happy with a 11.9x with 20+ year older technology.
 
What is the color difference for removing metal about?

Doug,

About the 1st 1/4" of the opening the metal is a rust color, no contact in this area,(I used my dremmel and a carbide tip to cut this metal away) after that you can see a different color, more shiney where contact is made. If you are having trouble seeing the difference in color you could get some "Blue High Spot" commonly called "blueing" and with rubber gloves (it can be a mess) smear a small amount on the flange in my picture. Then bolt it up, and take it right back off, the blueing will clearly show the contact area, do your self a favor and let some extra on there for insurance.

Chuck
 
The stock headers have alot of overhang where the primaries go into the log. I use a 1 1/2 hole saw just below the primaries to gain access, grind down any overhang, and weld the pieces back in. BTW, the Cutlass in my sig has a stock turbo.
 
Subscribed and nice work. Instead of blueing you can use lipstick. It's cheap and comes off with carb cleaner or burn it off when you start the engine.
 
Per 84BuickGNYorkPA, I ported the exhaust manifold outlets. I simply used my 1/2" single cut carbide burr. In fear of ruining some of my sanding rolls, I'll just finish the port with a file. I also tapered the outlet some so the air doesn't hit a sharp edge.

These 5 pictures show the carbon and contact markes from where the ball connects to the socket on the cross over.

IMG_4010.jpg


IMG_4012.jpg


IMG_4013.jpg


IMG_4015.jpg


IMG_4016.jpg


Here are pics of the size of the openings before porting.

IMG_4011.jpg


IMG_4014.jpg


Here are the outlets after porting. I have yet to clean them up with a file. I ported them to about an 1/8" to where the carbon line stops and the clean metal line from the crossover begins.

IMG_4018.jpg


IMG_4020.jpg
 
I did 2 in each. On the passenger side, you will have to drill to get to number 2 and number 4. On the drivers side, number 1 doesn't beed anything, so drill across from number 3, and I found it easier to drill across number 5, but some just go through the outlet. There was alot of material on number 3 and 4 on mine.
 
I did 2 in each. On the passenger side, you will have to drill to get to number 2 and number 4. On the drivers side, number 1 doesn't beed anything, so drill across from number 3, and I found it easier to drill across number 5, but some just go through the outlet. There was alot of material on number 3 and 4 on mine.

That's very similar to what I came up with. How big were your holes, and how did you go about filling/sealing them. Did the inside of the pipe stay smooth after they were filled?
 
Top